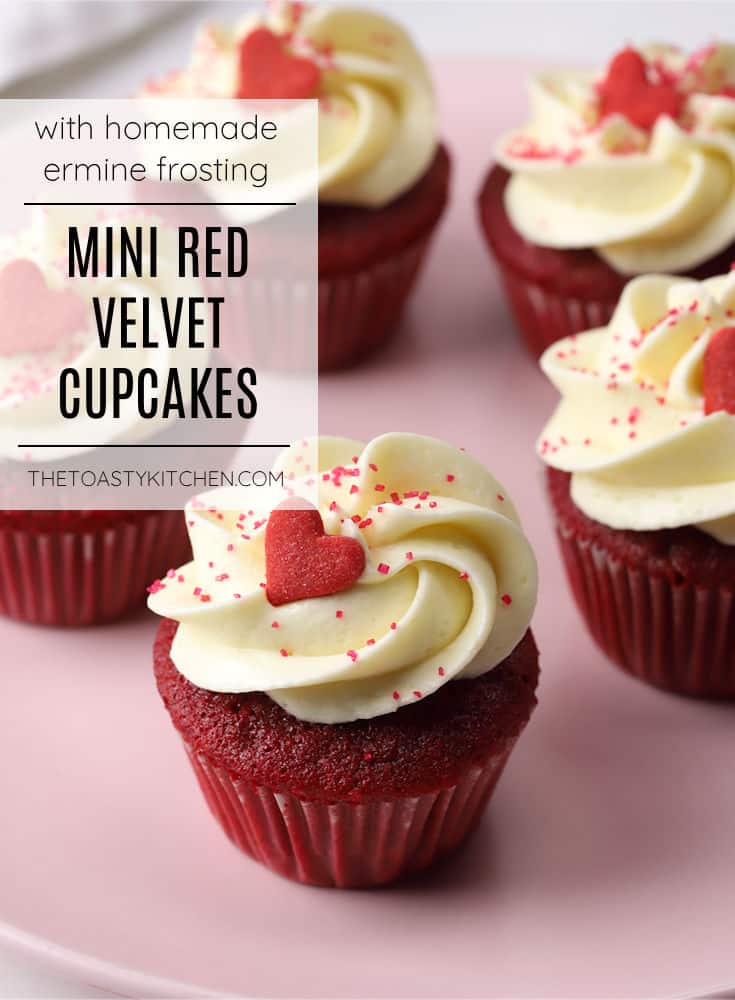

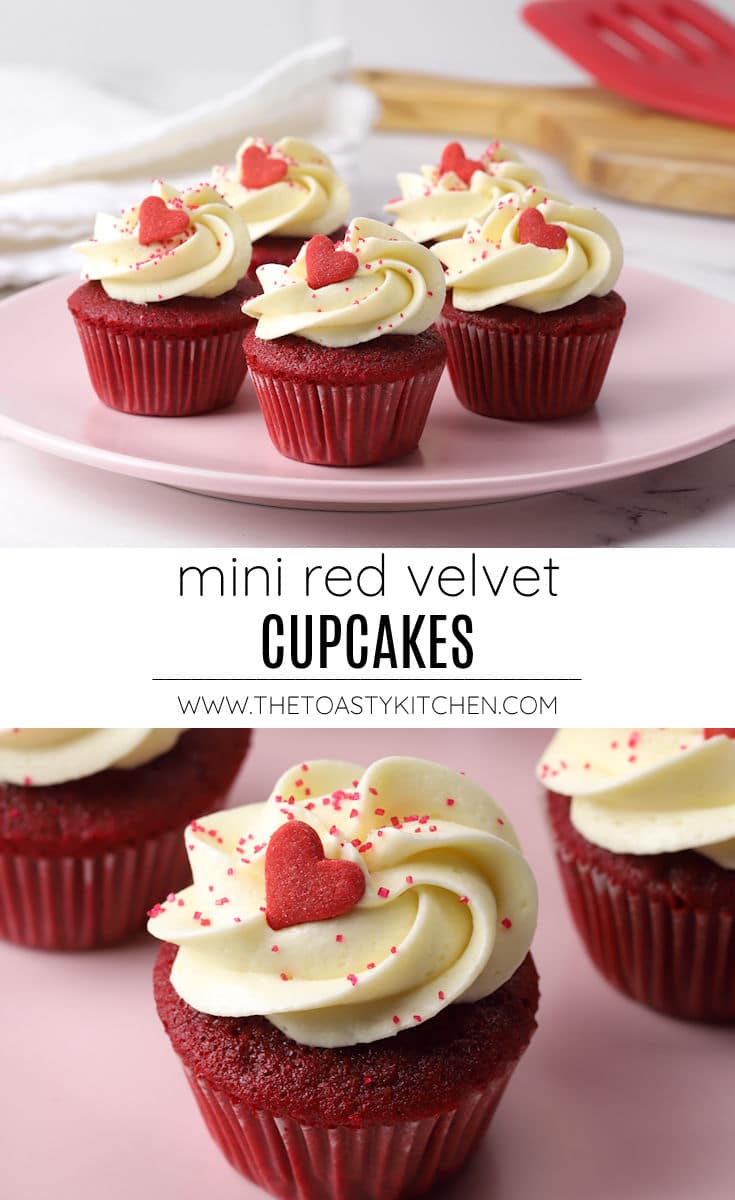
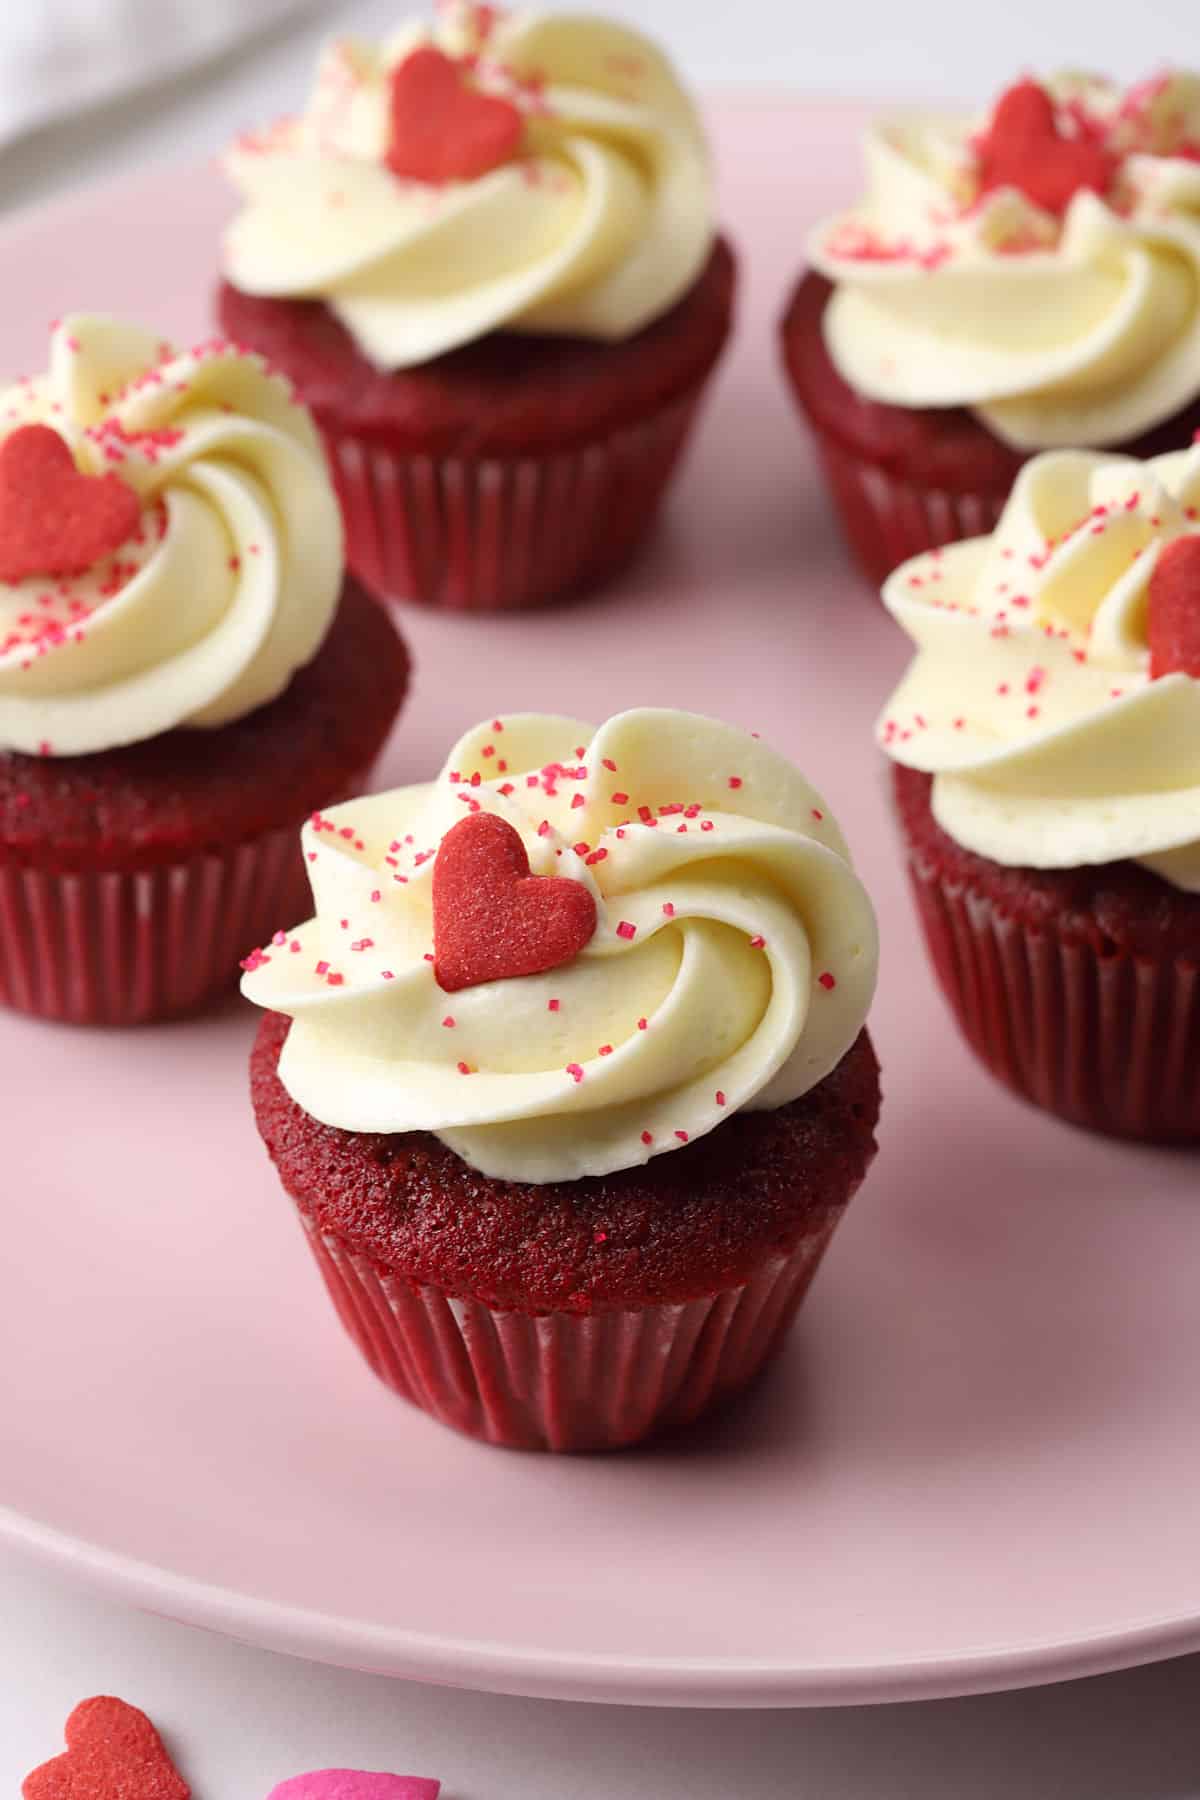
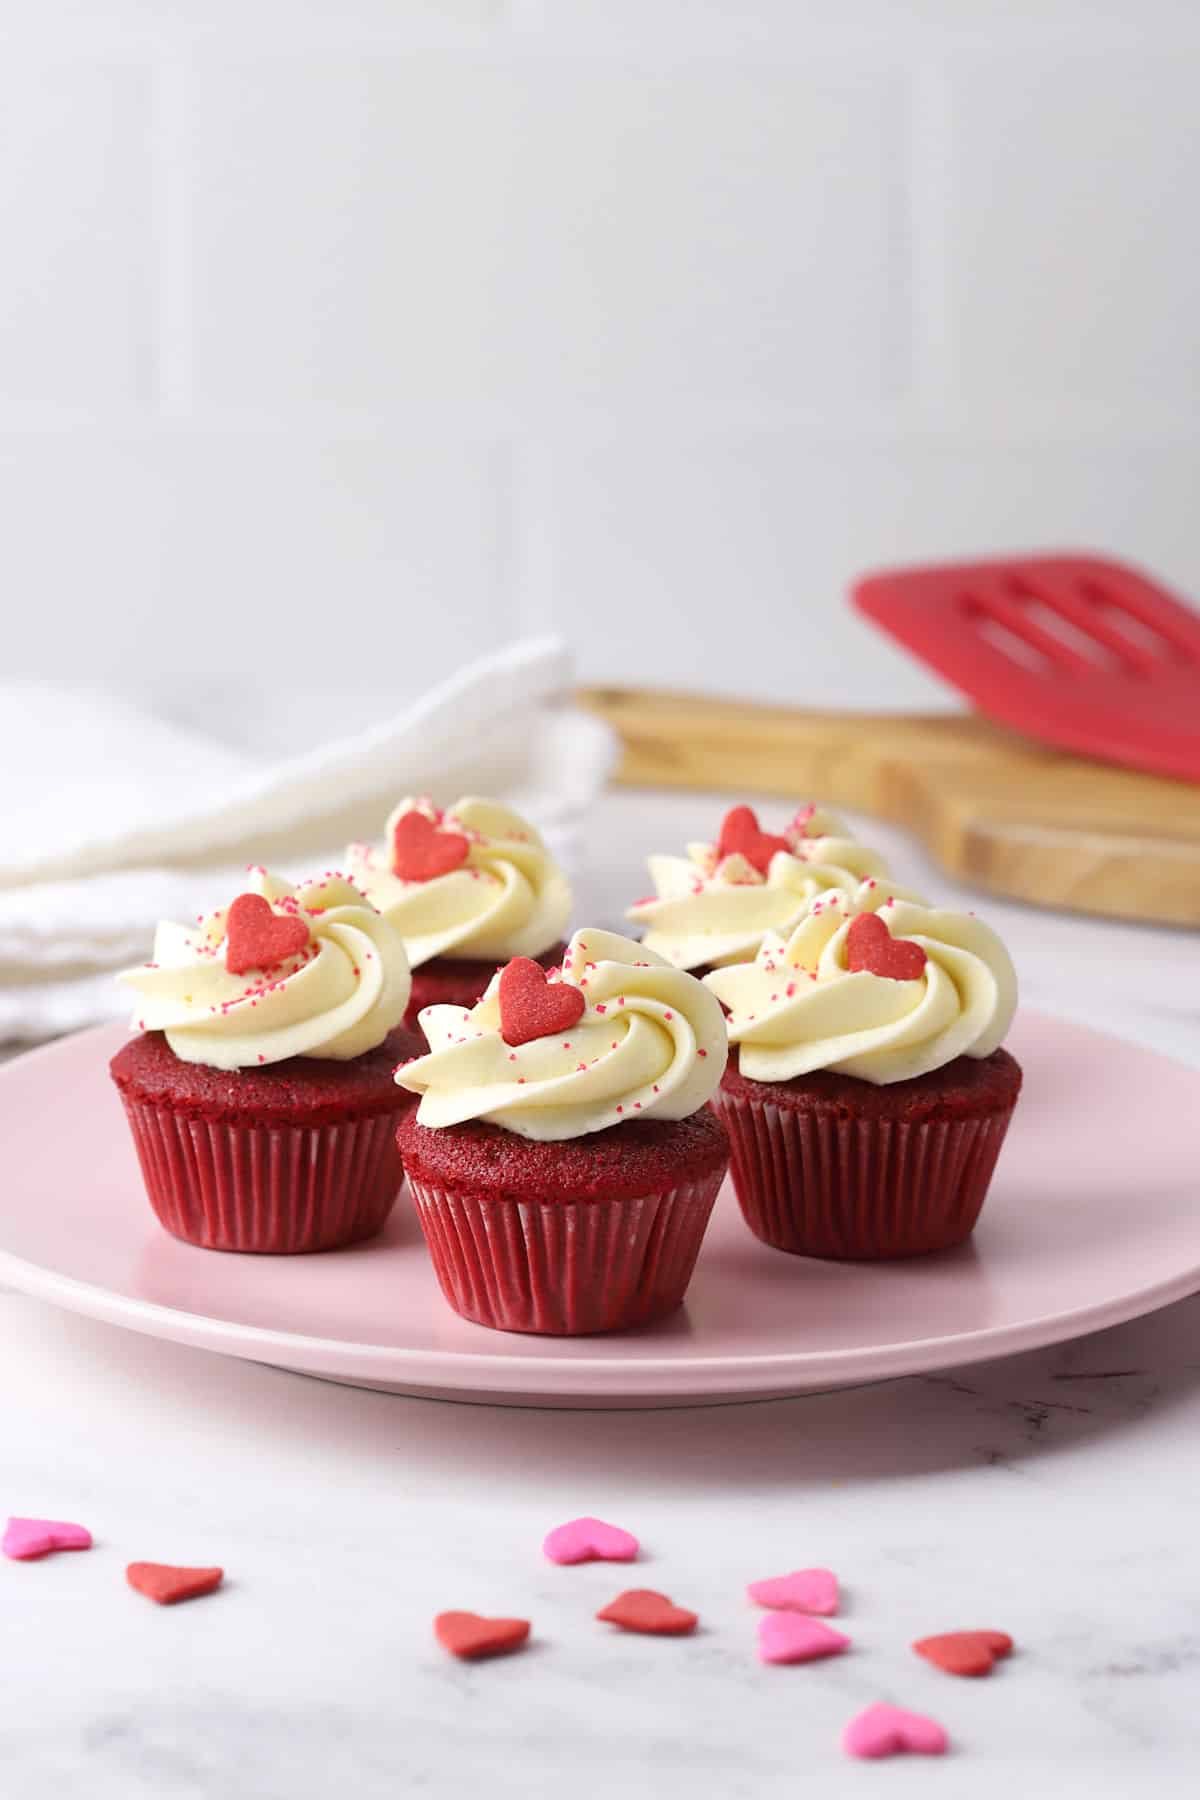
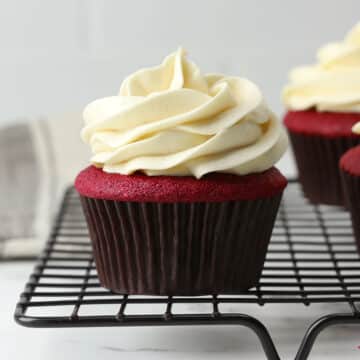
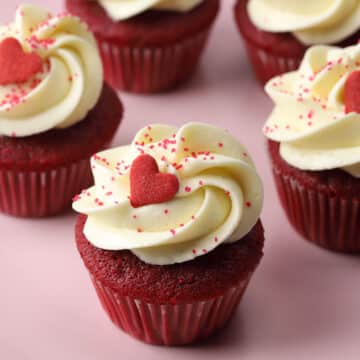
Mini red velvet cupcakes are tender, moist, and made entirely from scratch. These eye catching two-bite treats are topped with a classic ermine frosting that's silky and less sweet than traditional buttercream.
Heather's recipe summary
Flavor/texture: Tender and moist mini red velvet cupcakes are topped with a velvety, less-sweet ermine frosting and cute heart-shaped sprinkles.
What is red velvet? A combination of chocolate, vanilla, butter, and tangy buttermilk.
Yield: 45 mini cupcakes
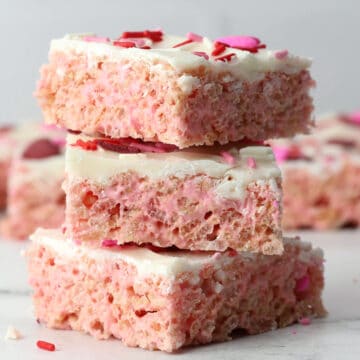
More for Valentine's Day: Valentine's Day Rice Krispies Treats and Heart Shaped Chocolate Chip Cookies
Jump to:
Ingredients and substitutions
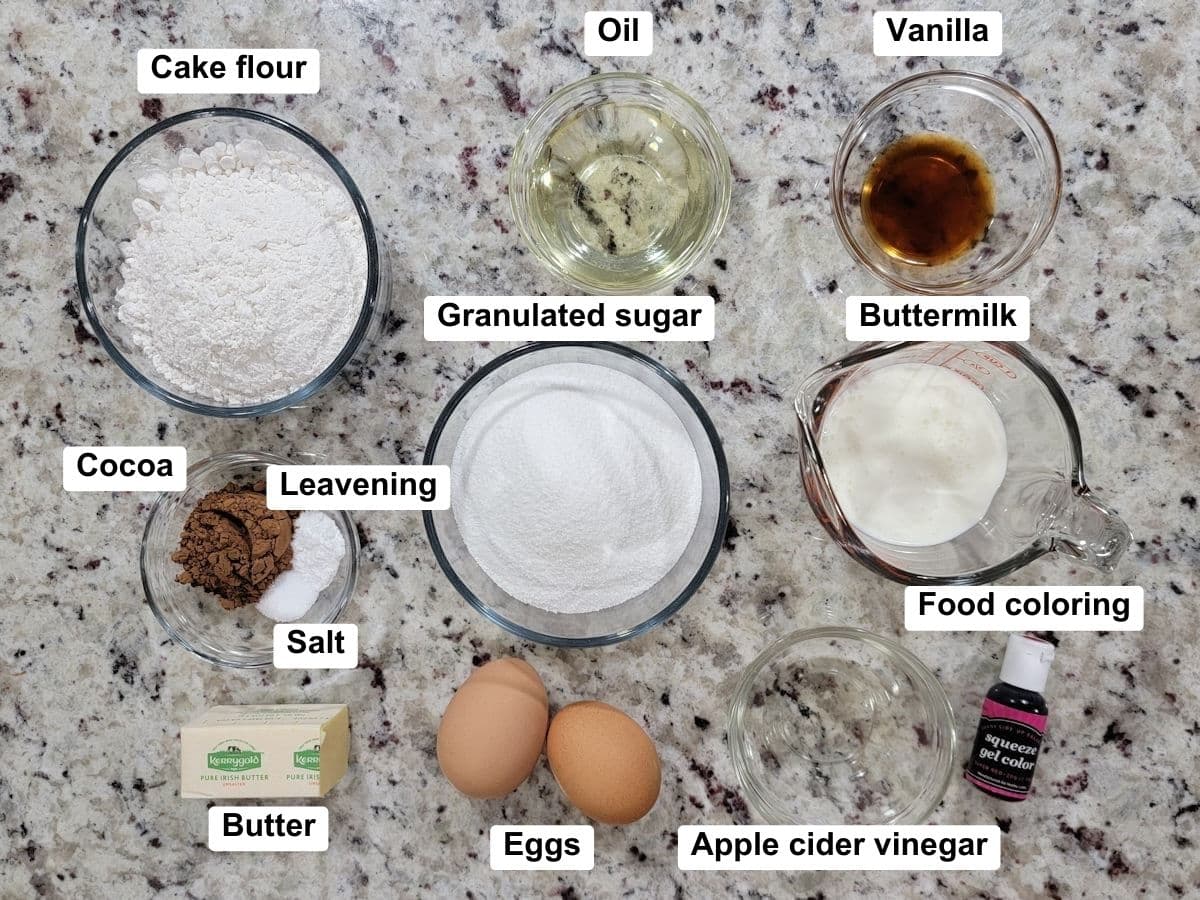
- Wet ingredients - Granulated sugar, oil, butter, buttermilk, eggs, and apple cider vinegar add moisture and lift to the cupcakes. Reducing these ingredients can cause your cupcakes to turn out dry. Don't have buttermilk? Add 1.5 teaspoons of white vinegar to a liquid measuring cup, then fill to the ½ cup line with whole milk and wait 5 minutes.
- Dry ingredients - Cake flour, cocoa powder, baking soda, and salt balance with the wet ingredients and help your cupcakes rise in the oven. All-purpose flour can work, but your cupcakes will turn out with a slightly less tender crumb.
- Flavor - Red velvet has a mild, tangy flavor that's a combination of cocoa powder, vanilla, butter, and buttermilk. It's not just a 'red cake' or a 'chocolate cake' but a combination of several flavors.
- Gel food color - Gel food coloring can be substituted with liquid food coloring at a 1:2 ratio. Gel food coloring is more concentrated, so you'll need twice as much liquid food coloring to achieve the same color intensity.
How to make red velvet mini cupcakes
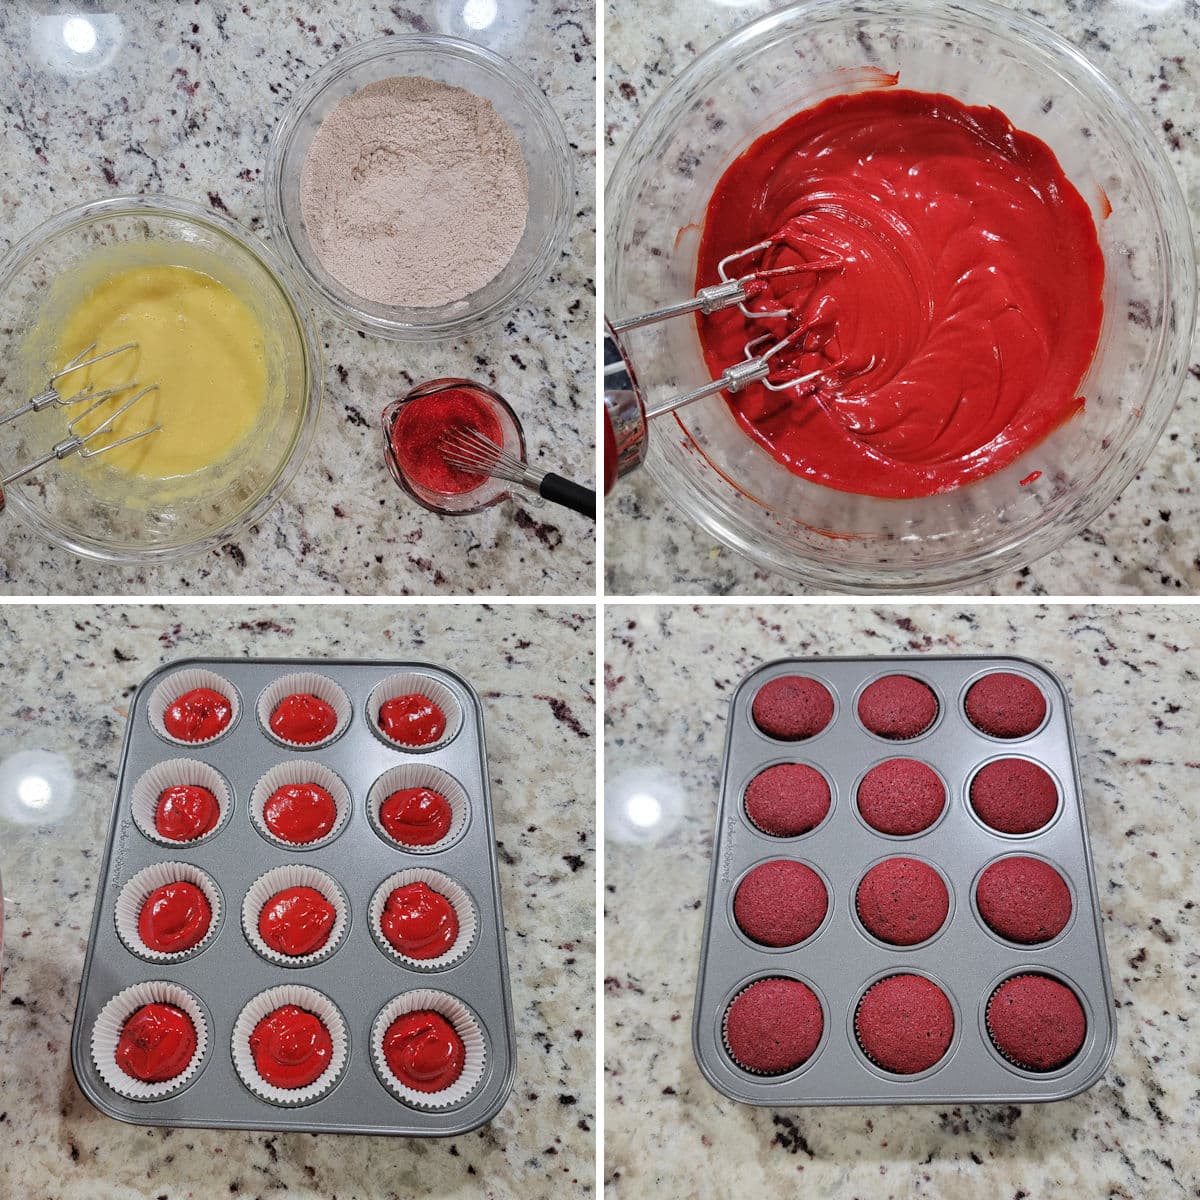
- Beat butter and granulated sugar together, then beat in vanilla and eggs until smooth and creamy. Whisk dry ingredients together to remove clumps. Stir oil, buttermilk, vinegar, and food coloring to combine.
- Add half your dry ingredients to your egg mixture and stir until incorporated. Add half your buttermilk mixture and stir until just incorporated. Repeat until everything is just combined. Do not overmix.
- Fill mini-cupcake liners with one tablespoon of batter.
- Bake 10-12 minutes or until centers bounce back when gently pressed.
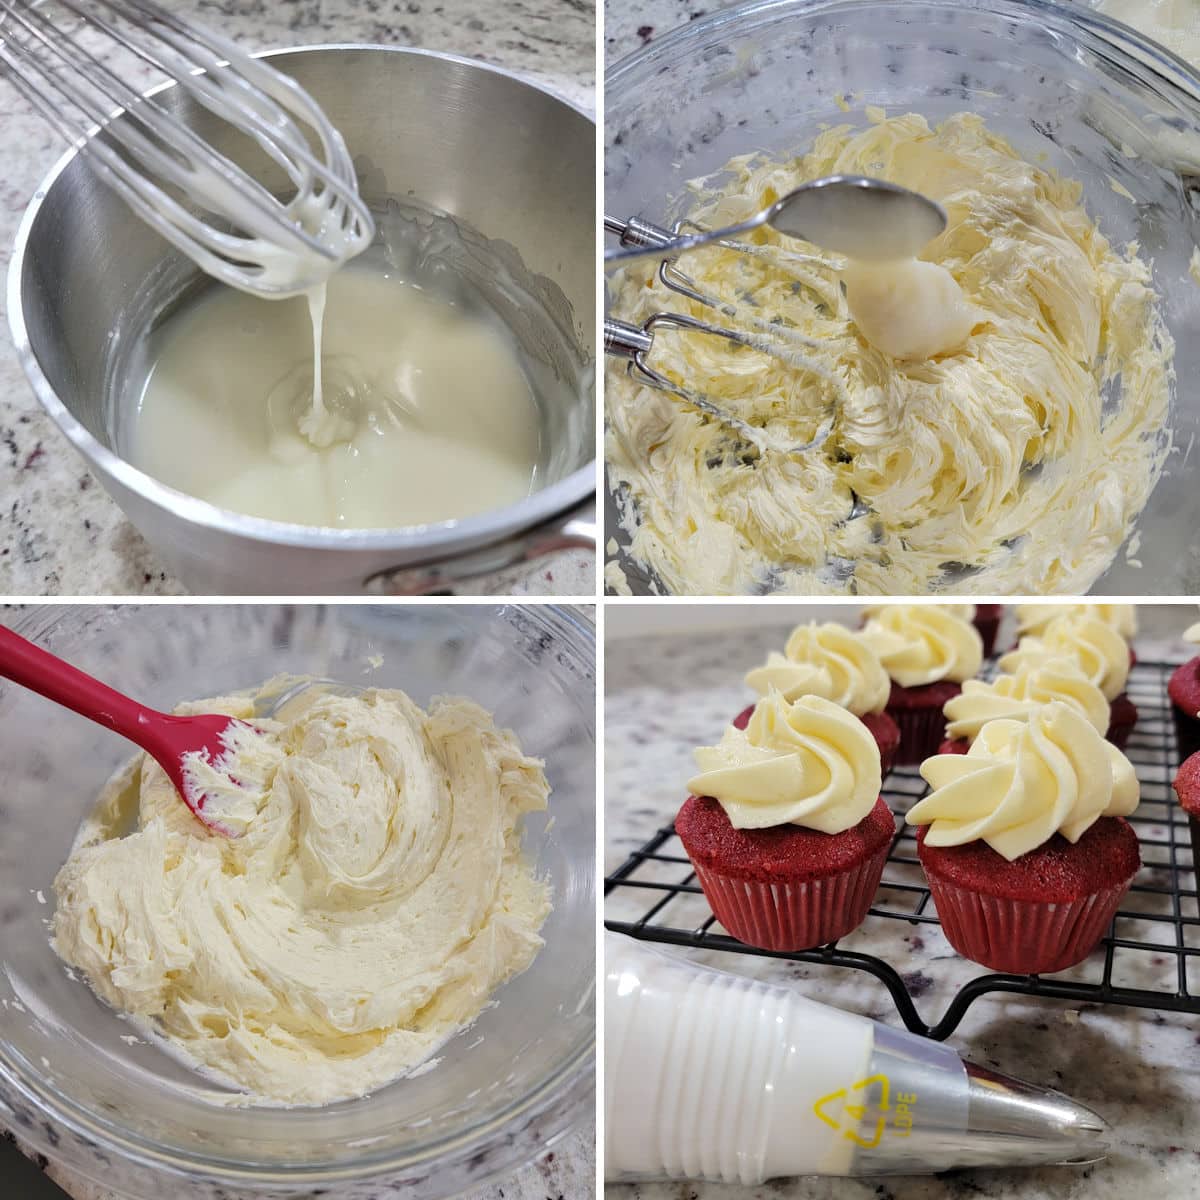
- Cook frosting base to the consistency of condensed milk and cool.
- Add one tablespoon at a time to whipped butter and beat to combine.
- Frosting will be silky smooth with a whipped texture.
- Pipe onto cooled cupcakes.
Heather's Top Tip
For accurate results every time, use a kitchen scale to measure flour by weight. If you don't have a kitchen scale, use the spoon and level method. Stir the flour (especially if it's been packed down in a bag/container), then gently spoon into the measuring cup, leveling off the top with a knife. Scooping with a measuring cup compacts flour into the cup and adds up to 25% extra to the recipe, resulting in dry, bland baked goods.
Tips and tricks
Gel food coloring is best - Gel coloring is concentrated, meaning you'll use less liquid to achieve a bold, vibrant color. Liquid food coloring contains extra liquid and works better for pastel colors, but is relatively inexpensive and easy to find.
Natural coloring alternative - Beetroot powder is a popular choice, but I haven't tested it in this recipe. Premium Beet Root Juice Powder, 8 oz (Amazon)
Testing for doneness - Gently press onto the top of a cupcake with one finger. If the cupcake pops right back, it's done. If an indent is left, it needs more time.
Allow cupcakes to cool - Warm cupcakes stick to the wrappers and melt frosting. Allow them to cool to room temperature before frosting and serving.
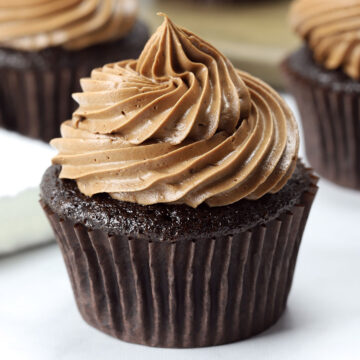
Frosting options - Traditionally, red velvet is topped with ermine frosting. Another popular choice is cream cheese frosting. Feel free to use your favorite frosting!
Frequently asked questions
Yes, this recipe makes 15 standard size cupcakes. Divide the batter between 15 cupcake liners and bake for about 18-21 minutes, or until the centers pop back when gently pressed.
For years I've used this simple Wilton cupcake decorating kit (Amazon) to decorate my cupcakes. It comes with four piping tips, bags, and easy to read instructions. I also purchased this additional coupler (Amazon) to make it easy to secure the piping tips and to change out tips halfway through decorating.
Baked goods can turn out dry for a few reasons:
- Baking too long.
- Adding too many dry ingredients.
- Adding too few wet ingredients.
- Butter-based cake is refrigerated (it feels dry when chilled, but softens when it comes back to room temperature).
It's important to follow the recipe exactly, including the measurements and exact ingredients listed. I recommend using an instant-read thermometer to make sure your cake doesn't get overbaked in the oven.
This can be caused by humidity in your home or storing cupcakes in a sealed container while they're still warm. This can't really be fixed, but can easily be covered with frosting.
Place cupcakes on a lined sheet pan and freeze until solid. Transfer to a freezer-safe container and seal tightly. To thaw, place in the refrigerator to thaw overnight, or place on the countertop and remove the lid to allow to thaw for 1 to 2 hours.
Recommended

📖 Recipe
Mini Red Velvet Cupcakes
Ingredients
Mini red velvet cupcakes
- 1 ½ cups (168 g) cake flour
- 1 ½ tablespoons natural cocoa powder
- ½ teaspoon baking soda
- ¼ teaspoon salt
- ¼ cup (57 g) unsalted butter, room temperature
- 1 cup (200 g) granulated sugar
- 2 large eggs, room temperature
- 2 teaspoons vanilla extract
- ¼ cup (50 g) vegetable oil
- ½ cup (120 g) buttermilk, room temperature
- 1 teaspoon apple cider vinegar, or white vinegar
- 2 teaspoons red gel food coloring
Ermine frosting
- ¾ cup (150 g) granulated sugar
- ¼ cup (30 g) all-purpose flour
- ½ teaspoon salt
- 1 cup (240 g) whole milk
- 1 cup (226 g) unsalted butter, room temperature
- 2 teaspoons vanilla extract
Instructions
Mini cupcakes
- If making ermine frosting, I suggest starting the frosting first. While the frosting base cools, prepare your cupcakes.
- Preheat oven to 350℉. Line a mini cupcake pan with 45 liners (or bake in separate batches if you have a smaller pan) and set aside.
- In a bowl, add dry ingredients: cake flour, cocoa powder, baking soda, and salt. Whisk to combine and remove any clumps. Set aside.
- In a large bowl, add butter and granulated sugar. Using a hand mixer, beat to combine. Add vanilla and eggs and beat until smooth and creamy. Set aside.
- In a separate bowl, add oil, buttermilk, vinegar, and food coloring. Stir to combine.
- To your egg mixture, add half of the dry ingredients. Stir until just incorporated. Add half of your buttermilk mixture and stir until just incorporated. Repeat once more to add your remaining dry and wet ingredients. Do not overmix.
- Portion 1 tablespoon of batter into each mini cupcake liner, filling about halfway full. Bake for about 10-12 minutes, or until the center pops back when gently pressed. Allow to cool for 5 minutes in the pan before transferring to a cooling rack.
Ermine frosting
- In a saucepan over medium heat, add sugar, flour, and salt. Whisk in milk and continue whisking until smooth.
- Cook over medium heat for about 5 to 7 minutes, whisking frequently, until mixture looks very thick (like sweetened condensed milk consistency). Remove from heat.
- Transfer mixture to a bowl. Press plastic wrap over the top of the mixture and up the sides of the bowl to prevent a skin from forming. Allow mixture to cool completely to room temperature, about an hour. (To speed up cooling, transfer to the refrigerator, but don't allow it to go below room temperature. Mixture will solidify and become difficult to work with.)
- Now is a good time to prepare your cupcakes.
- Once flour mixture has cooled, add room temperature butter to a large bowl and beat with a hand mixer (or a stand mixer) until light and fluffy, about 2 to 3 minutes.
- Add your cooled flour mixture, 1 tablespoon at a time, to the whipped butter and beat until smooth, scraping the sides of the bowl frequently. Continue until all of your flour mixture has been incorporated. (If your flour mixture is even a little warm it will melt the butter and ruin the frosting. Flour mixture must be room temperature, not warm, for this step).
- Add vanilla extract and mix to combine. Frosting should be silky smooth with a whipped texture.
- Pipe or spread frosting with a knife onto cupcakes and serve.
Equipment Recommendations
Notes
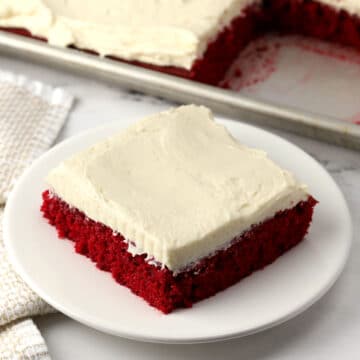
- Yield: This recipe makes 45 mini cupcakes or 15 standard size cupcakes.
- To make standard size cupcakes: divide batter between 15 cupcake liners (about 3 tablespoons per cupcake) and bake for about 18-21 minutes, or until a toothpick inserted into the center comes out with crumbs, not wet batter.
- Food coloring: 2 teaspoons gel food coloring can be substituted with 4 teaspoons liquid food coloring. Food coloring can be omitted entirely for pale brown cupcakes.
- Frosting variations: Ermine frosting can be substituted with your favorite frosting - popular choices include cream cheese frosting and whipped buttercream frosting.
- Storage: Cupcakes will keep at room temperature for about 6 hours or in the refrigerator for 3-4 days. Allow cupcakes to come to room temperature for 30 minutes before serving.
- Top tips: Be sure to check out my 10 tips for baking cake, based on reader comments and questions!

Comments
No Comments