
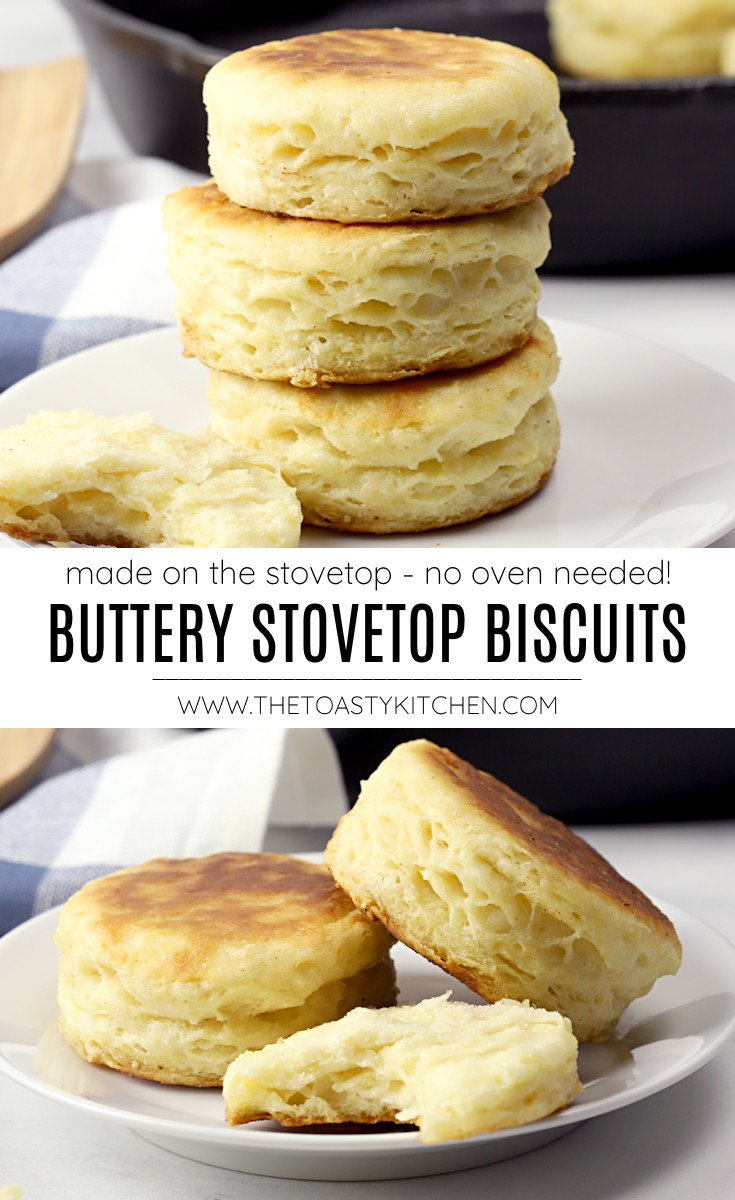
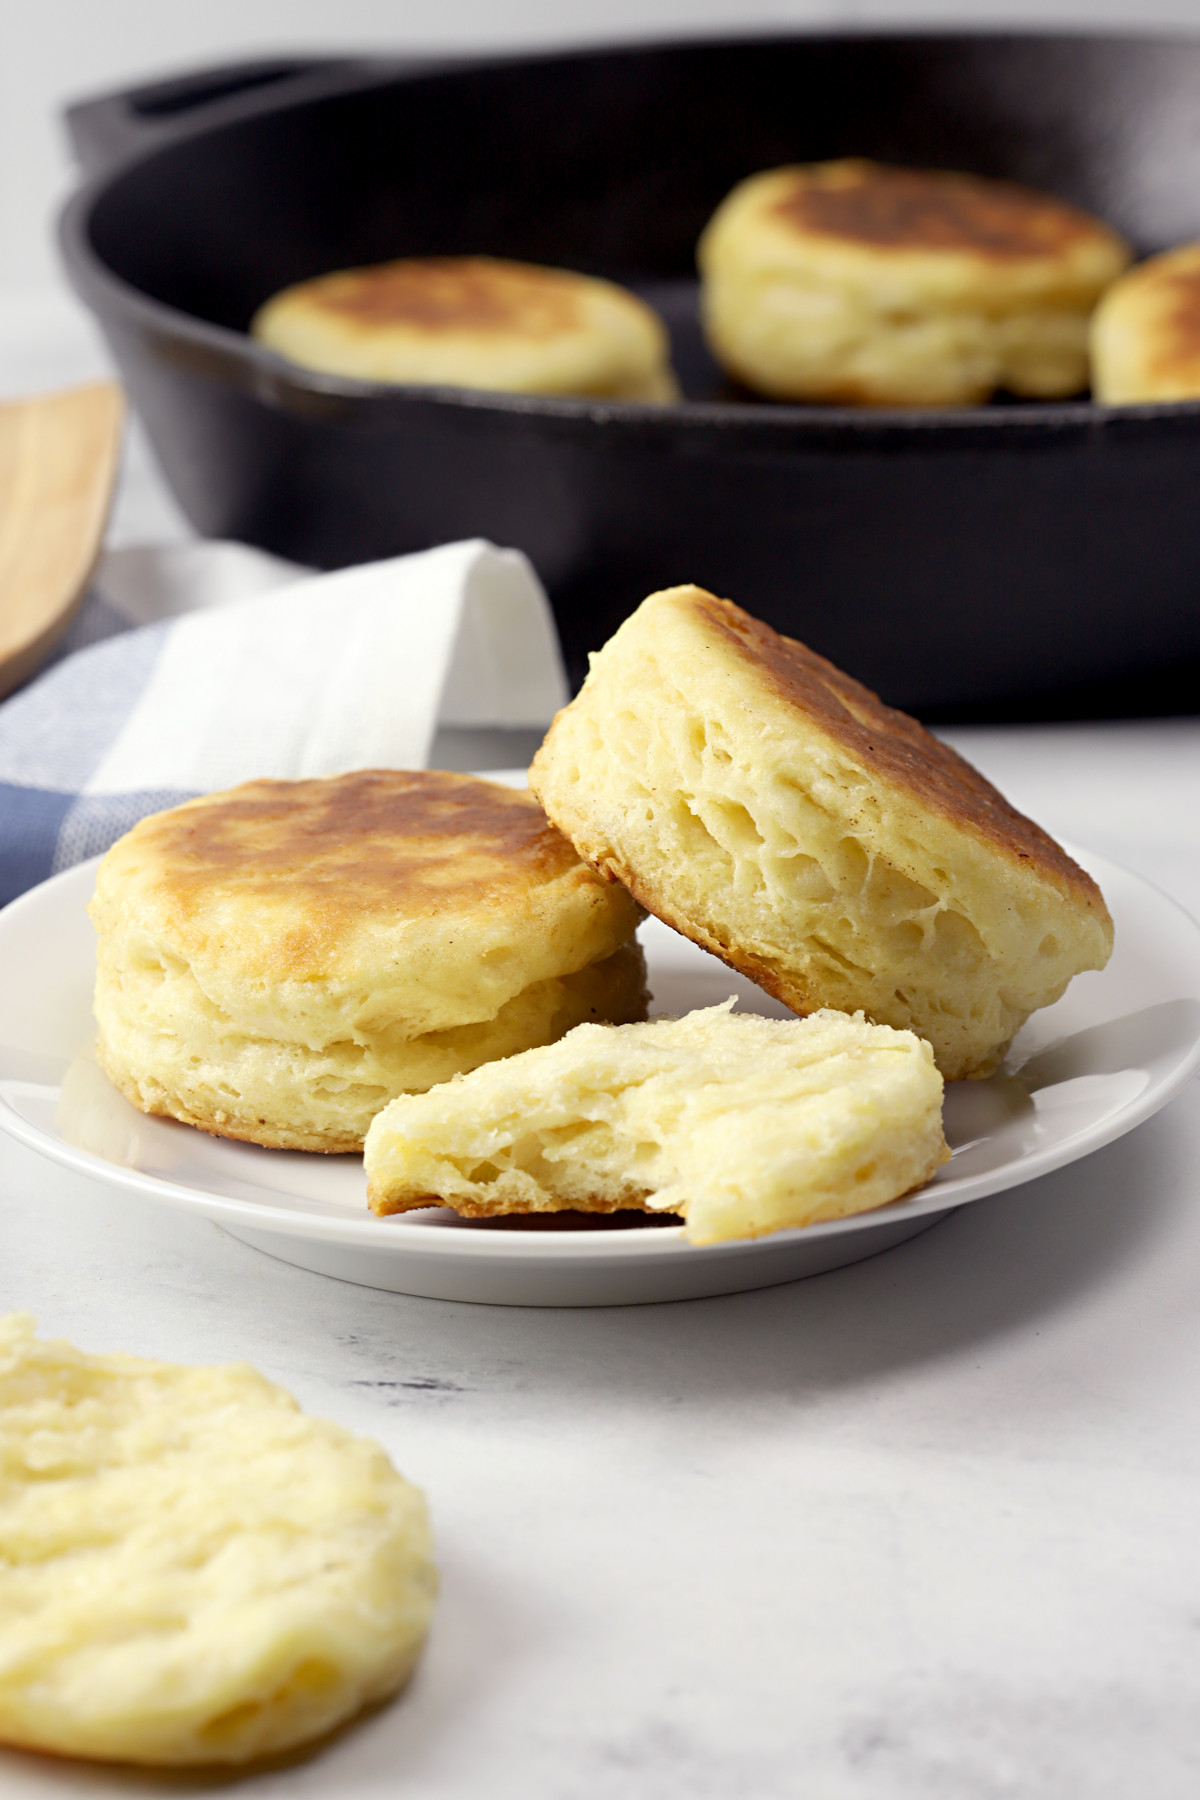
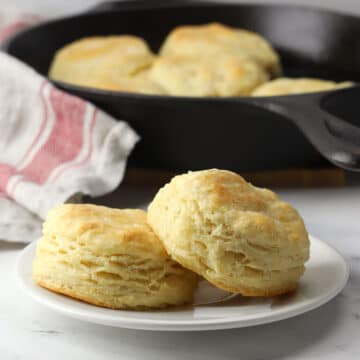
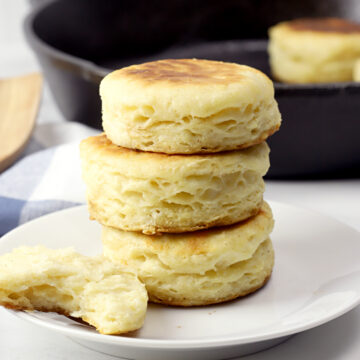
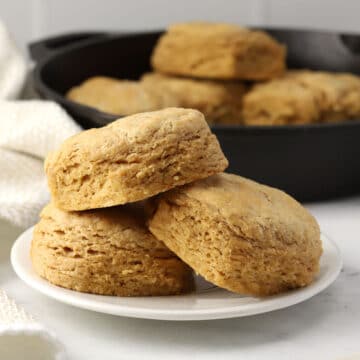
No oven needed for these buttery stovetop biscuits. They're cooked in a skillet right on the stovetop. These flaky, tender & buttery homemade biscuits can be served for breakfast, lunch, or dinner - they go with everything!

Homemade biscuits cooked on the stovetop? Yep! You're going to love this recipe for skillet biscuits. They're made from scratch with a handful of ingredients and you don't even have to turn on the oven.
Maybe your oven is full with holiday casseroles or you only have access to a stovetop or single burner hot plate. No matter the case, these buttery stovetop biscuits are the perfect solution!
Serve them with bacon and eggs for breakfast, with soup for lunch, or with fried chicken for dinner. You really can't go wrong with stovetop biscuits!
Ingredients and substitutions
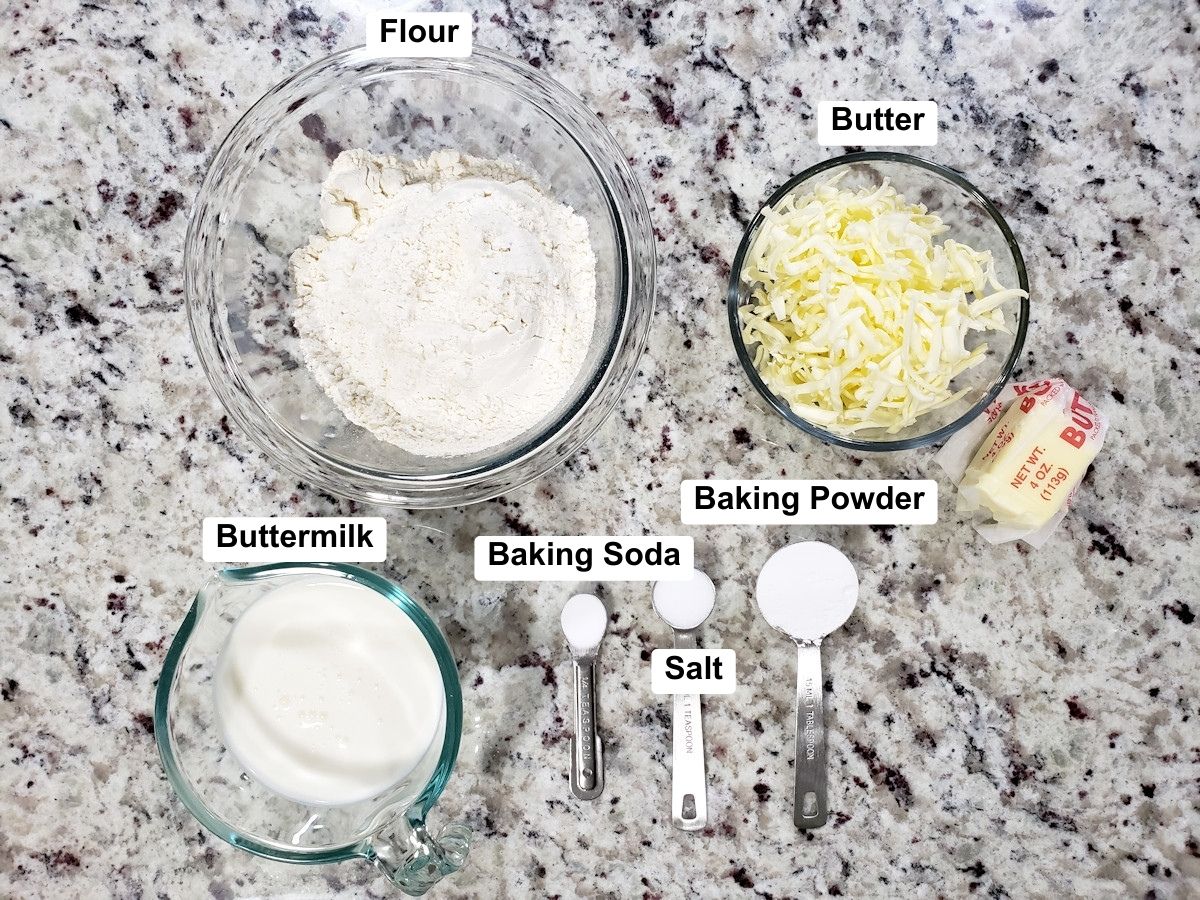
- All-purpose flour - Do not substitute with other types of flour (self-rising flour, cake flour, etc), because it will change the acidity and/or texture of your biscuits.
- Unsalted butter - Your butter needs to be cold - straight from the refrigerator or freezer. I like to shred mine with the large side of a cheese grater because it helps incorporate the butter seamlessly into the dough.
- Buttermilk - It cannot be substituted with other types of milk. Buttermilk adds the perfect amount of acidity paired with the leavening agents in this recipe.
- Leavening agents - You'll need baking soda and baking powder for this recipe. One cannot be substituted with the other - you'll need both to get the perfect rise in your biscuits.
- Salt - Enhances the flavor of your biscuits.
Dough tips and tricks

Cold butter - Make sure your butter is very cold, straight from the refrigerator or freezer. Cold butter is important because you want it to stay solid throughout the dough, instead of melting and incorporating into the flour. Those cold butter pockets produce steam while baking, which creates those flaky layers in the oven.
Grating butter - I recommend grating your butter on the large side of a box grater. The butter shreds incorporate easily into your flour mixture with very little effort.
Handle dough as little as possible - After the buttermilk has been mixed into your dough, it will look shaggy. This is normal. The goal is to handle the dough as little as possible. Warm hands melt the butter in the dough, which we don't want (see above). Plus overworking the gluten in the dough makes your biscuits turn out tough.
Folding the dough - Once your dough is mostly mixed, but shaggy and sticky, turn it out onto a floured surface. Gently form your dough into a rectangle and pat it down with your hands. Fold the rectangle in half, then turn it and gently pat it down into a wide rectangle again. You'll do this five times total before cutting out your biscuits. If you're a visual person, here's a great YouTube video showing how exactly to fold biscuit dough: Biscuits and Shortcakes: Folding and Turning
Cutting your biscuits - Do not twist your biscuit cutter. Twisting the cutter while stamping out your biscuits seals the edges, which means they'll rise less while cooking. Use a straight up and down motion while cutting.
Cooking tips and tricks
Cook over medium-low to low heat - Biscuits need a solid 6 minutes on each side to cook through on the stovetop. That means you'll need to use low or medium-low heat. A higher heat will cause them to burn on the outside before they're done on the inside.
Be patient - Cooking your biscuits on the stovetop can't be rushed. Don't turn the heat up - they won't cook faster. This will only cause them to burn on the outside before they're cooked through in the middle.
Biscuits burning? - Turn the heat down. The heat needs to be low enough to cook them through in the center before the outsides burn.
Frequently asked questions
Biscuits can be served plain, with butter, or with a sweet or savory topping like gravy or jam. Here are a few of my favorite toppings:
- Gravy
- Compound butter
- Peach jam
- Strawberry jam
Serve biscuits for breakfast, lunch or dinner - they go with just about anything! A few main dish ideas:
Baked chicken drumsticks
Garlic & herb slow cooker pork roast
Marmalade glazed ham
Bacon and eggs (make a breakfast sandwich)
Slow cooker chicken broccoli cheese soup
Creamy turkey noodle soup
Stovetop biscuits need to be cooked low and slow for best results. If the heat is too high, the biscuits will burn on the outside before they're cooked through in the middle. Turn your heat down to low if your biscuits are burning.
Once completely cooled, transfer cooked biscuits to a tightly sealed container. Biscuits will keep for up to 2 days at room temperature or up to a week in the refrigerator.
Yes, biscuits can be frozen in a tightly sealed, freezer-safe container for up to 3 months. To thaw frozen biscuits, transfer to the countertop and allow to thaw for 1-2 hours.
Yes, this recipe also works in the oven. Preheat your oven to 425 degrees Fahrenheit and bake for about 16-20 minutes, or until golden brown across the tops. Check out my full post for detailed instructions: cast iron buttermilk biscuits
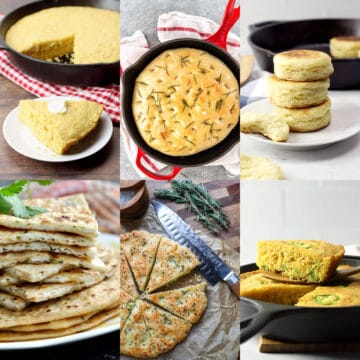
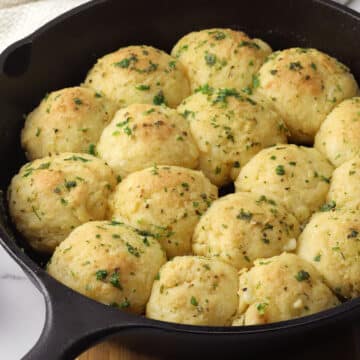
Recommended

📖 Recipe
Buttery Stovetop Biscuits
Ingredients
- 2 cups (240 g) all purpose flour
- 1 tablespoon baking powder
- ¼ teaspoon baking soda
- 1 teaspoon salt
- 5 tablespoons (70 g) unsalted butter, cold, plus extra for greasing the pan
- 1 cup (227 g) buttermilk
Instructions
- In a bowl, add flour, baking powder, baking soda, and salt. Whisk to combine and remove clumps. (You can also add to a food processor and pulse a few times).
- Grate cold butter using the large side of a box grater and add to flour mixture, tossing to combine. You can also use a pastry cutter to cut cubed butter into flour mixture or add flour mixture to food processor and pulse until butter is pea sized. If using a food processor, pour mixture into a large bowl at this time.
- Make a well in the center of your flour mixture and add buttermilk. Gently stir until ingredients are mostly incorporated. Dough will look shaggy and sticky. Pour dough out onto a lightly floured surface.
- Gently pat dough with lightly floured hands into a large, flat rectangle, about 10-12 inches wide and about ¾ inch thick. Keep extra flour nearby and continually flour the surface, dough, and your hands as needed. Fold dough rectangle in half, turn to the right to make your new rectangle horizontal, and gently pat back into a large rectangle. Repeat 4 times, folding your dough 5 times in total. Pat dough into a large rectangle, about ¾ inch thick.
- Using a 2.5 to 3 inch biscuit cutter, cut biscuits out of dough (do not twist your cutter, this will seal the edges). Reform leftover dough gently and continue cutting until all dough is used - you should get about 10 biscuits.
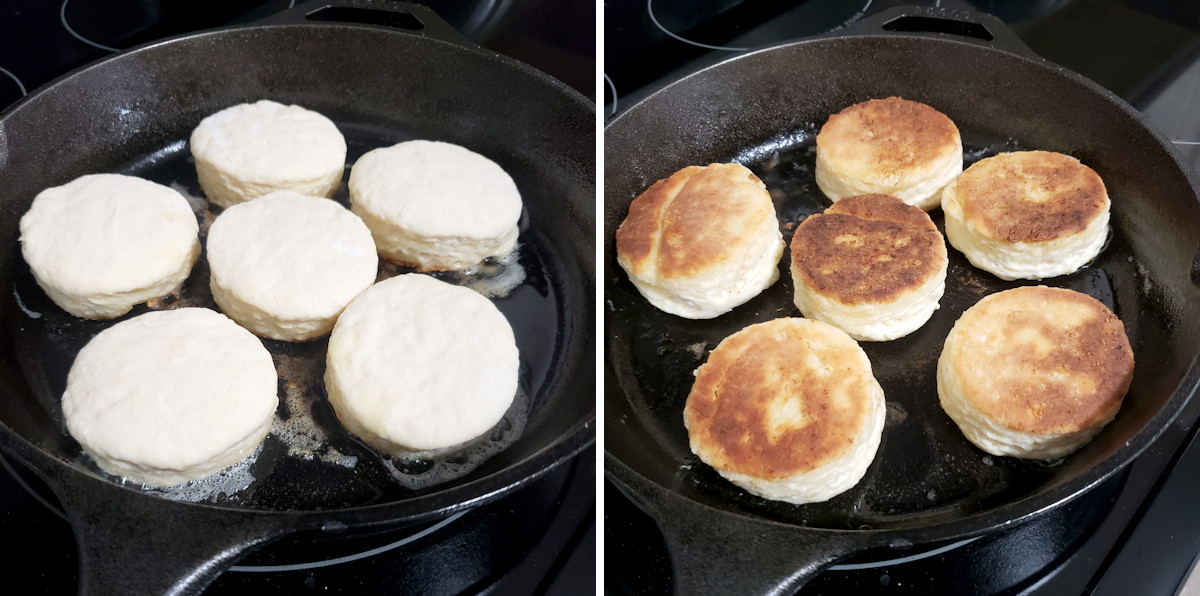
- In a skillet (I used a 10 inch cast iron skillet), melt a tablespoon of butter over medium-low to low heat. Add biscuits to pan (you'll likely need to cook in two batches) about 1 inch apart, and cook for about 6 minutes on each side. If biscuits appear to be browning too quickly, turn the heat down. Low heat ensures your biscuits cook through in the center without burning on the outside. Add another tablespoon of butter before adding each additional batch of biscuits to the pan.
Equipment Recommendations
Notes
- Do not be tempted to turn the heat up - this will not cook your biscuits faster. Low heat ensures the outside of your biscuits don't burn before the center cooks through.
- Homemade biscuits keep for 1-2 days at room temperature in a sealed container, up to 1 week in the refrigerator, or 2-3 months in the freezer. If freezing, seal tightly with foil or plastic wrap and store in a freezer safe container.
- Oven baking: Preheat oven to 425 degrees Fahrenheit. Line a baking sheet with parchment paper, or grease a cast iron pan. Place biscuits close together (or touching if possible) for a better rise in the oven. Bake for 16-20 minutes, or until tops are golden brown.
Can this recipe be used for baking them in the oven?
Yes, this recipe also works in the oven. Preheat your oven to 425 degrees Fahrenheit and bake for about 16-20 minutes, or until golden brown across the tops.
So delicious
I read you cannot replace the buttermilk with any other milk. I’m out of money but have milk and vinegar to make a buttermilk substitute but wondering if this will work here before I try to do it and ruin them?
Yes, a buttermilk substitute will work in this recipe.
I cannot believe how wonderfully perfect these turned out. My guests don't believe they were cooked on the stove. I actually had to show them your website in which I got the recipe from. They came out so fluffy and buttery. I can't thank you enough for this. My oven has been out of order for about a year, and I really wanted to make buttermilk biscuits with my meal. Thank you so very much for this.....
Hey Heather, I think I am one year late on this recipe, but can I cover the pan as the biscuits are on the stove
Hi Kira, yes you could cover the pan if needed.
These are amazing. The key is keeping the pan temp in check and timing to 6 mins.
Loved how easy these are and they were very good. Next time I would use lard or bacon grease in the pan as I don’t personally care for the horned butter taste.
Hello Heather, would it be possible for me to use store-bought biscuits and prepare them using this method?
I haven't tried it myself, but it should work just fine. Very thick biscuits may have trouble cooking through on the stovetop. If you give it a try, let us know how it goes!
Love the recipe.
¿How many grams of butter?
Hi Paul, 5 tablespoons is about 70 grams. I've updated the recipe card to reflect this. Thanks!
Overall this is a great recipe. This was my first time ever making biscuits and this recipe made it so easy which I loved. The ingredients are simple which is great.
Anyway.. I woke up this morning craving biscuits so I googled stove top biscuit recipe. This one came up and sounded great!
Overall the biscuits turned out amazing! I would say cut the salt in half, mine came out a little too salty.
I just made these for the first time today and wow, so very good! I’m a mile high (not Denver) so gave them an extra minute. While they aren’t the fluffy, 3 inch high Thanksgiving biscuits, it doesn’t matter because they are flaky and delicious. Next up, using them for strawberry shortcakes 😊 Confession: I have a Vitamix and the new, extra wide container that I’ve seen videos about making bread in them. I also have a FP but decided to try the VM.
I followed the recipe exactly, pulsed the dry, pulsed the butter a few times, poured the buttermilk in (yes, I did that, lol), pulsed about 4 times & turned it upside down onto parchment. Dusted with flour and folded it as instructed. What an easy handling dough!!! Into my great grandmother’s cast iron skillet and voila 🥰. My father used to talk about my English mother making biscuits/scones in the skillet every morning. Just patting the dough and they were done in minutes. I like to think that this recipe is similar to hers. Thanks for sharing! ❤️
Thank you for the glowing review, Danni - I'm glad you enjoyed the biscuits!
These are great. Even under less than ideal conditions using powdered milk with a splash of vinegar (didn't have buttermilk) & a shallow non-stick skillet. Just goes to show anything with a stick of butter and a trusty gas stove can produce yummy results!
I used a TB vinegar in plant milk instead of buttermilk. Taste is good but not a tang like buttermilk. I would just add on my skillet the temp was about 325F. I started with a too low temp and it took forever. Also make sure the first side is done, like a nice golden/brown, before you turn the biscuit. You don't want to have to turn twice and risk losing the rise. But good biscuits and good toasted.
Can you use whole milk instead of buttermilk?
I do not recommend substituting buttermilk with whole milk. Buttermilk adds the perfect amount of acidity paired with the leavening agents in this recipe. If you don't have buttermilk on hand, add a tablespoon of vinegar to a liquid measuring cup, then fill to the top with whole milk and allow to set for 5 minutes. This creates a decent buttermilk substitute.
My husband and me had yesterday, turned out doughy. He loved it though, I however want mine done throughout.
Hi Nikol, glad to hear you enjoyed the biscuits. It sounds like they weren't cooked all the way through. I'd suggest lowering your heat slightly and cooking an additional minute or so on each side. Low and slow is key for cooking these on the stovetop. Hope the next batch turns out for you!
The best! You were the only one found that cooked the biscuit " ON THE STOVE, IN SKILLET..." 😅 like I was searching for!🤔 SO, THANK YOU! I used ' selfrising flour and heavy cream....turned out "JUST LOVERLY "😇💯❤️🔥
These turned out absolutely PERFECT!! Soft and not dry. Really Good!!
Can you halve the recipe?
Yes!
I tried this recipe because it was too hot to turn on the oven. It's our new favorite. Just a wonderful buttery flavor.I used 2/3 cup whole wheat flour 4/3 white flour.
Glad you enjoyed the recipe Leslie!