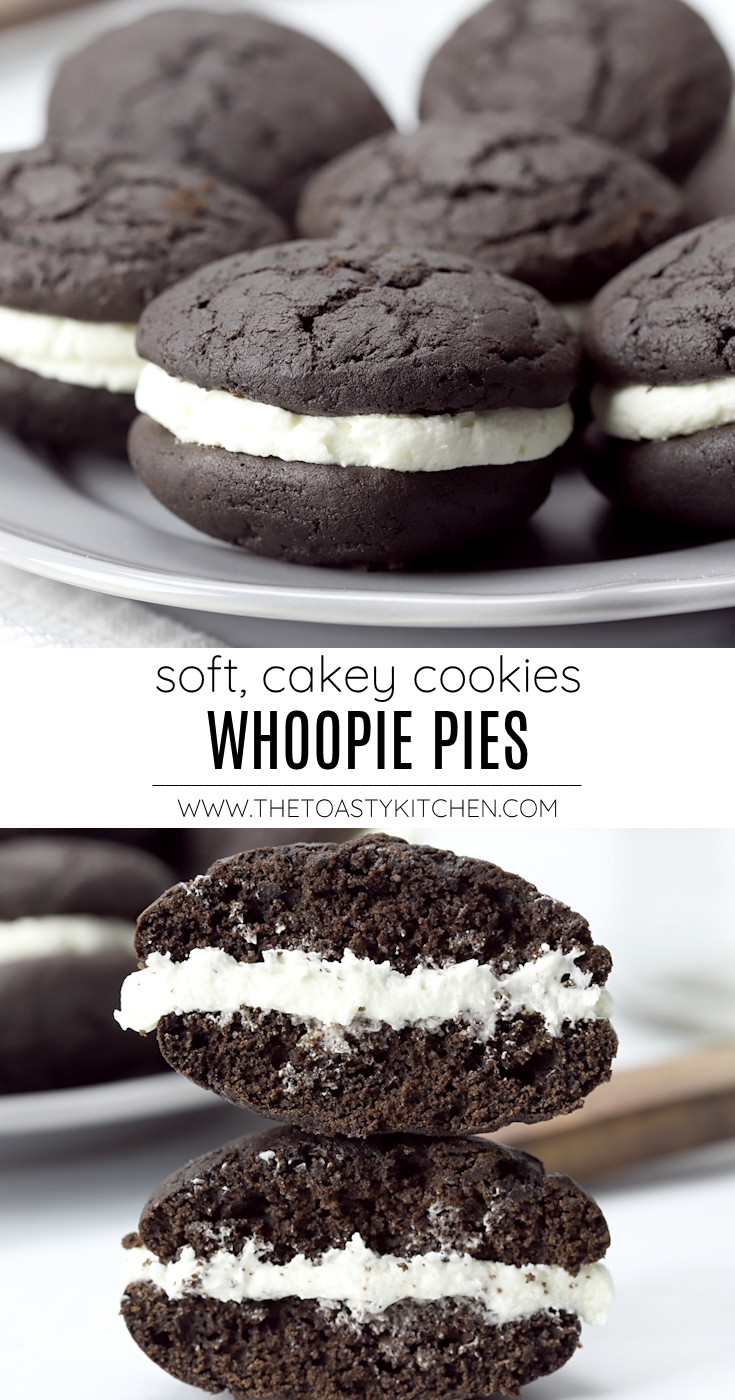
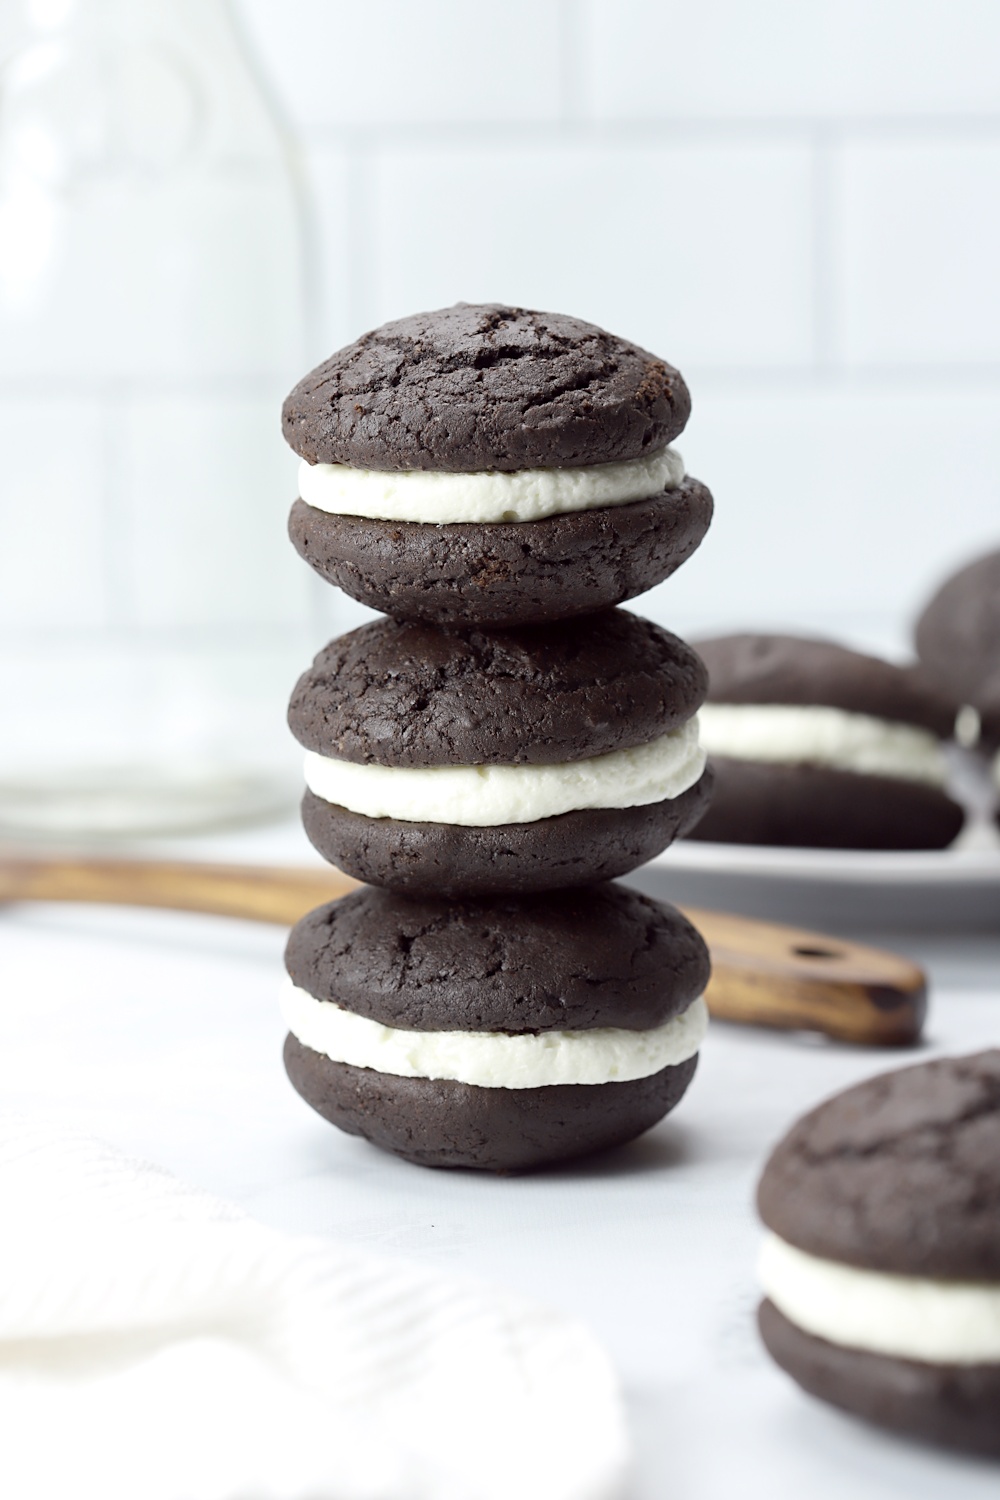
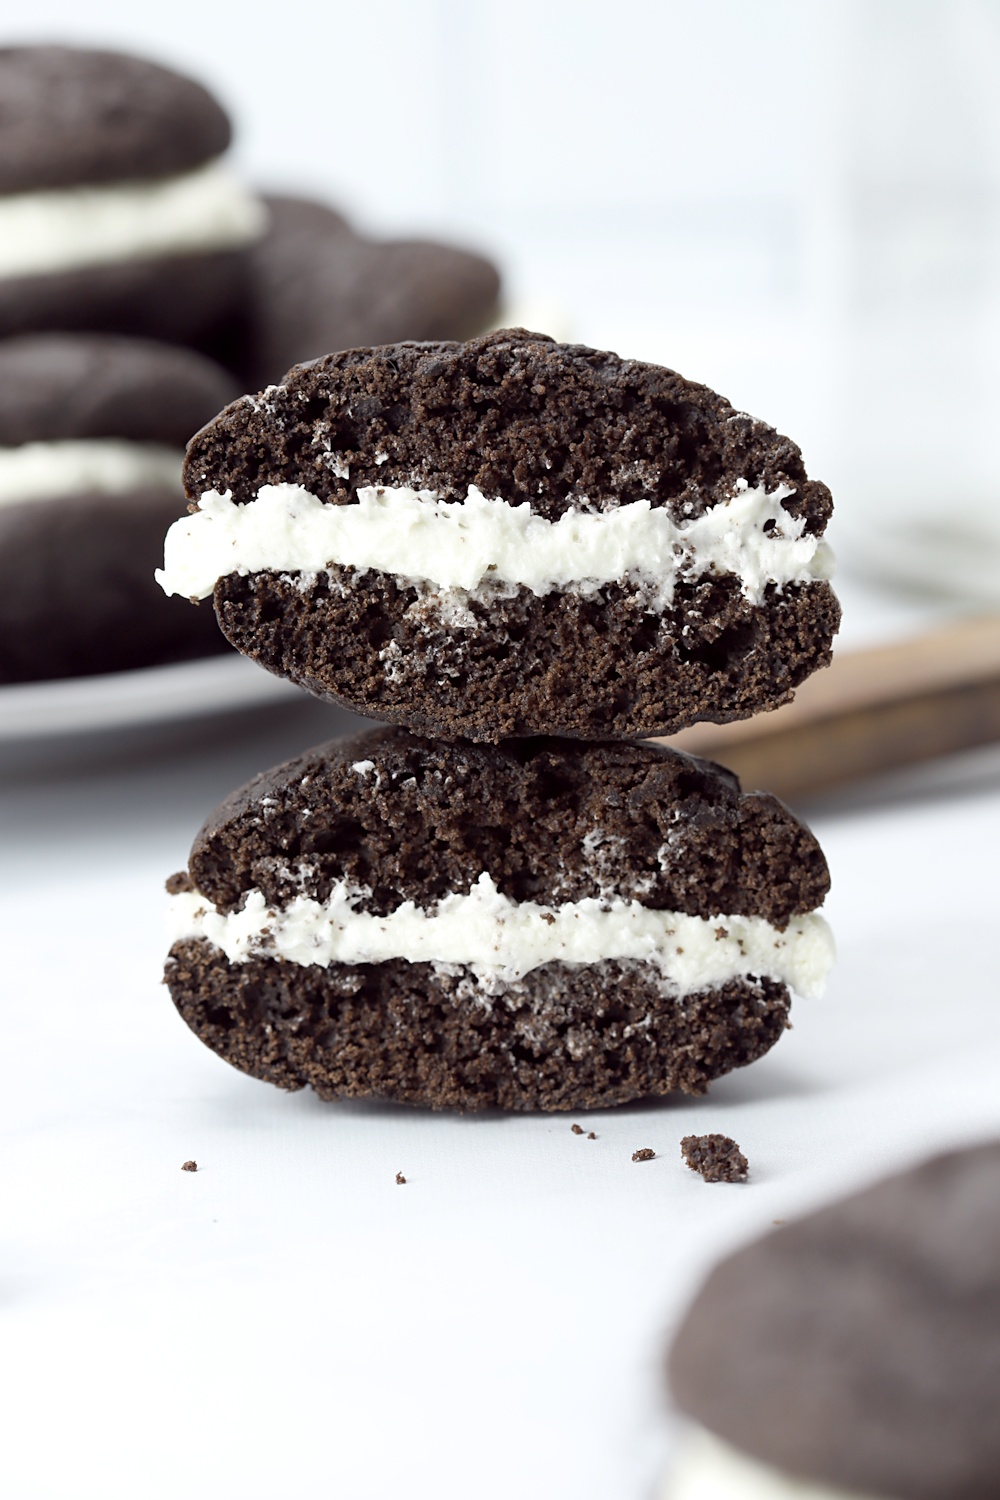
Whoopie pies are soft chocolate cake cookies sandwiched together with a sweet whipped buttercream frosting. They're a rich, decadent, and nostalgic treat that all ages will enjoy!
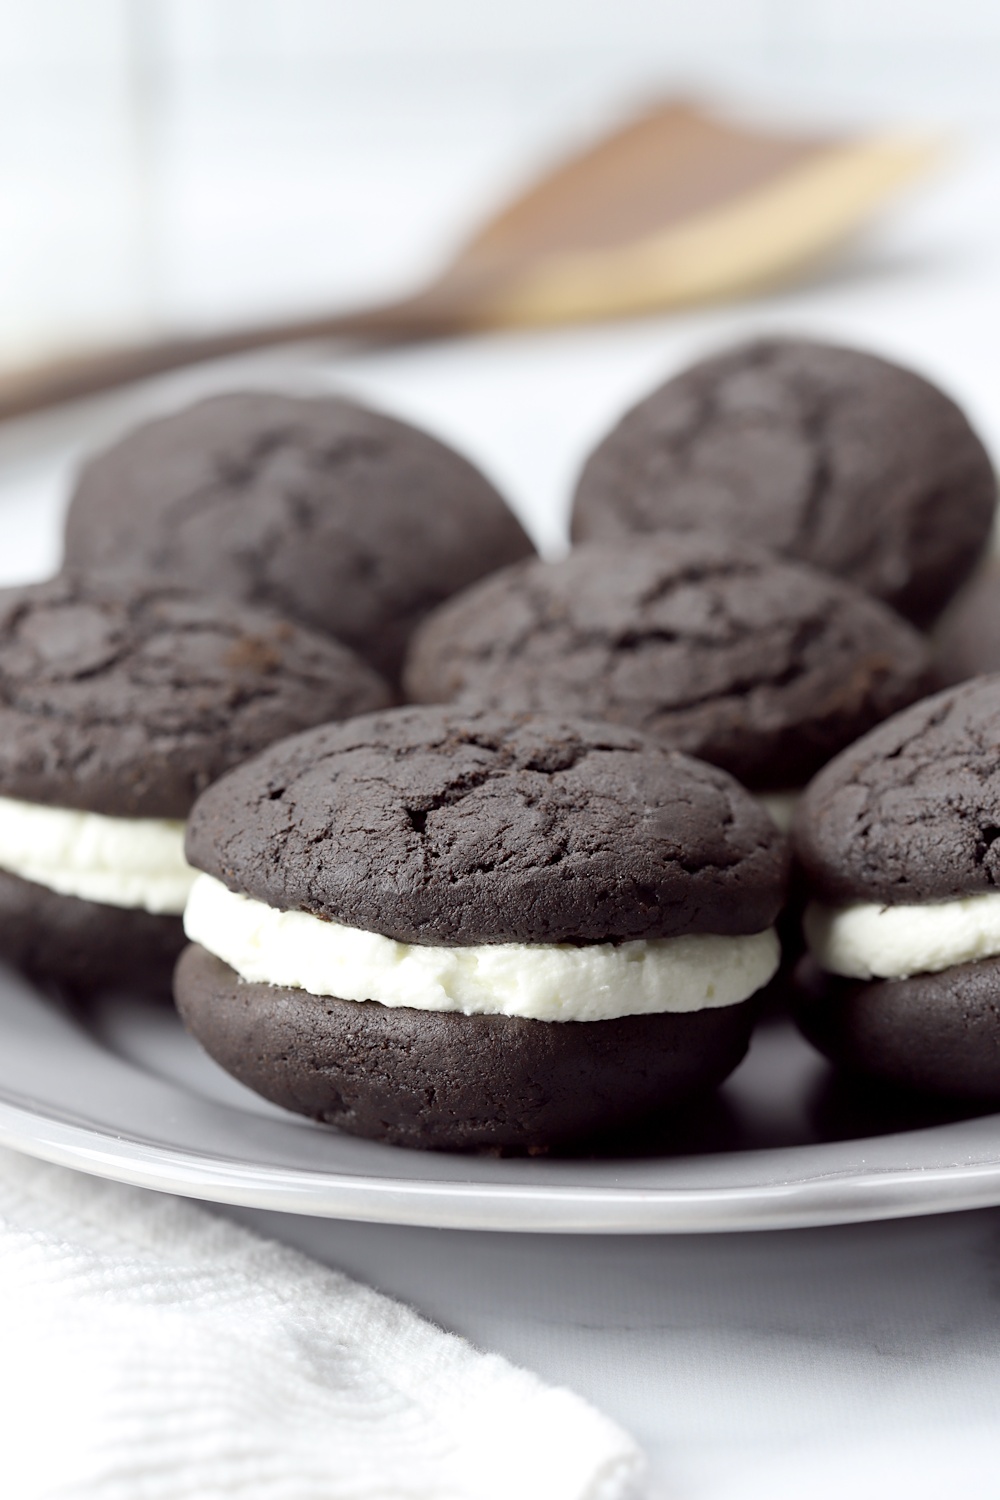
Have you heard of whoopie pies before? How about gobs or "big fat oreos"? No matter what you call them, these cookies are a delicious cross between chocolate cake and sandwich cookie.
Whoopie pies are an American cookie, popular in northeastern states like Maine and Pennsylvania. The name "gob" is native to Pittsburgh, PA and surrounding areas.
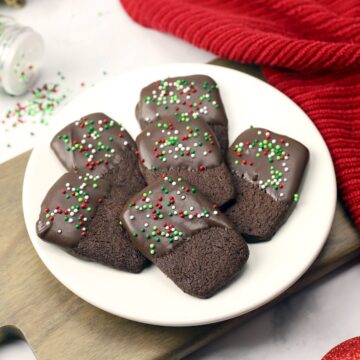
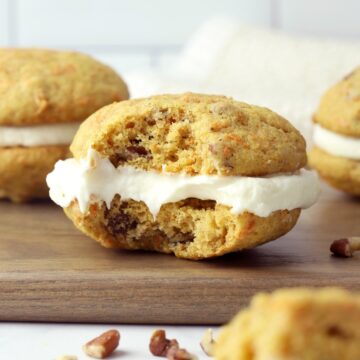
Make these cookies for just about any occasion that calls for cookies. Roll the edges in colorful sprinkles to match the holiday, like orange sprinkles for Halloween or red for Valentine's Day! For Easter, try our carrot cake whoopie pies.
Ingredients and substitutions
Baking is an exact science, so I do not recommend substituting any ingredients. Each ingredient serves its purpose, and swapping ingredients out can change the texture and flavor of the cookies.
- Butter - Unsalted butter and the listed salt can be substituted with salted butter if needed. Make sure your butter is at room temperature, not cold or melted. Room temperature butter is creamed with sugar, which helps add lift to your cookies as they bake in the oven.
- Brown sugar - Adds sweetness, moisture, softness, caramelized flavor, and slight acidity to the whoopie pies. I don't recommend substituting with granulated sugar, as it would change the texture and acidity of your cookies.
- Egg - You'll need one large egg at room temperature. To bring your egg to room temperature quickly, fill a bowl or glass with warm tap water, add your egg, and wait about ten minutes before incorporating into the dough.
- All-purpose flour - Adds structure to your cookies and balances the wet ingredients in the recipe. I haven't tested this recipe with other types of flours, so I can't say for sure how your cookies would turn out with substitutions. To avoid wasting ingredients, I highly suggest searching for a recipe that has been developed with the type of flour you'd like to use.
- Cocoa powder - It's important that dutch process cocoa powder is used for this recipe, not natural cocoa powder. Dutch cocoa gives these cookies their rich color and mild flavor. This recipe accounts for the use of dutch process cocoa, which is not acidic like regular cocoa. That's why baking powder is the main leaving agent in this recipe. Read more about Natural VS Dutch-Processed Cocoa Powder.
- Leavening - You'll need both baking powder and baking soda for the proper lift in this recipe. One cannot be substituted with the other.
- Salt - Enhances the flavor of your cookies.
- Vanilla extract - Adds flavor to your cookies.
- Milk - Balances with the dry ingredients in the recipe to achieve the proper dough consistency. I recommend whole milk for best moisture and flavor, but 2% or 1% would work in a pinch. Lower fat milks can cause your cookies to turn out dry, so keep a careful eye on your cookies while baking if you've substituted your milk.
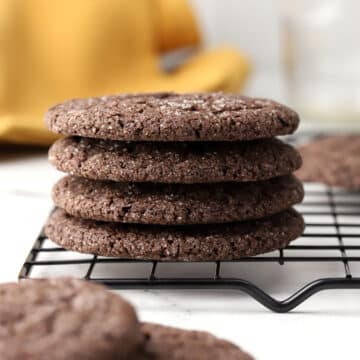
Uniform cookie shape
To make all of your cookies the same size, I recommend using a medium sized cookie scoop.
This is the cookie scoop I use and recommend: OXO Good Grips Medium Cookie Scoop
Whoopie pie dough is a bit sticky. Dropping it by the spoonful onto a baking sheet can result in inconsistent sizes and shapes, making it harder to pair up when assembling your cookies.
Whoopie pie tips and tricks
- Room temperature ingredients create an even, consistent dough. When beaten, the butter and sugar forms an emulsion, which traps air in the dough, baking up into a soft, fluffy cookie.
- Properly measuring flour is an issue I see frequently. If you have issues with your cookies not spreading, turning out extra thick and tall, or tasting bland, you probably measured too much flour into the dough.
- To properly measure flour, I highly recommend using a kitchen scale. I include gram measurements in every baking recipe. If you don't have a scale, use a spoon to add flour to your measuring cup, then level off with a knife. By scooping flour directly from a container with the measuring cup, you’re compacting flour into the cup. This adds up to 25% extra flour to the recipe.
- Using parchment paper helps prevent your cookies from spreading too much while baking. A greased baking pan guarantees your cookies spread more than they should. I suggest parchment paper or a reusable silicone baking mat instead.
- Allow your cookies to cool completely before frosting. Warm cookies will melt buttercream frosting.
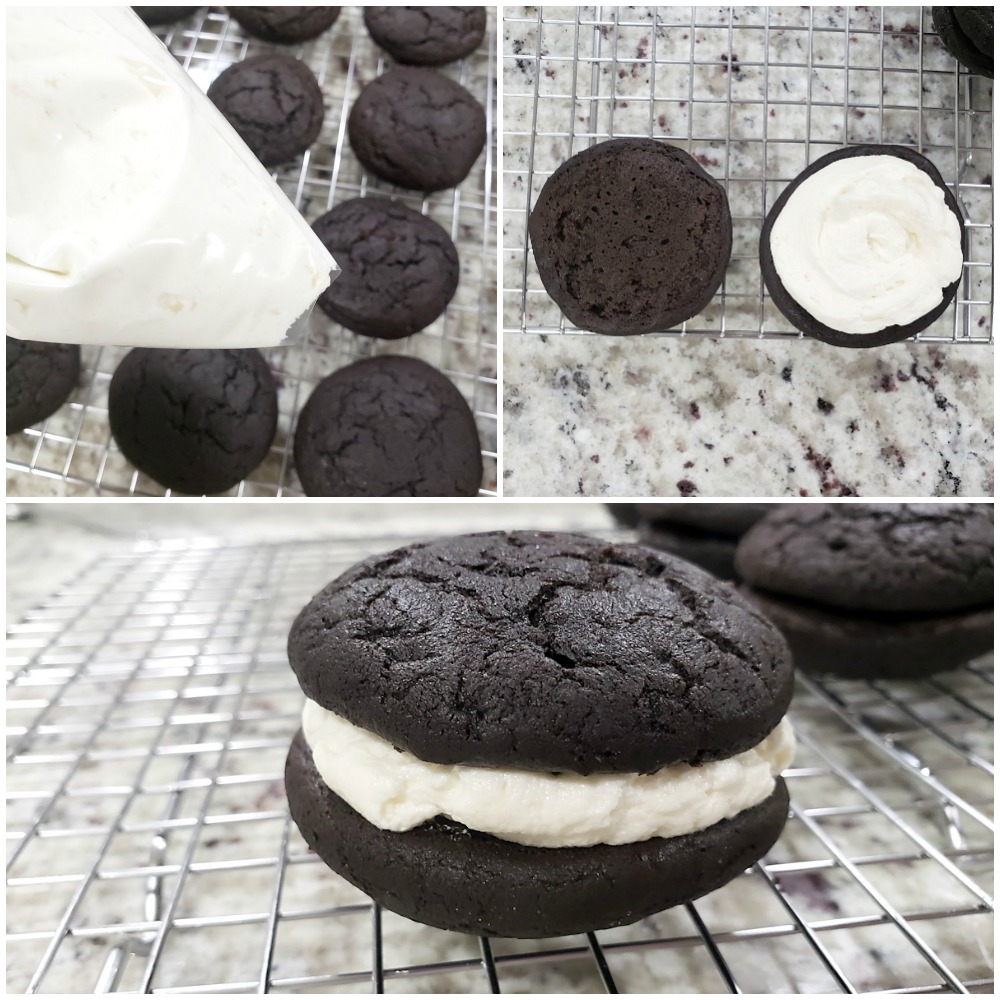
- Use a pastry bag or plastic sandwich bag to quickly pipe frosting onto your cookies. If you don't have a plastic bag to use, frosting can also be spread with a knife.
Cookie spreading
To prevent cookies from spreading too much or turning out flat, I highly recommend using parchment paper or a silicone baking mat in the oven.
Do not use a greased baking sheet for this recipe. Adding grease to a cookie sheet causes cookies to spread more in the oven while baking, turning them into flat blobs.
Are your cookies still spreading too much? Refrigerate the entire baking sheet for ten minutes before baking. Don't have room in the refrigerator? Refrigerate the entire bowl of dough for about 15 to 20 minutes, then portion into cookies and bake.
Storage
Whoopie pies will keep for 4 to 5 days in a tightly sealed container at room temperature. To help keep cookies fresh, place a slice of bread in the container with the cookies. Replace the bread slice as it gets stale.
Freezing
Whoopie pies can be frozen! Store your sandwich cookies divided with wax paper (to prevent sticking together) in a freezer-safe container. Or, lay them out on a sheet pan, allow them to freeze solid for about 1 hour, then stack in a freezer safe container.
Whoopie pies will keep in the freezer for up to three months in optimal conditions. To thaw, place on the countertop at room temperature for 1 to 2 hours.
Recommended
📖 Recipe
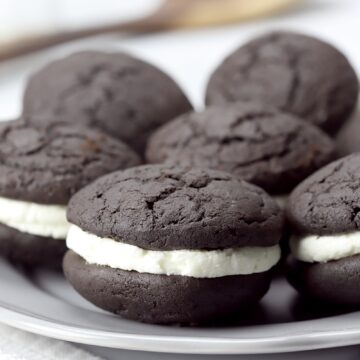
Whoopie Pies
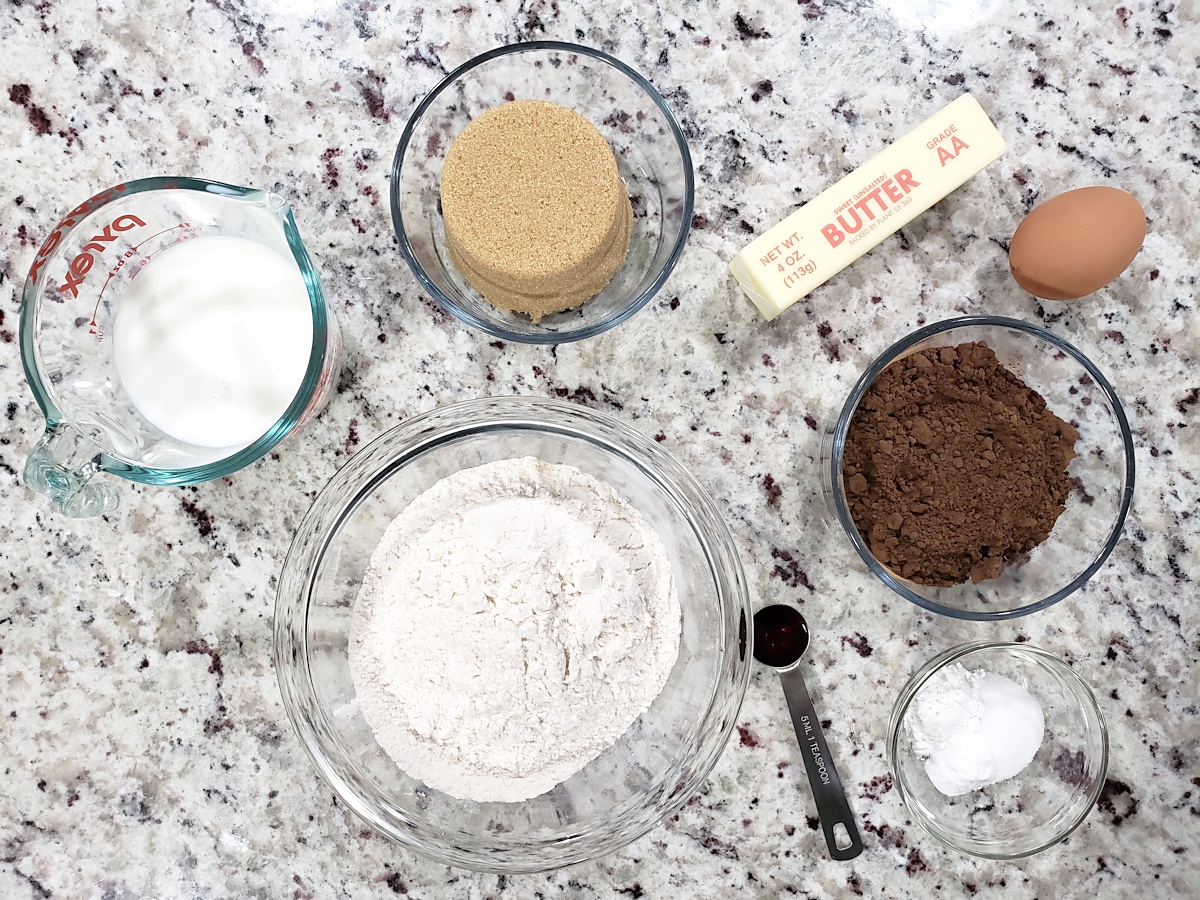
Ingredients
Chocolate cookies
- ½ cup (113 g) unsalted butter, room temperature
- 1 cup (213 g) brown sugar
- 1 large egg, room temperature
- 1 teaspoon vanilla extract
- 2 cups (240 g) all-purpose flour
- ½ cup (42 g) dutch-processed cocoa powder, *
- 1 teaspoon baking powder
- ½ teaspoon baking soda
- ½ teaspoon salt
- ¾ cup (170 g) milk, room temperature
Buttercream frosting
- ½ cup (113 g) unsalted butter, room temperature
- 2 cups (228 g) confectioner's sugar
- 3 tablespoons heavy cream
- 1 teaspoon vanilla extract
Instructions
Chocolate cookies
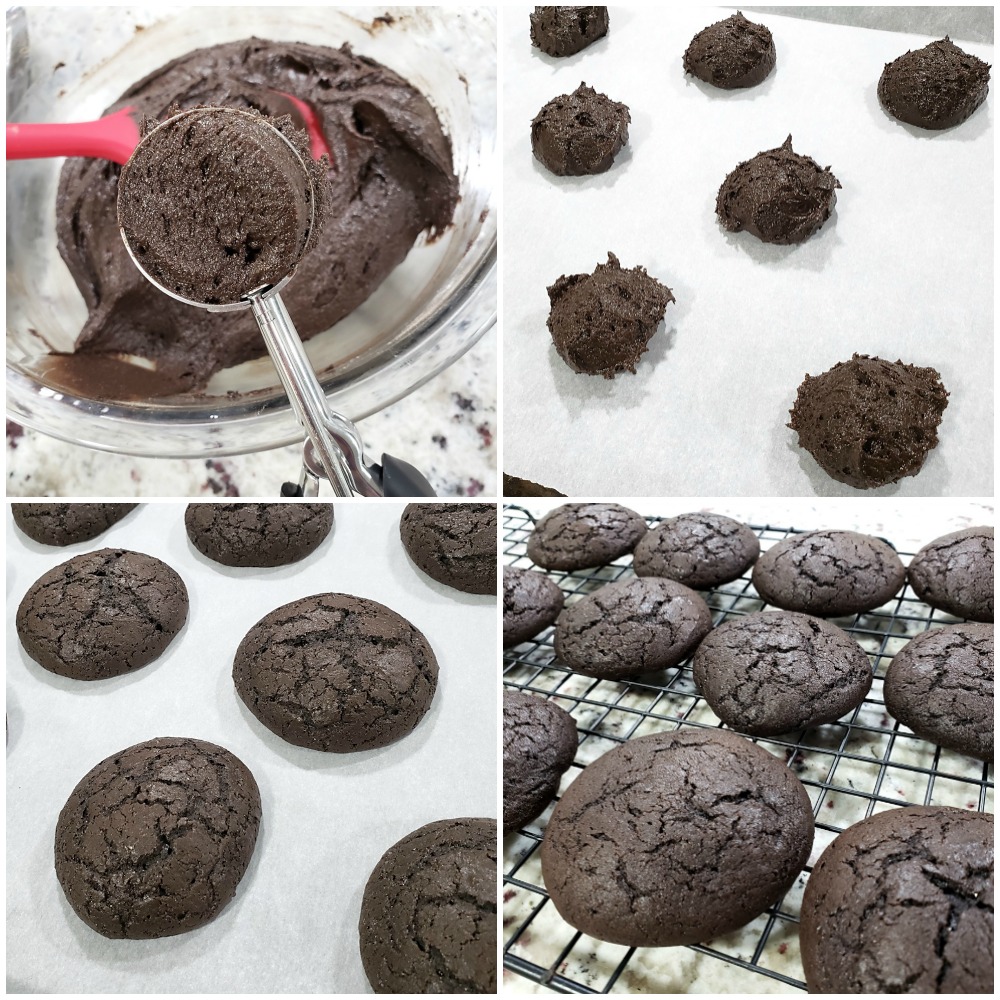
- Preheat oven to 400 degrees Fahrenheit. Line a baking sheet with parchment paper and set aside.
- In a large bowl, add butter and sugar. Using a hand mixer or stand mixer, cream together until light and fluffy, about a minute. Add eggs and vanilla extract. Beat until fluffy, about a minute.
- In a separate bowl, sift together dry ingredients: flour, dutch cocoa powder, baking powder, baking soda, and salt.
- Add half of the dry ingredients to butter mixture and mix on low until just combined. Add half of milk and mix until combined. Repeat once more to add remaining dry ingredients and milk.
- Using a medium cookie scoop, spoon cookie dough 2 inches apart onto prepared baking sheet. Recipe will make 32 individual cookies with a medium scoop.
- Bake about 9-10 minutes, or until cookies are puffy and tops have cracked.
- Allow to cool for 5 minutes before removing to a wire rack to cool completely.
Buttercream frosting
- In a bowl, add room temperature butter and beat until creamy, about 1 minute.
- Add confectioner's sugar gradually and mix on low speed until ingredients are fully combined. Then, whip at high speed for 2-3 minutes, or until light and fluffy.
- Add vanilla extract and heavy cream, then whip for an additional about 2-3 minutes, or until light and fluffy.
- Pipe frosting with a piping bag or spread frosting generously with a knife onto the bottoms of half of the cookies. Top with remaining unfrosted cookies to make sandwiches.
Equipment Recommendations
Notes
- *It's important that dutch process cocoa powder is used for this recipe, rather than natural cocoa powder. Dutch process gives these cookies their rich color and mild flavor. The leavening agents rely on the proper acidity in this recipe to bake and rise properly.
- Cookies will keep for 4-5 days in a sealed container. To help keep cookies fresh, place a slice of bread in the container with the cookies. Replace the bread slice as needed.
- Customize your whoopie pies by adding food coloring to the filling or rolling the edges of the frosting in sprinkles.
- Be sure to check out my 10 tips for baking cookies, based on reader comments and questions!


I enjoyed making these! although the cookie taste just like chocolate cake w/ buttercream icing... which I love btw. haha! I found myself wishing the cookie part tasted more like a cookie. maybe I'll try again and increase the butter in the cookie. thanks for sharing!
Hi Scott, yes these cookies are definitely cakey! From the post above "Whoopie pies are soft chocolate cake cookies sandwiched together with a sweet whipped buttercream frosting." Instead of altering this recipe, I'd recommend using a chewy chocolate cookie recipe, like my dutch cocoa cookies: https://thetoastykitchen.com/dutch-cocoa-cookies/
I tried this recipe 2 times with Dutch processed and organic cocoa and they raised, looked and tasted the same. Is that weird or a problem? They were still good.
Hi Jovie, that is interesting that they looked and raised the same. Natural cocoa powder looks significantly lighter in color (a medium, warm brown) compared to Dutch cocoa, which turns out almost black when baked. They also have different acidity levels, which would react differently in the recipe. It's hard to say how that happened. However, I'm glad to hear that both batches turned out!
Just made these and they're excellent. However, my cookies did not turn out as nicely shaped but will next time. Highly recommend especially if you have a number of kids or guests.
Hi Chris, glad to hear you enjoyed the cookies!