Want to know the secret to a perfect batch of cookies? Today I'm sharing my favorite 10 tips for baking cookies. Whether you're a beginner baker or looking to fine-tune your skills, these tips will help you make your best batch of cookies.
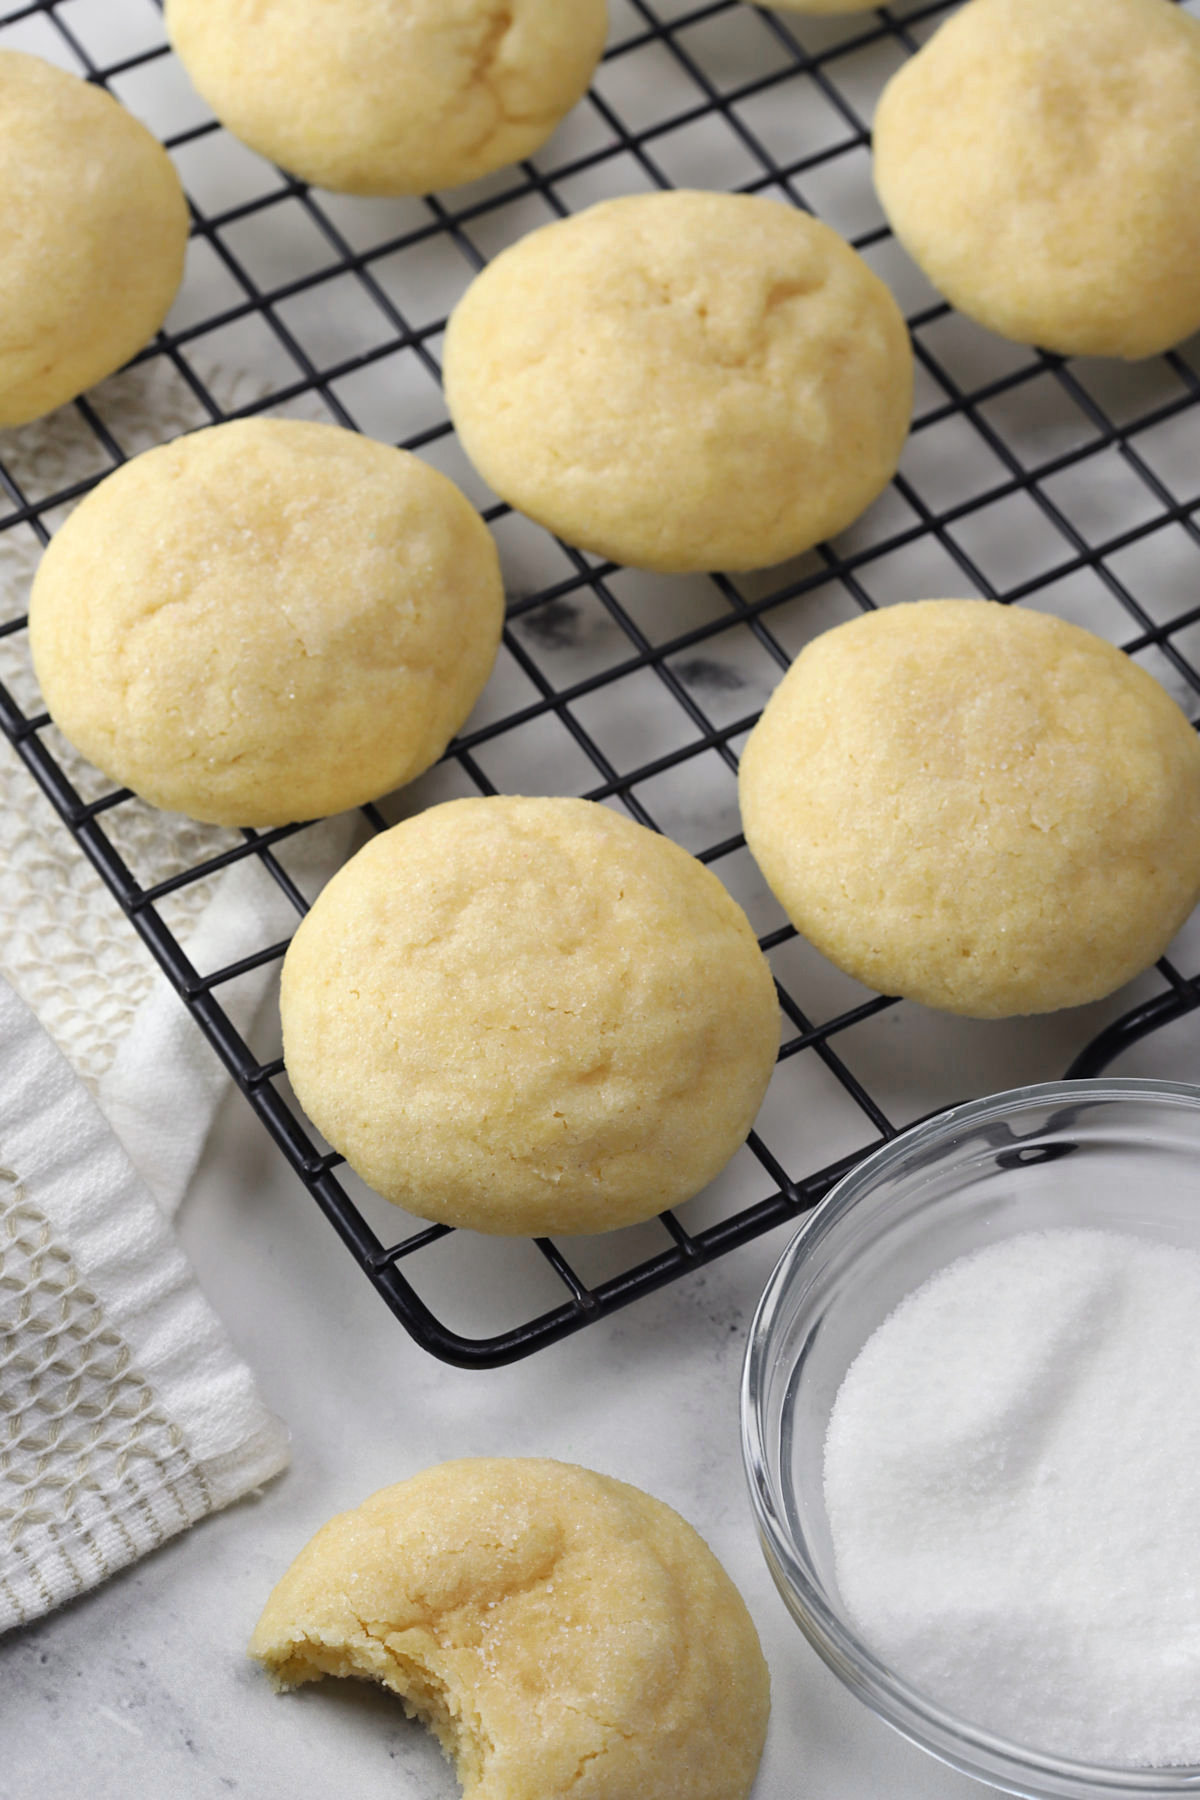
Cookies are one of the most popular treats to make at home. There are endless variations and you don't need any fancy equipment (most of the time) to make them. Plus, it's easy to whip up a batch to share with friends and family.
However, baking is an exact science. One mistake can turn a simple-looking chocolate chip cookie recipe into a spread-too-thin, burnt disaster in the oven.
Since launching my website in 2017, cookie recipes have consistently received the most comments. Questions about substitutions, issues with rise, cookies spreading too much/not enough, crumbly dough - you name it, I've helped troubleshoot it.
Today, I'm sharing the best tips for baking cookies based on reader reviews and questions. No matter whether you're a beginner baker or an experienced home cook, this list is filled with easy tips to help you make your best batch of cookies ever.
1. Measure flour correctly
This is the number one issue I see in baking. By far. How do you know you're adding too much flour to your cookie dough? Here are a few signs:
- Dough is thick and/or crumbly
- Cookies don't spread in the oven
- You skip chilling your dough because it turns out too stiff
- Cookies turn out dry
- Cookies have a strong flour flavor
Flour measuring experiment
I decided to conduct an experiment. I grabbed my kitchen scale, measuring cup, butter knife, and container of flour.
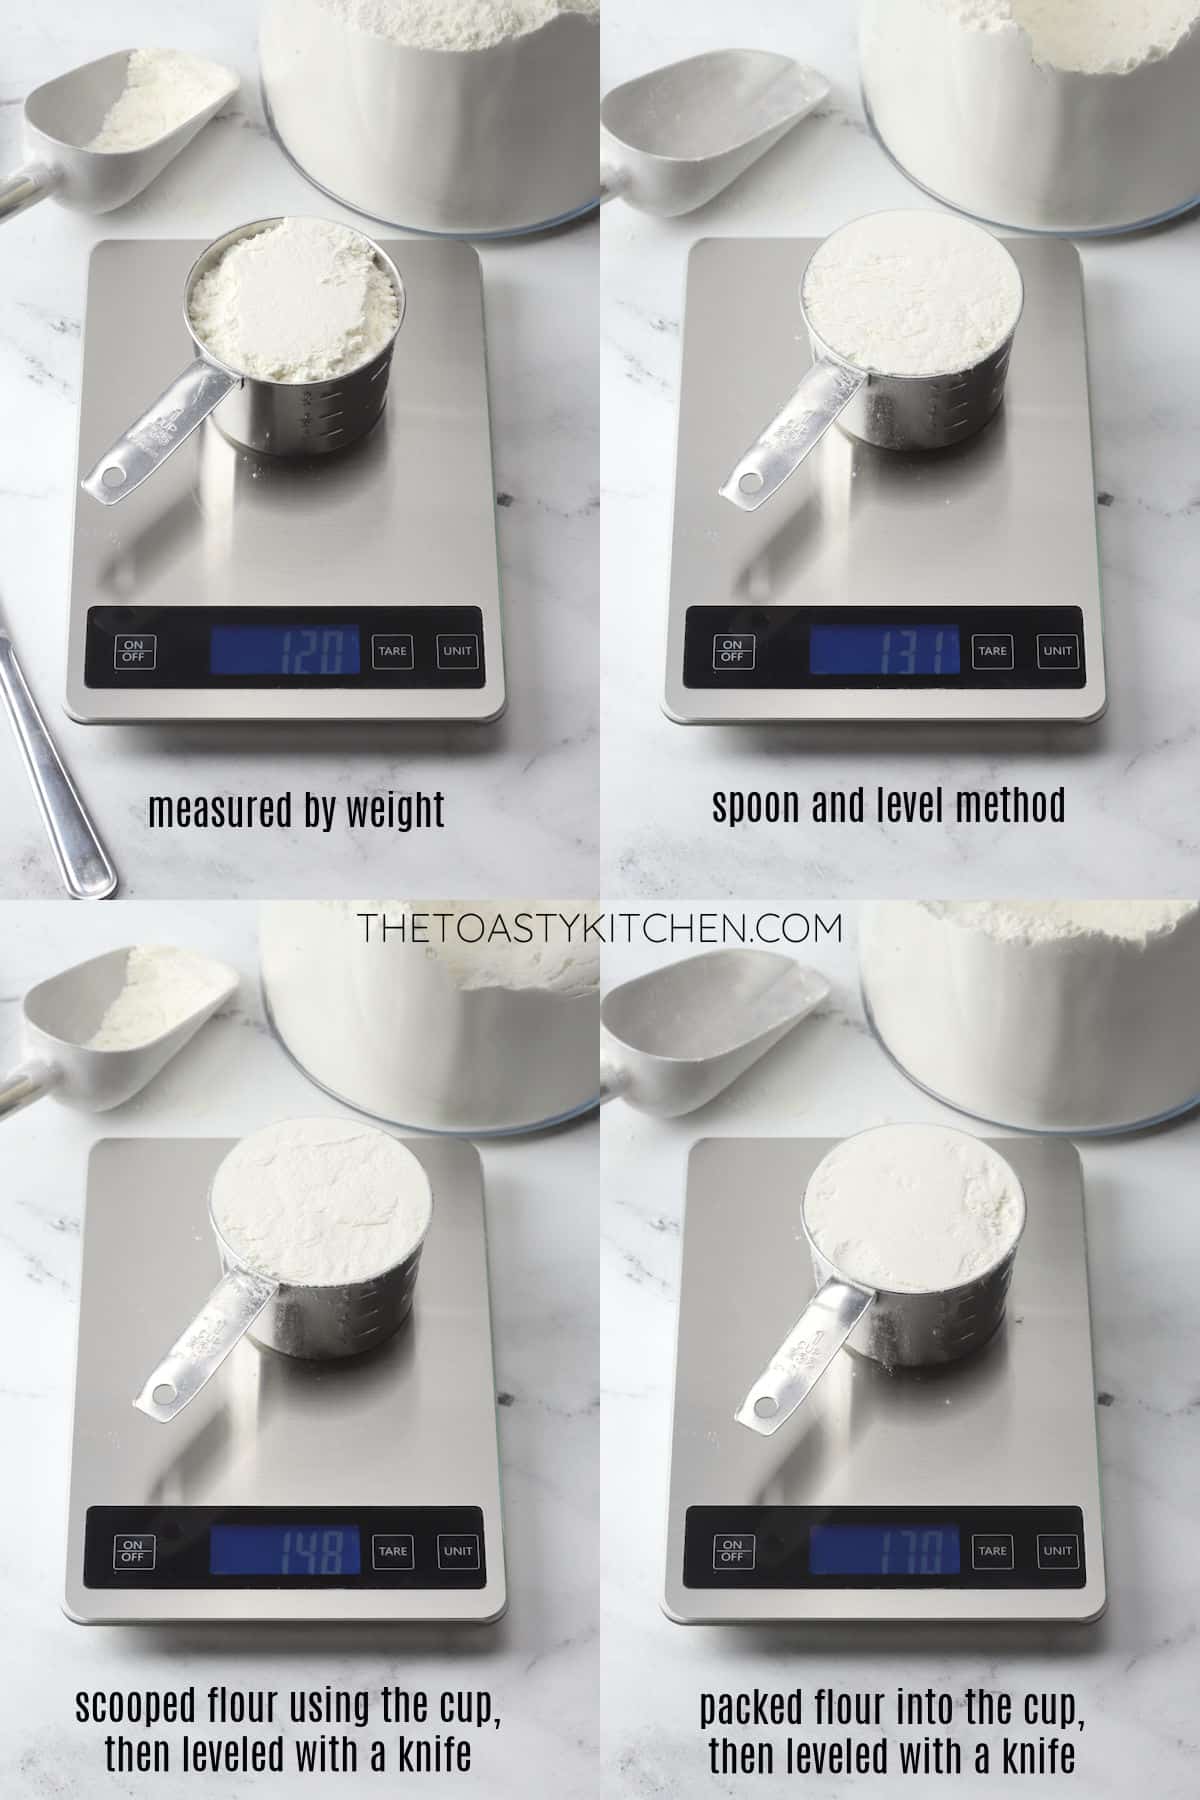
- 120 grams - measured by weight. I filled the measuring cup until the weight on the scale reached 120 grams. It didn't even fill the cup to the top!
- 131 grams - spoon and level method. Next, I used the spoon and level method. I recommend this method when a reader doesn't have a scale.
- 148 grams - scooped with a measuring cup, leveled with a knife. Next, I did what I believe most bakers do (likely mimicking cooks on television), and I scooped the flour straight from my flour container using the measuring cup (without packing it down).
- 170 grams - packed flour into the cup, leveled with a knife. Last, I had a little fun and tried to pack as much flour as I could into the measuring cup, like you would brown sugar. This is the worst way to measure flour - don't try this at home!
As you can see, measuring flour the proper way can make a huge difference in your baking. The difference between properly measured flour (120 grams) and scooping with the measuring cup (148 grams) is an extra 23% flour added to your recipe.
How to properly measure flour
How do you properly measure flour? The most reliable method is by using a kitchen scale (Amazon). Place your bowl on the scale, hit 'tare' to reset the scale to zero, then add flour until you've measured the amount needed.
All of my baking recipes have gram (weight) measurements available in the recipe card.
Don't have a scale? The next best way to measure flour is the spoon and level method. Using a spoon, gently add flour to your measuring cup until full, then level off the excess flour with a knife.
2. Use room temperature ingredients
Recipes may call for ingredients like eggs, butter, or cream cheese to be at room temperature. But what exactly does this mean? In most cases, "room temperature" means about 70 degrees Fahrenheit.
Room temperature ingredients incorporate together to create a smooth, even dough. A consistent dough (without flecks of cold butter or egg throughout) bakes into a perfect batch of cookies, each one exactly the same.
Often, cookie recipes call for 'creaming' butter and sugar together. Room temperature butter creams together with sugar to create an emulsion, which helps your cookies rise when they bake.
To bring ingredients to room temperature, set them on the counter for 30 to 60 minutes beforehand. At room temperature, butter will be soft, but not melted or greasy.
3. Ignore baking times
Okay - ignore may be strong, but hear me out. Think of baking times as "suggestions". They're simply times that worked for the baker at the time that they wrote the recipe.
Oven temperatures can vary greatly, even when set to the same temperature. Your oven may run 15 degrees hotter than my oven. Because of this, baking times will vary from oven to oven.
Not only that, but your cookies might be slightly thicker, wider, or smaller, meaning they need more/less time than the recipe writer's cookies.
When in doubt (and especially when trying a brand new recipe), check your cookies 2 to 3 minutes early.
4. Don't substitute ingredients
Arguably one of the most common questions I get on recipes is whether the reader can substitute x ingredient with y ingredient.
In some situations, yes, this can work! For example, most of the time walnuts can be substituted with pecans, and chocolate chips can be substituted with white chocolate chips.
But when important ingredients are substituted, like flour, eggs, sugar, and leavening, which add structure, moisture, and lift to a cookie, it doesn't always work out. Every ingredient has a purpose in a recipe, and can't simply be halved or omitted without changing the texture/moisture/flavor of your cookies.
Want to make a substitution? First, check the recipe for notes on substitutions (I include an 'ingredients and substitutions' section in every post). If the author doesn't offer substitutions, feel free to ask in the comments section (which is a great place to look for comments from other readers about substitutions).
I suggest doing a Google search for a recipe that includes the ingredients you'd like to use. If you have an idea for a recipe, it probably already exists. There are tons of vegan, gluten-free, and dairy-free recipe writers with entire sites dedicated to these baking specializations.
5. Line your baking sheets
Parchment paper is a staple in my kitchen. Only in rare instances will I use a greased baking sheet (and only when the recipe specifically calls for it). Why?
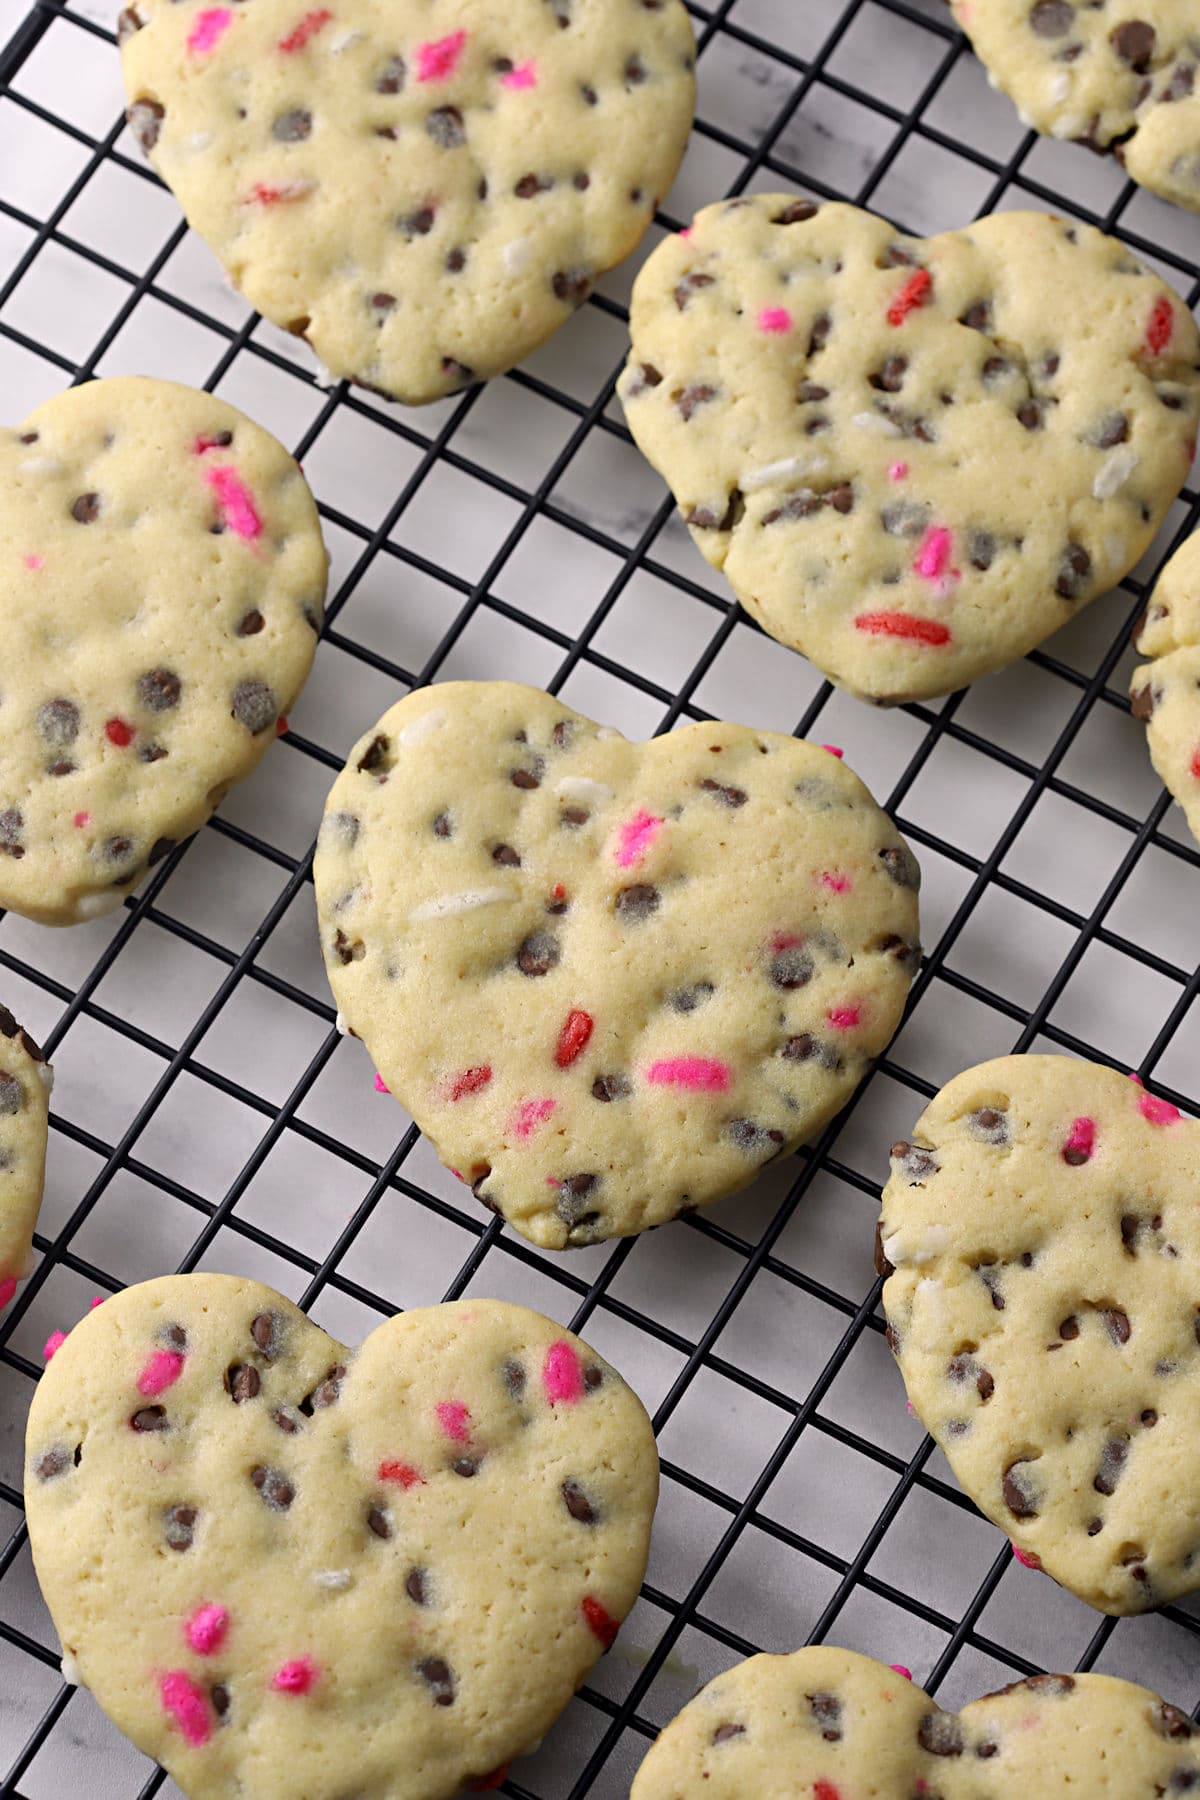
Adding a layer of grease to a baking sheet causes cookies to spread more in the oven, turning them into thin, crispy blobs. Instead, use a sheet of parchment paper or a silicone baking mat. This is especially important for cut-out cookies, which shouldn't spread much at all.
6. Don't overmix your dough
Overmixing dough can cause your cookies to turn out tough and dense. Why? Two reasons.
- Overmixing dough can cause excess air to be added to the dough. This causes your cookies to rise quickly, then sink, while baking.
- After flour has been added, excess mixing can overwork the gluten, which makes your dough tough.
To prevent overmixing, stir the dry ingredients into the dough until you no longer see any streaks of flour. Once it's just incorporated, stop stirring.
Stand mixers and hand mixers can easily cause overmixing. Watch carefully while using the lowest speed on your mixer. You could also use a wooden spoon instead.
7. Don't overfill your oven
Bake one tray of cookies at once, with the rack set in the center of the oven. This way, your cookies all bake evenly and consistently.
Filling the oven with multiple trays can cause uneven baking and reduce the overall temperature of the oven.
8. Chill your dough
If your recipe calls for chilling the dough, do not skip this step.
Chilling cookie dough helps the flavors to meld and develop. Firm dough is also easier to scoop and form into balls. Most importantly, firm, chilled dough spreads less in the oven.
9. Oven temperature
Oven temperature can vary greatly from oven to oven. Ovens do not all run perfectly at the temperature they're set at. Your oven set to 350 degrees Fahrenheit may actually be more like 335 degrees Fahrenheit.
Use an oven thermometer to monitor the actual temperature inside your oven:
- Taylor 2.5 Inch Oven Thermometer (Amazon)
Ovens can also have 'hot spots' where one corner of the oven is hotter than the rest. In this case, I highly recommend rotating your cookie sheets halfway through baking.
Allow your oven to preheat fully before adding your cookies. Baking cookies in a lower temperature oven will cause them to spread more (because the edges take longer to set up) and they're likely to turn out thin and crispy.
10. Store your cookies for optimal freshness
Once your cookies have cooled completely to room temperature, store them in a tightly sealed container.
Add a slice of bread to your cookie container. The cookies absorb the moisture of the bread, staying fresh longer.
My general rule of thumb for cookies (and most baked goods) is - anything that won't be eaten in two days goes in the freezer. After 2 days, homemade cookies start to show signs of drying out. By freezing your cookies right away, they retain that fresh moisture and texture when they're thawed.
More resources
Here are more resources you may find helpful on your baking journey:
- King Arthur Flour - High-Altitude Baking - What to change, how to change it, and why.
- King Arthur Flour - Ingredient Weight Chart - Volume, ounces, and gram measurements for common ingredients.
- Joy of Baking - Baking Pan Sizes - Determine the volume of different pan sizes.
- Thermoworks - Doneness Temperatures for Baked Goods - Perfectly bake your next batch of cookies by checking their internal temperature for doneness.





I love you. You made me successful at baking
Hi Emily, I'm so glad to hear it! 🙂