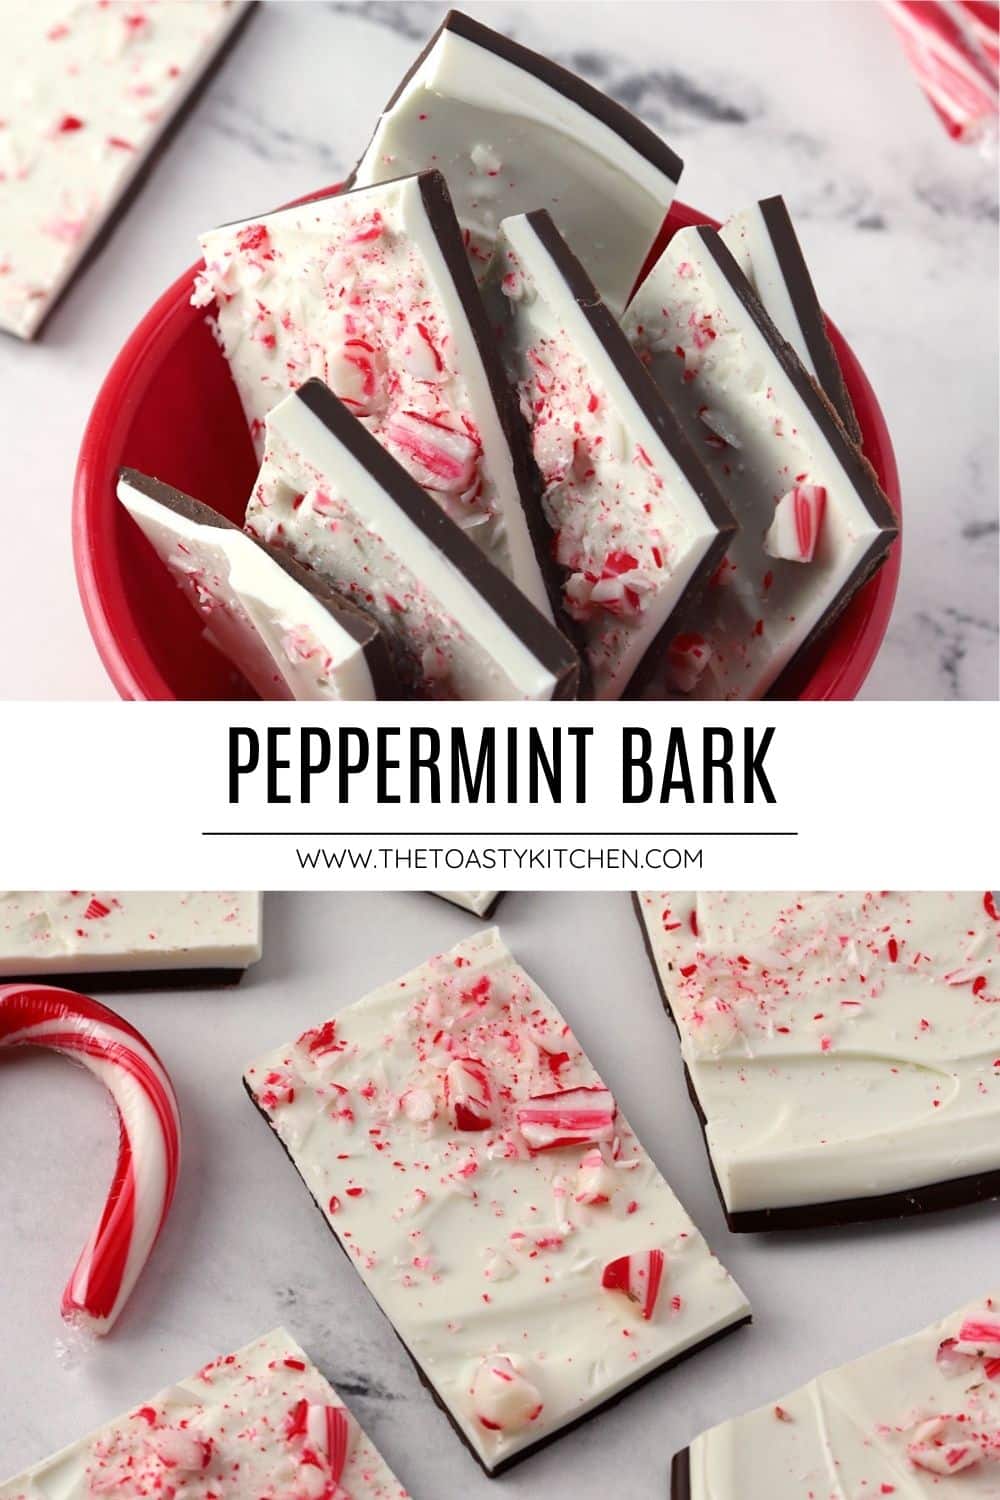

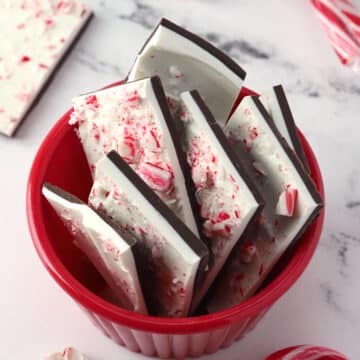
Peppermint bark is an easy, four ingredient recipe to make for the holiday season. Layers of white and dark chocolate are topped with crushed candy canes. Have a batch ready in less than an hour!
Heather's recipe summary
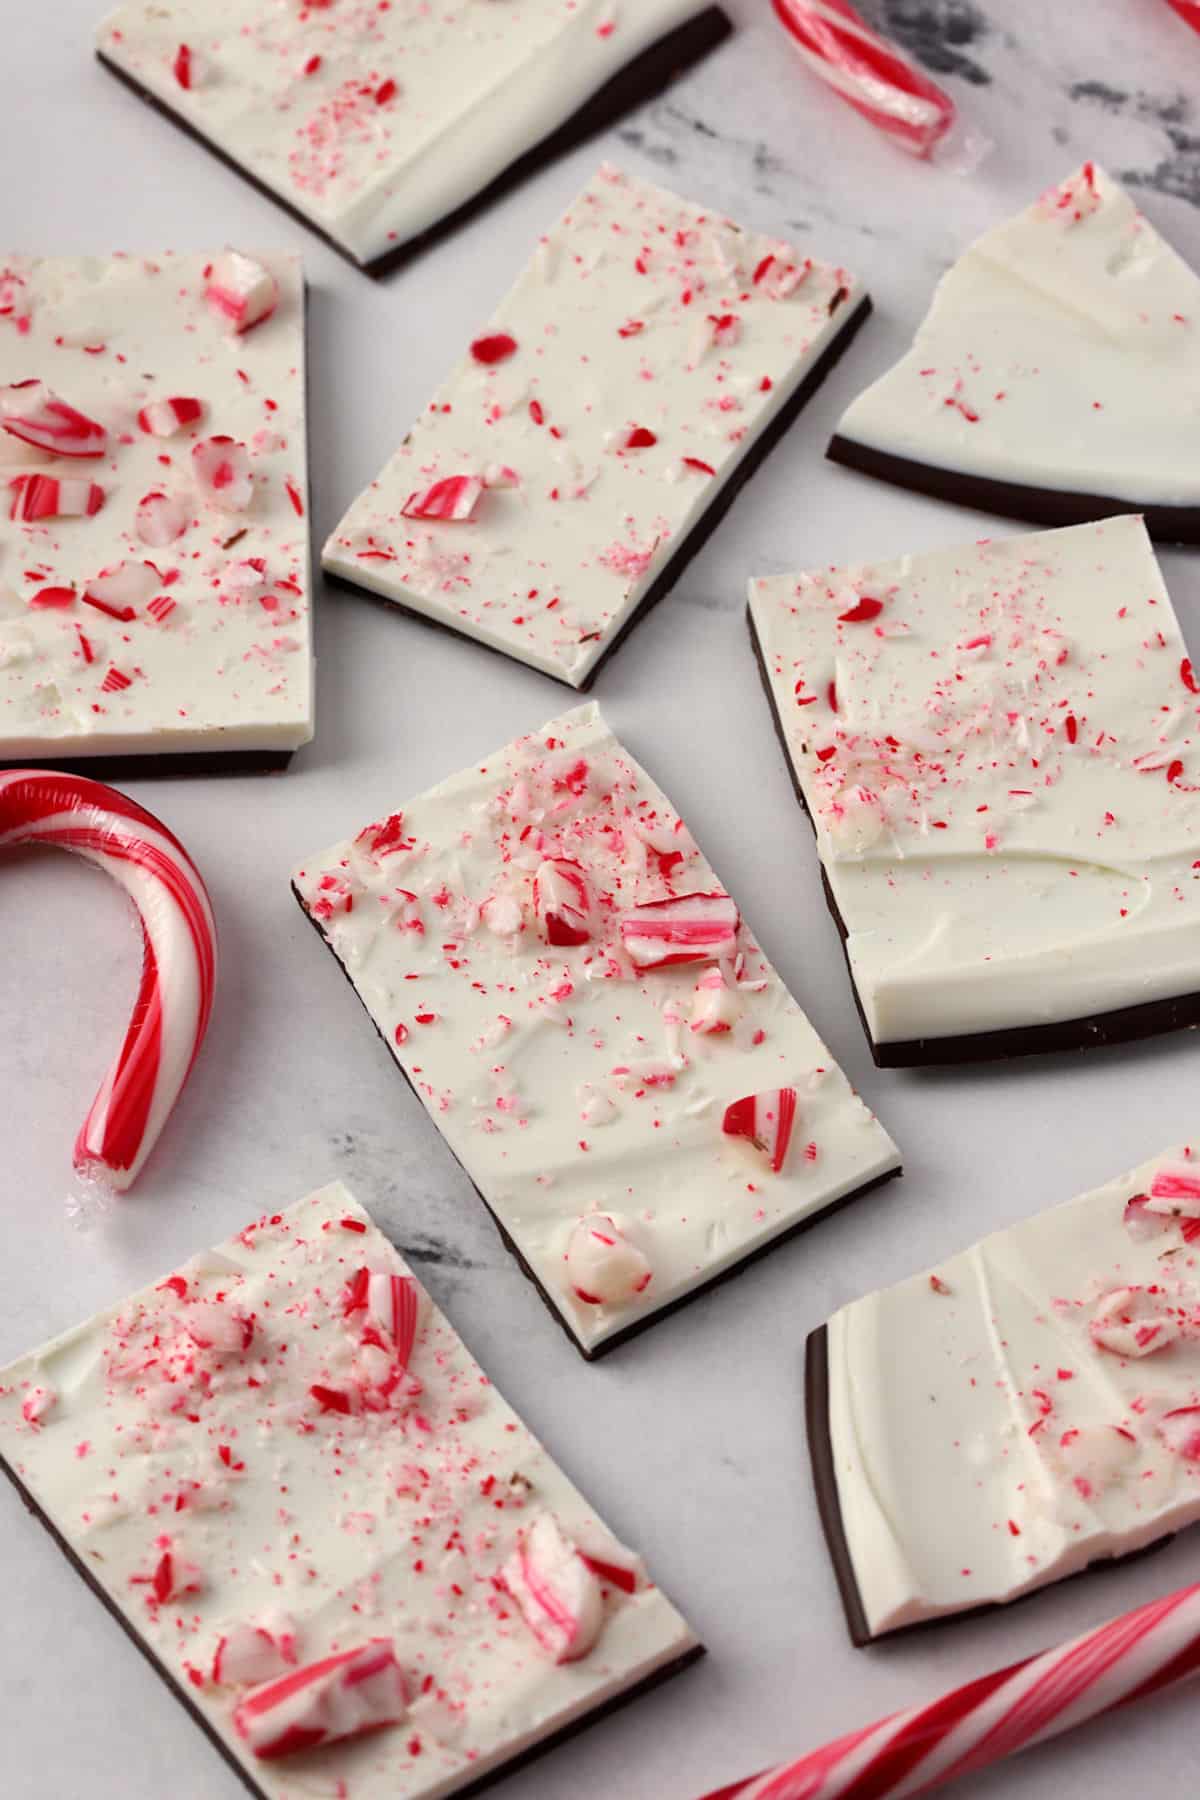
Flavor: Layers of smooth dark chocolate and peppermint white chocolate are topped with crunchy crushed candy canes.
Quick and easy: This no-bake treat can be ready in about 30 minutes.
Yield: About 24 pieces
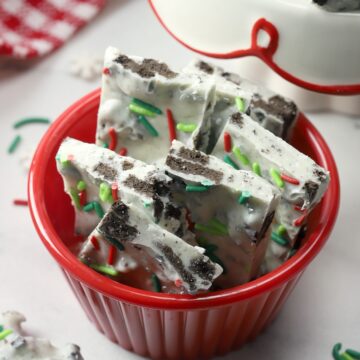
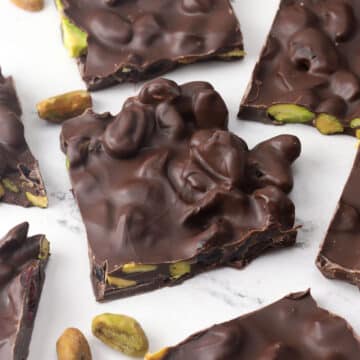
Similar to: Oreo Peppermint Bark and Turtle Bark
Jump to:
Ingredients and substitutions
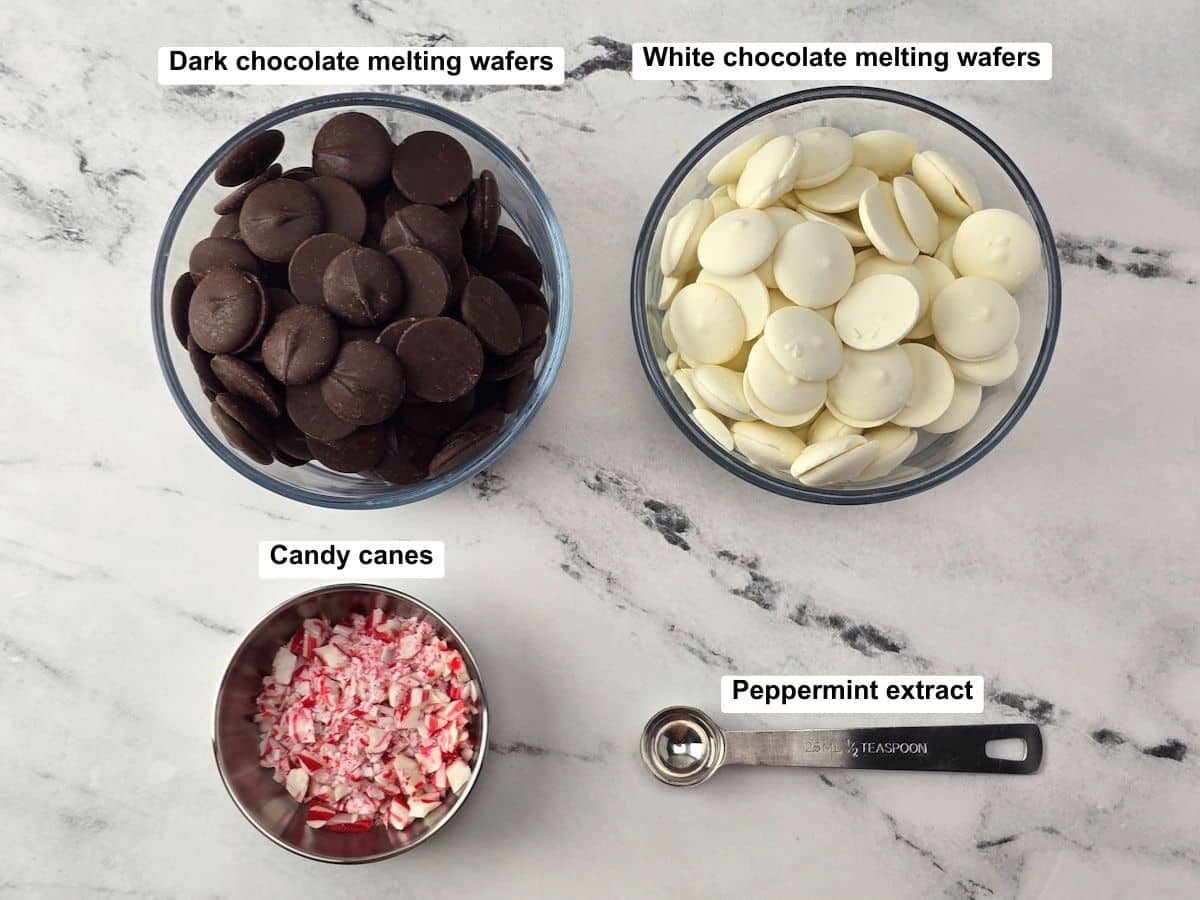
- Melting wafers - Dark chocolate and white chocolate melting wafers serve as the base of the recipe. I prefer melting wafers over chocolate chips because they melt easily, are made for home candy making, and dry with a shiny finish and candy bar 'snap'. You can also add peppermint extract without seizing, which you can't do with regular chocolate or chocolate chips.
- Candy canes - You'll need about three regular candy canes for this recipe. Crushed round peppermint candies can work as a substitute.
- Extract - Peppermint extract or peppermint oil adds extra peppermint flavor to the white chocolate layer, but can be omitted if desired.
How to make peppermint bark
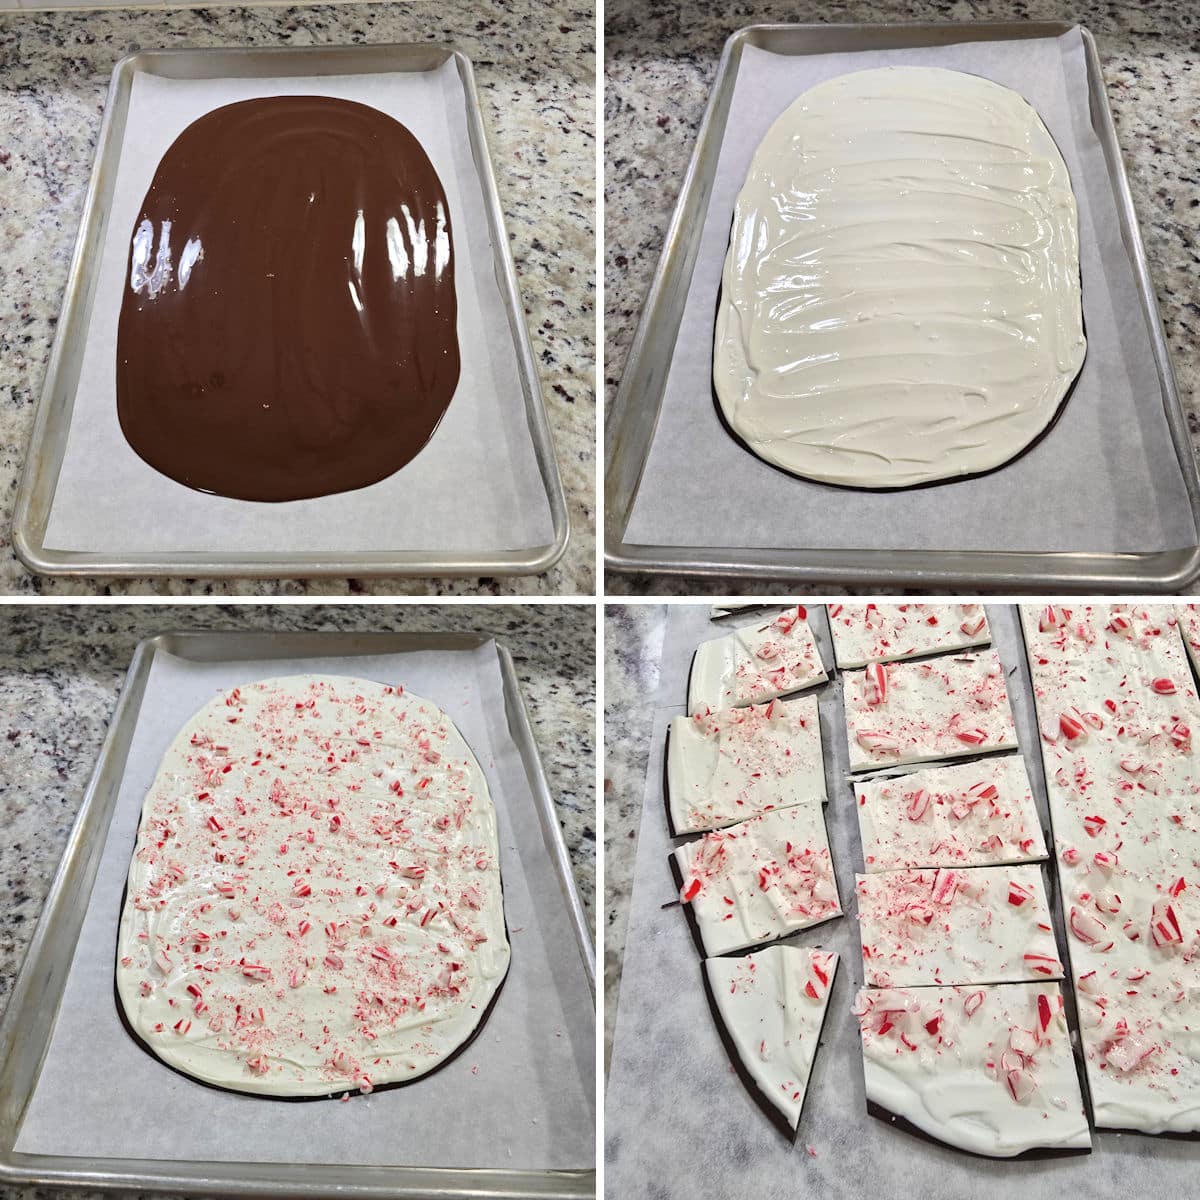
- Melt dark chocolate wafers in the microwave and spread onto a parchment lined baking sheet into a large, thin oval (about 14 inches long).
- Melt white chocolate wafers and stir in peppermint extract. Spread over solidified dark chocolate.
- Immediately top wet chocolate with candy cane pieces.
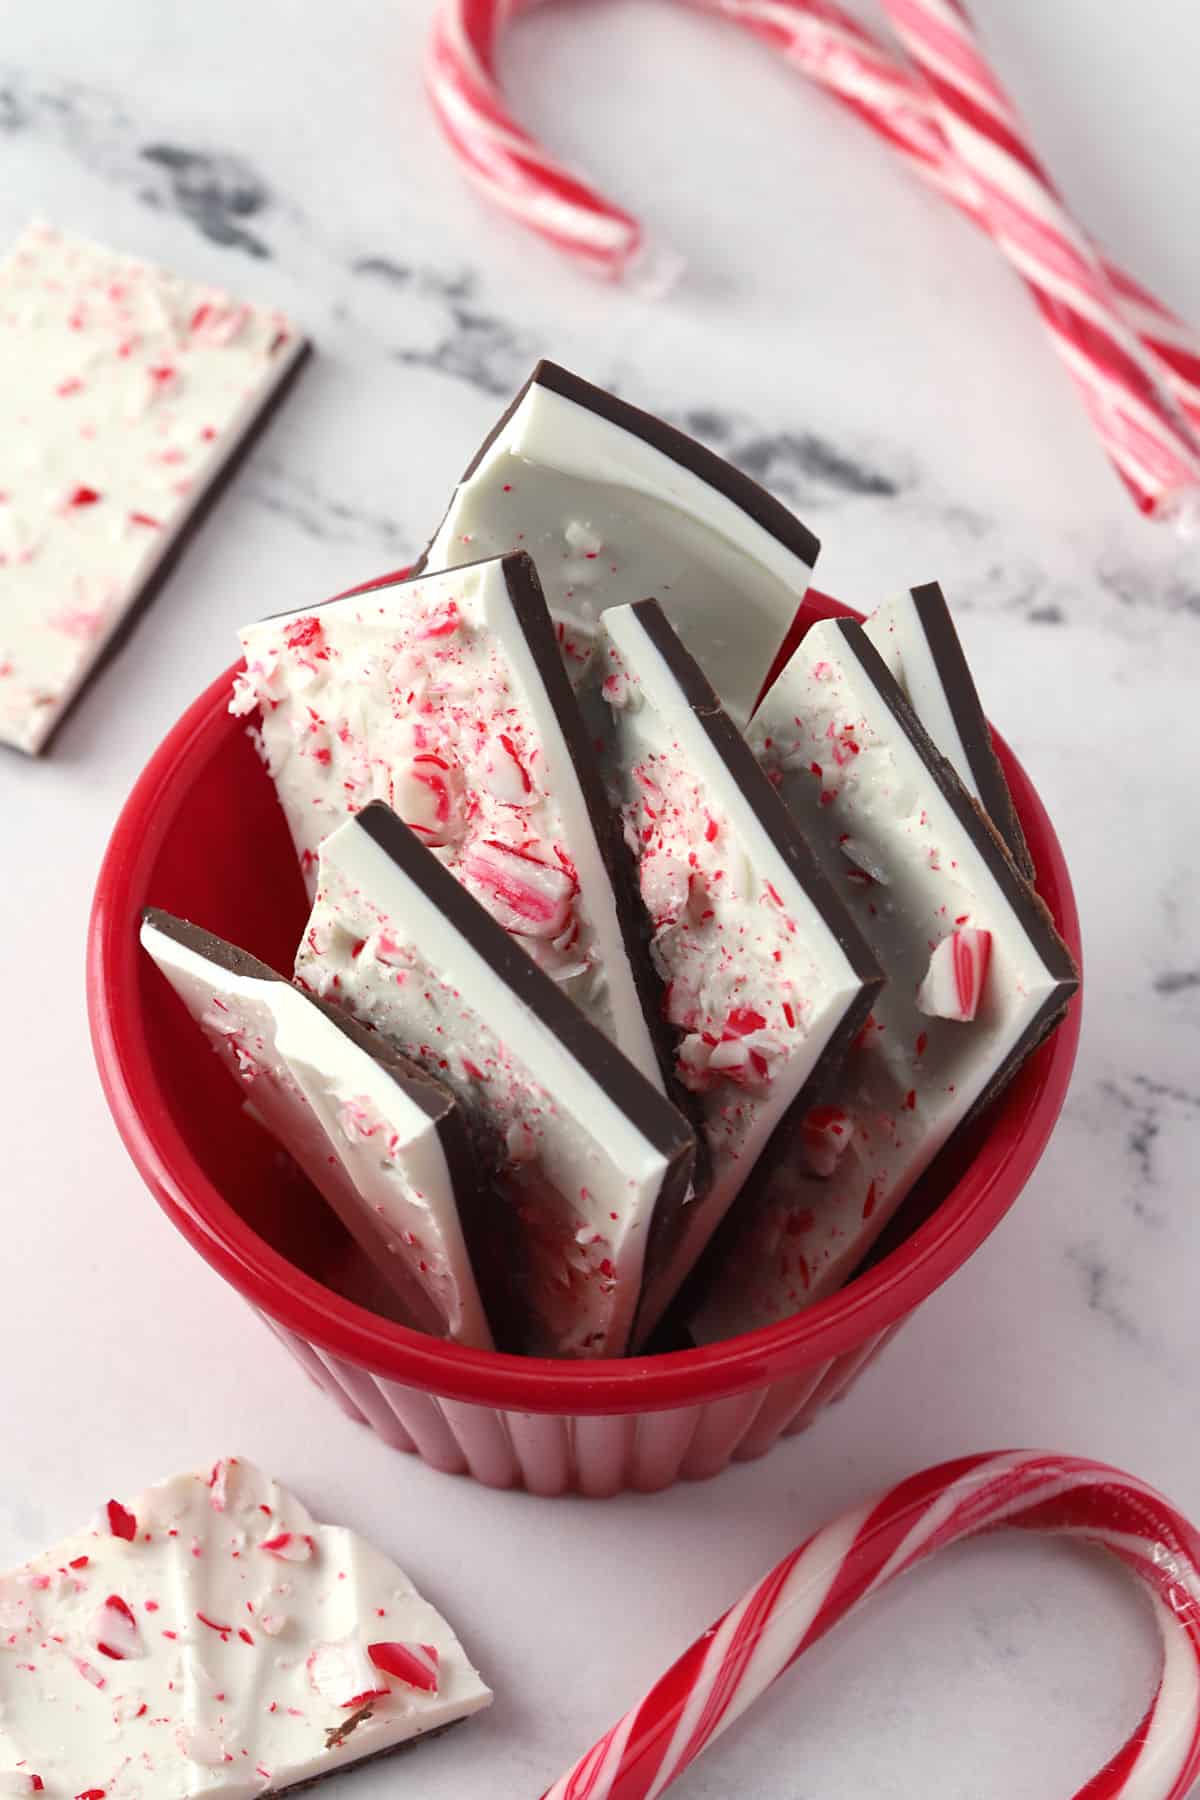
- Transfer to the refrigerator to harden, then slice into pieces using a sharp knife.
Tips and tricks
Smashing candy canes - Unwrap the candy canes and place in a zip-top plastic bag. Gently smash with a rolling pin or mallet.
For distinct layers - Allow the dark chocolate layer to set completely. Don't refrigerate your dark chocolate layer - the contrast in temperatures can cause the two layers to fall apart after the bark is set.
For marbled layers - Add the white chocolate layer while the dark chocolate layer is still wet. Gently swirl with a toothpick to create a marbled effect.
Frequently asked questions
This recipe can work with chocolate bars or chocolate chips, but you'll need to use an oil-based peppermint flavoring to prevent the chocolate from seizing. Chocolate chips also have a dull finish and waxier flavor due to the stabilizers that are added to help them hold their shape (they're not designed for melting to a smooth consistency).
Yes, peppermint bark will keep in the freezer for up to 6 months. To thaw, uncover and bring to room temperature for 1-2 hours.
Recommended
📖 Recipe
Peppermint Bark
Ingredients
- 10 ounces dark chocolate melting wafers
- 10 ounces white chocolate melting wafers
- ½ teaspoon peppermint extract, or peppermint oil
- 3 candy canes, crushed
Instructions
- Line a 13x18 baking sheet with parchment paper and set aside.
- In a microwave safe bowl, add dark chocolate melting wafers. Microwave in 30 second increments, stirring each time, until melted.
- Spread dark chocolate onto your parchment lined baking sheet in a 12-14 inch oval. Allow chocolate to mostly set while you melt the white chocolate.
- In a separate microwave safe bowl, add white chocolate melting wafers. Microwave in 30 second increments, stirring each time, until melted.
- Add peppermint extract to white chocolate and stir to combine.
- Pour white chocolate over solidified dark chocolate and spread into an even layer. Immediately top with crushed candy cane pieces.
- Transfer to the refrigerator to harden for 10-15 minutes.
- Slice into pieces with a sharp knife and store at room temperature.
Equipment Recommendations
Notes
- Storage: Candy bark will keep for up to 2 weeks at room temperature in a tightly sealed container, or up to 6 months in the freezer.
- Why melting wafers? Melting wafers are meant for melting and easy home candy making. They solidify with a shiny finish and candy bar 'snap'. You can also add extract without concern of the chocolate seizing.
- Can I use chocolate chips? Chocolate chip bark will taste just as good, but will have a softer texture and dull finish. Peppermint extract (any flavoring with water or alcohol) will cause chocolate chips to seize up. If you decide to use chocolate chips, omit the extract or use an oil-based flavoring instead.


I had so much fun creating this recipe! I hope you give it a try and love it as much as I do. If you have a question, check out the post above, which is packed with information about the recipe. Tried the recipe? I'd love to hear your thoughts — leave a comment and a star rating to share your feedback!