
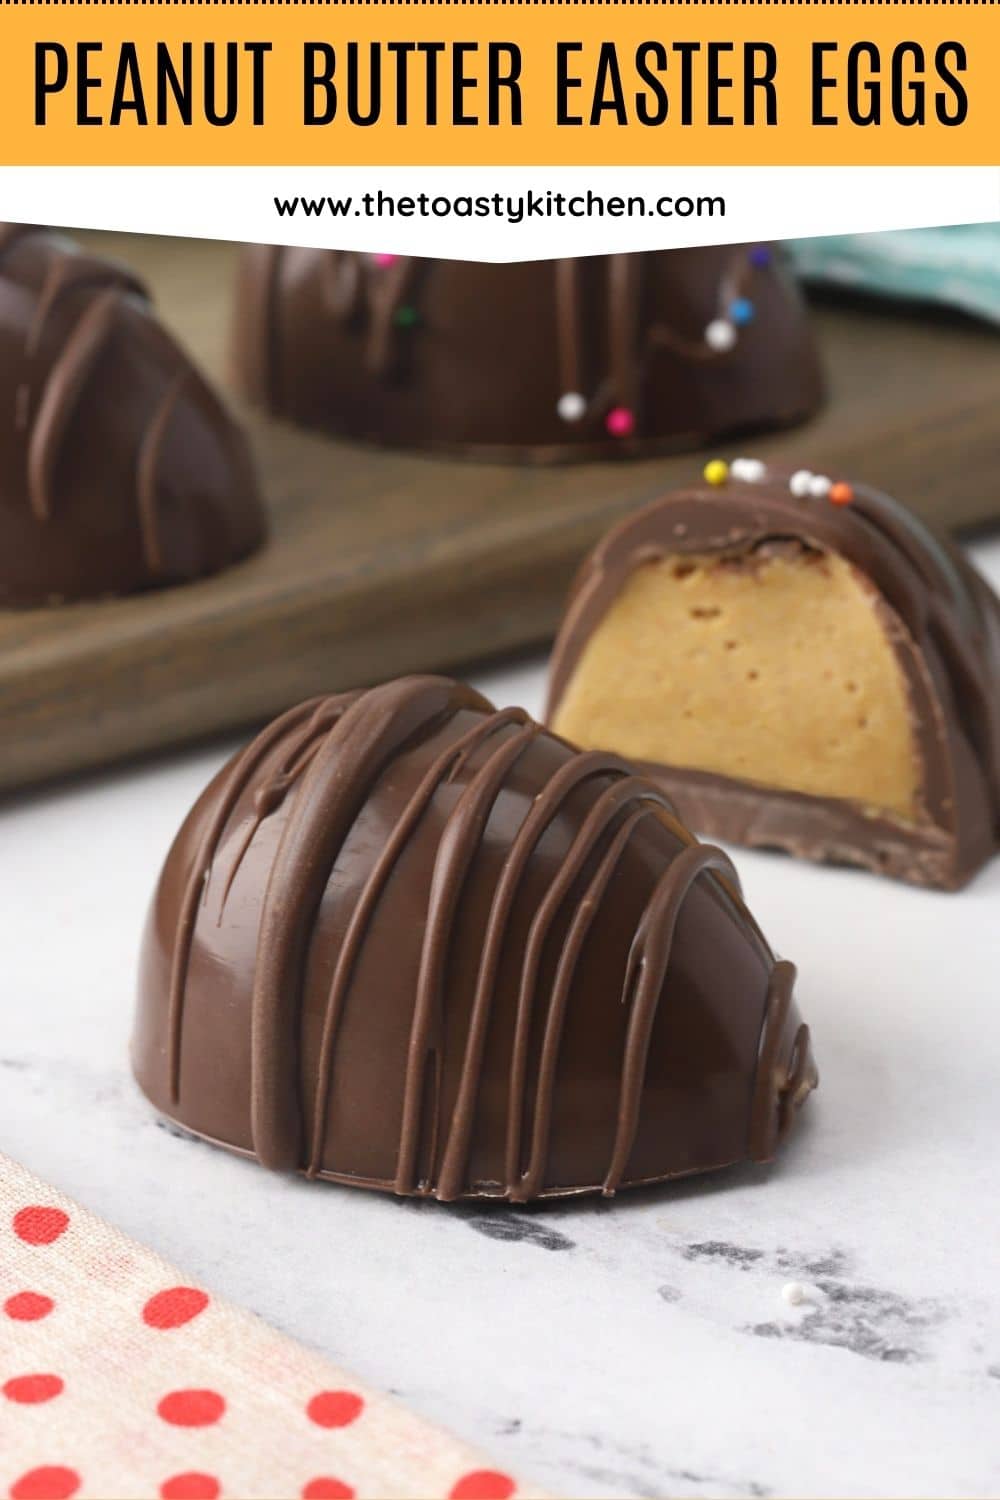

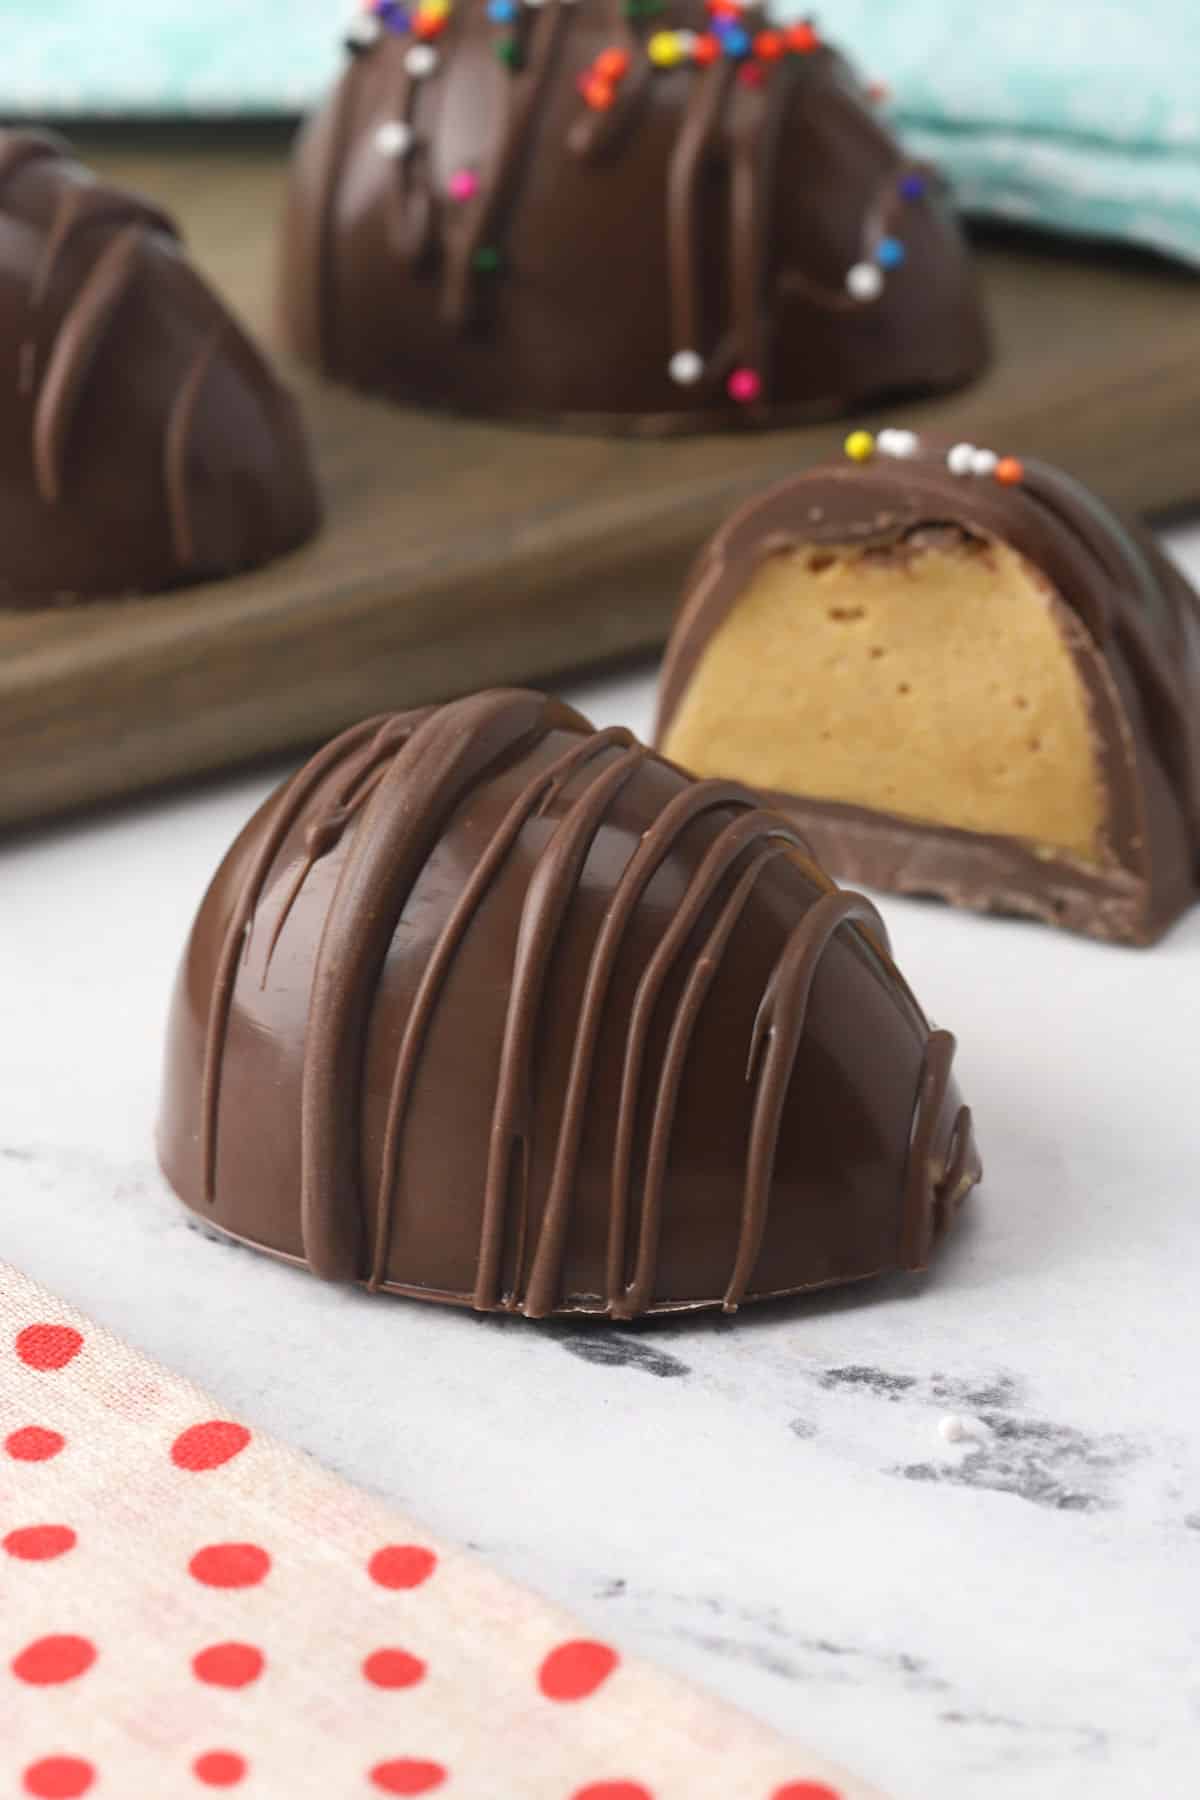
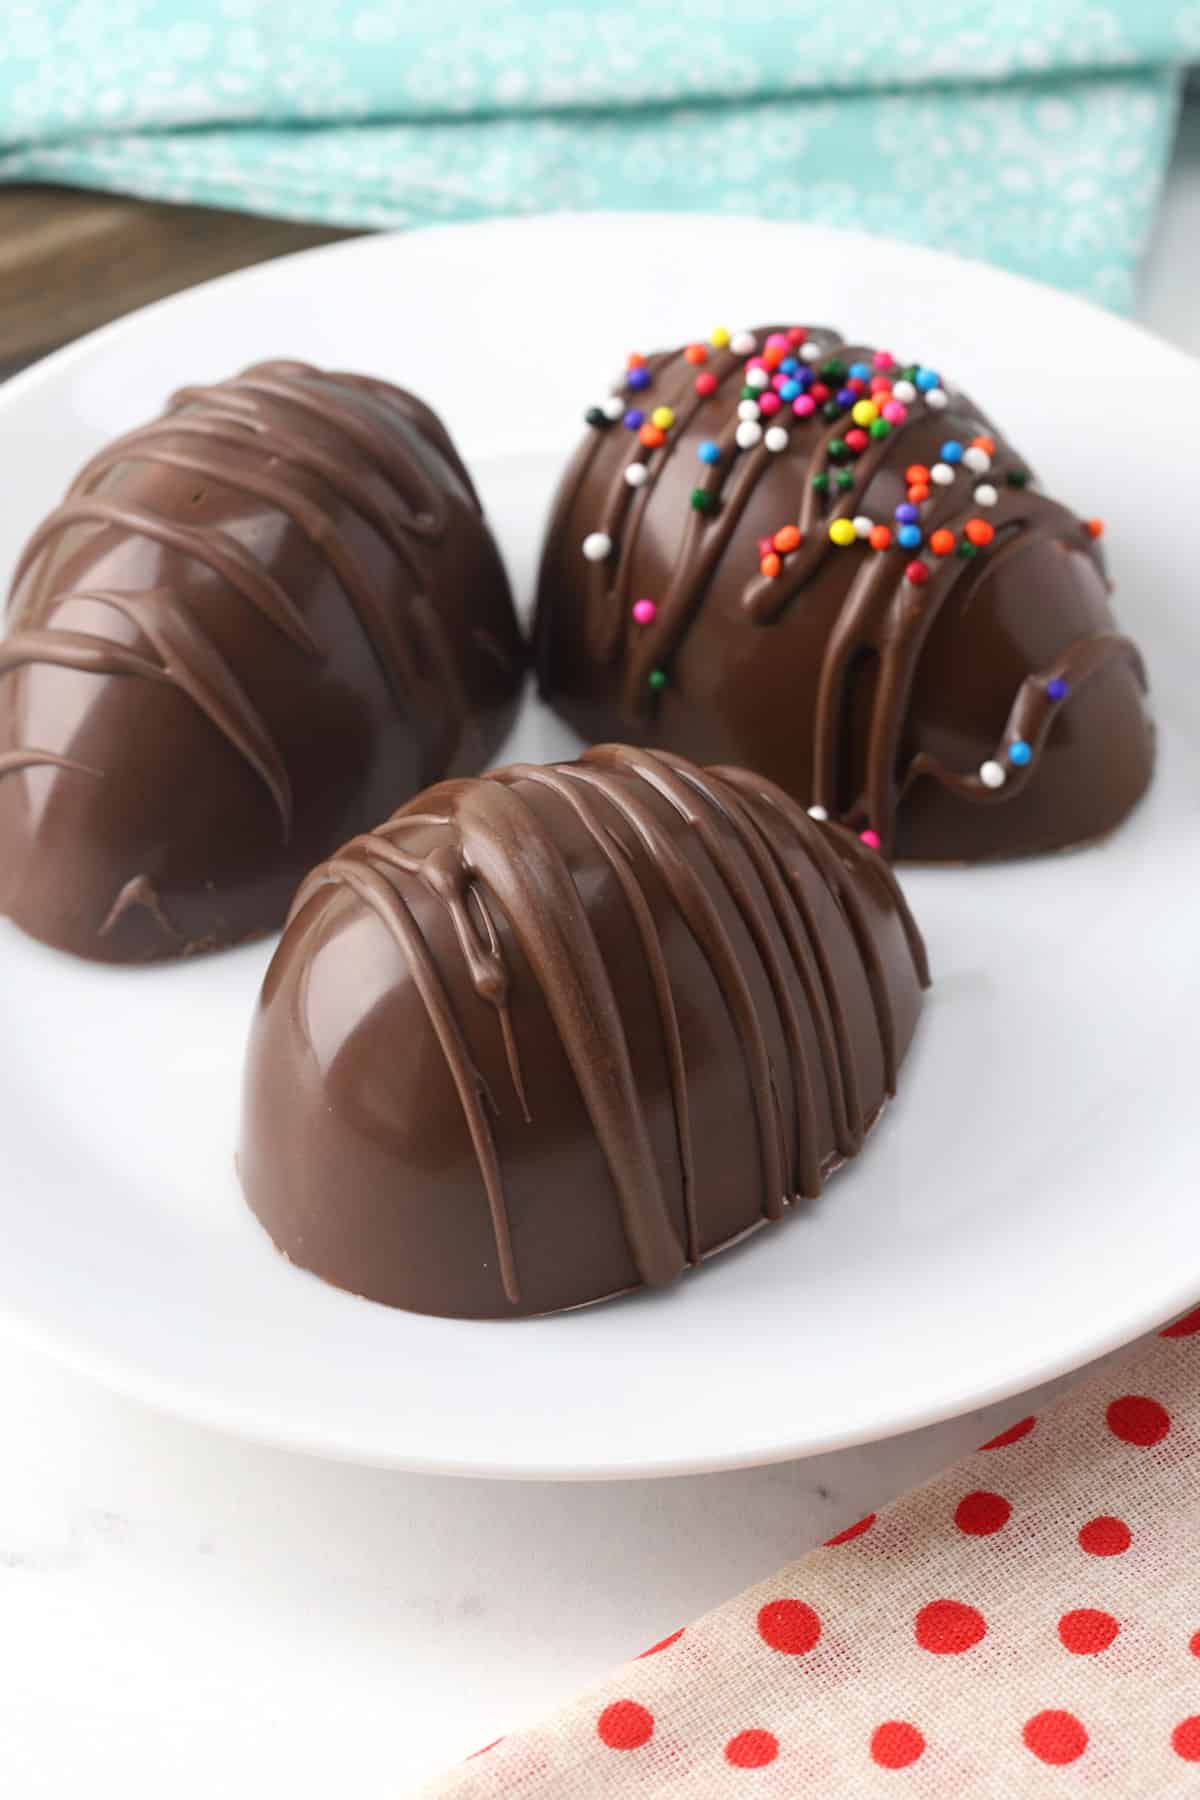
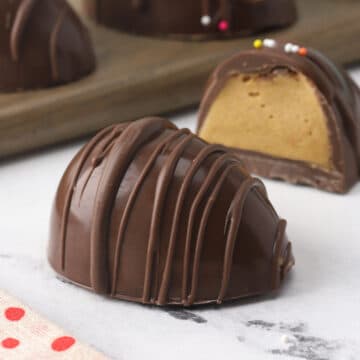
Peanut butter Easter eggs are a fun and easy no-bake treat to make at home. These homemade candies are great for gift-giving and filling Easter baskets!
Why you'll love this recipe
Flavor: Sweet, rich, creamy. The classic combination of chocolate and peanut butter.
Few ingredients. Make your own peanut butter eggs at home with three ingredients and optional Easter sprinkles.
Better than store bought. Homemade Easter eggs taste way better than store bought, with a richer peanut butter flavor and easy-to-adjust sweetness.
Great for: Filling Easter baskets, gift giving.
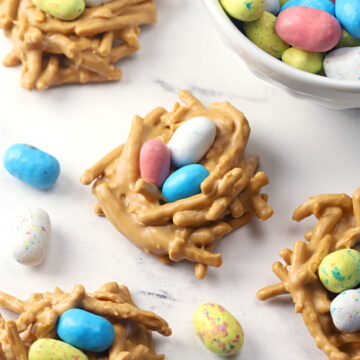
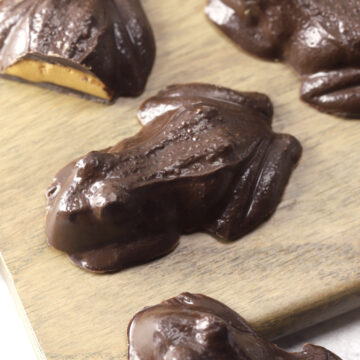
Similar to: Chocolate Turtle Easter Eggs and Chocolate Frogs
Jump to:
Ingredients and substitutions
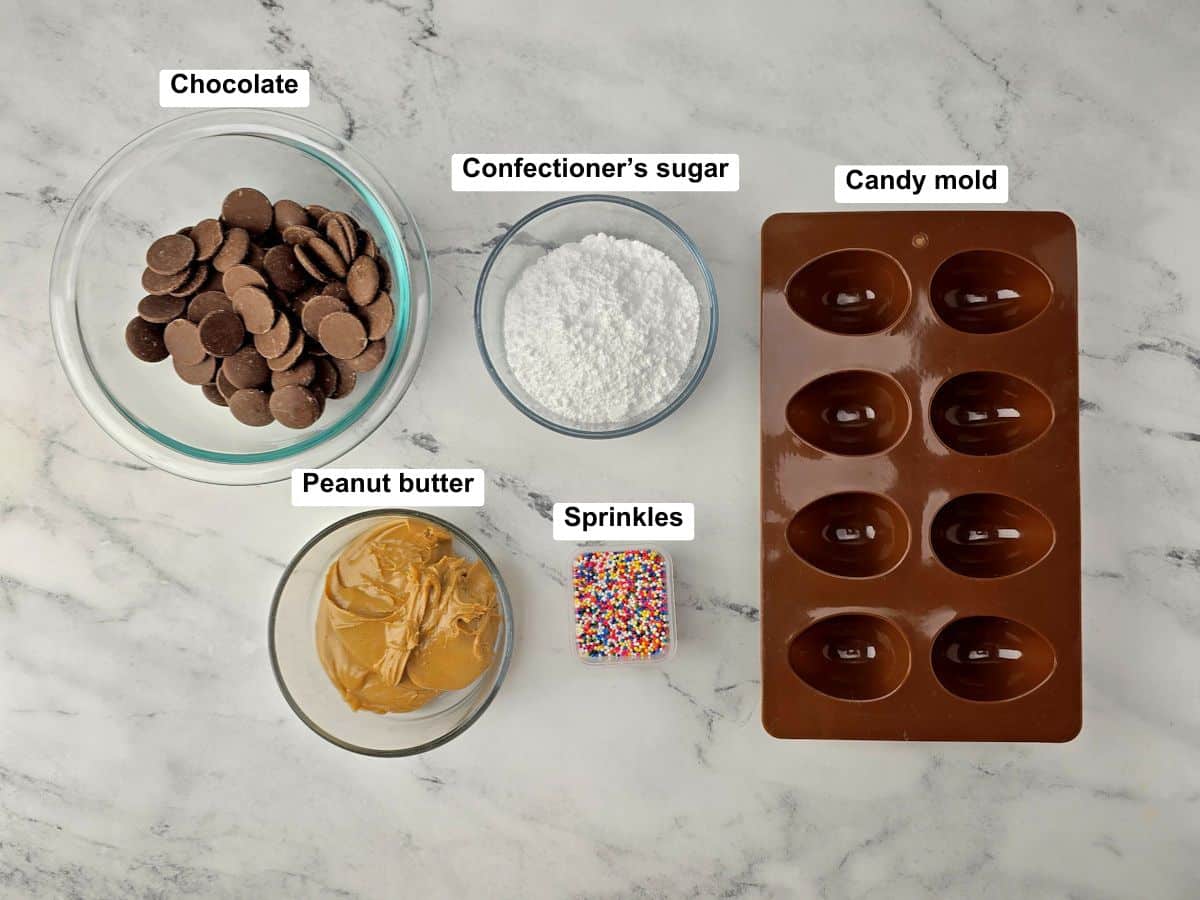
- Melting wafers - Dark chocolate, milk chocolate, or white chocolate melting wafers all work well in this recipe. Chocolate chips don't work in this recipe because they're not meant for use in candy making and solidify with a dull finish that melts easily when handled.
- Confectioner's sugar - Sweetens the peanut butter filling with a smooth texture. Granulated sugar doesn't work in this recipe because it adds a noticeable grainy texture.
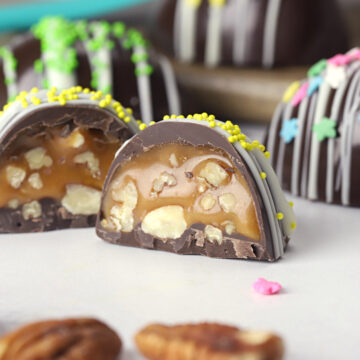
- Peanut butter - Smooth or crunchy peanut butter works in this recipe. Other nut butters can work, like almond butter, but may have a thinner texture that can cause the filling to turn out a bit runny. Keep this in mind if you need to make a substitution for allergy reasons.
- Sprinkles - Optional sprinkles can be added on top of the chocolate drizzle for a pop of color.
- Egg mold - You'll need an egg mold for this recipe. I purchased mine on Amazon: Candy Egg Silicone Molds
How to make peanut butter eggs
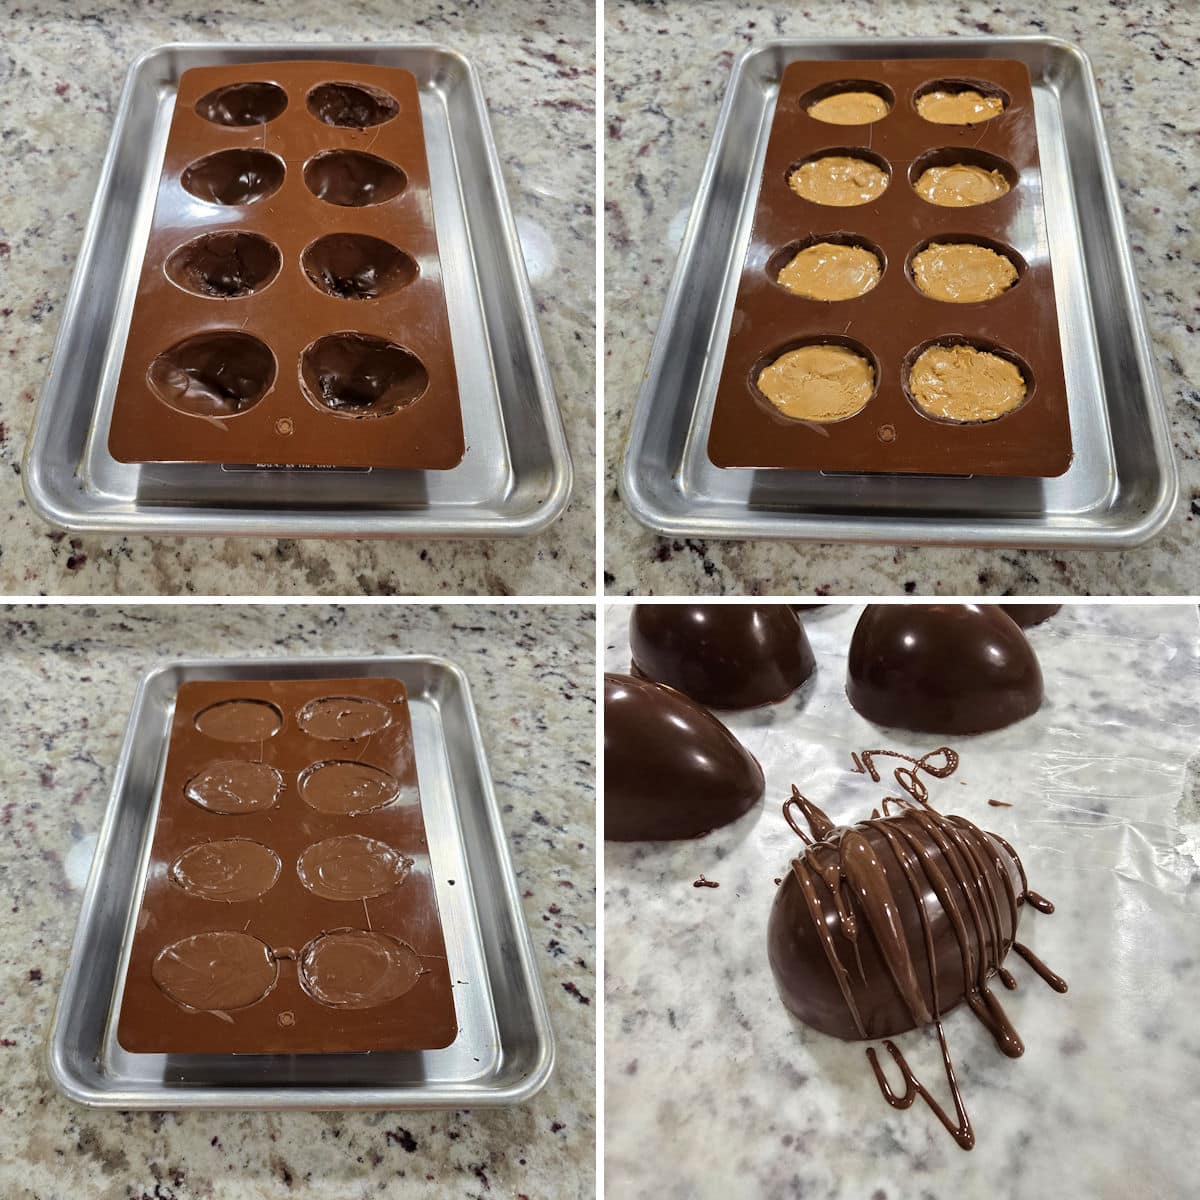
- Melt wafers in the microwave and add a spoonful of melted chocolate to each mold. Use a spoon to spread the chocolate up the sides of the mold. Refrigerate for 10 minutes to harden.
- Meanwhile, mix peanut butter filling in a small bowl. Press mixture into each egg mold, leaving space at the top to fill with chocolate.
- Re-melt wafers if needed, then spoon over peanut butter filling and spread into an even layer. Return to the refrigerator to chill for 20 minutes.
- Pop eggs out of the mold and drizzle with remaining chocolate. Optionally, top with sprinkles while chocolate is wet.
Tips and tricks
Adjusting sweetness - Want to make your filling less sweet? Replace 2 tablespoons of sugar with 1 tablespoon of peanut butter. This ensures you have enough filling for all of the eggs.
Don't overheat your wafers - Heat your wafers just enough to melt them. Overheating your chocolate can cause it to separate and get cloudy when it sets.
Allow chocolate to solidify - Make sure your candy sets long enough to solidify completely before removing from the mold. If not, your candy may separate and leave chocolate behind in the mold.
Use clean, dry molds - Make sure your candy molds are clean and dry before beginning. If they look dull or cloudy, give them a quick wipe with a paper towel.
Storage
Eggs will keep for 2-3 weeks in a sealed container at room temperature. Keep your chocolates away from warm temperatures (like a hot car) as they may melt. They also freeze well for up to 3 months.
Frequently asked questions
The amount of ingredients needed will vary depending on the size/shape of your candy mold. For this recipe, I used the first mold listed below, which makes eight 2.6" x 1.6" eggs (about the size of a regular large egg).
Moldfun 2-Pack Easter Egg Silicone Mold (the one I used in the photos)
Funshowcase 6-Cavity Patterned Easter Eggs Mold
Silicone Easter Egg Mold - Set of 3
Jovitec 4 Pieces Easter Egg Chocolate Mold
I recommend Merckens melting wafers. You can find them on Amazon and other candy making websites by doing a quick google search. Bakery supply stores may also carry Merckens locally.
If you don't have time to shop online, Ghirardelli melting wafers will do the trick in a pinch. While they don't taste quite as good as Merckens, they're still miles better than the cheap/waxy generic melting wafers.
Merckens Melting Wafers - Dark Cocoa, 2 pounds (recommended)
Merckens Melting Wafers - Milk Chocolate, 2 pounds
Ghirardelli Dark Chocolate Melting Wafers - 10 ounce, pack of 2
Recommended

📖 Recipe
Peanut Butter Easter Eggs
Ingredients
- 8 ounces (226 g) milk chocolate melting wafers, divided
- ½ cup (136 g) creamy peanut butter
- ½ cup (58 g) confectioner's sugar
- pastel sprinkles
Instructions
- Place candy mold onto a stiff baking sheet (for ease of transferring to and from refrigerator).
- In a small microwave safe bowl, heat 7 ounces of melting wafers in 30 second increments, stirring every 30 seconds, until wafers are melted and smooth.
- Add a spoonful of melted chocolate to each egg mold. Use a spoon to brush chocolate up the sides of the egg mold until evenly coated. If needed, add a second coat to the sides of your egg mold, filling in any holes or thin areas. Transfer to refrigerator for 10 minutes to harden.
- Meanwhile, add peanut butter and confectioner's sugar to a bowl and mix until incorporated. Mixture will look thick, like a dough.
- Remove egg mold from refrigerator. Distribute peanut butter filling evenly between your egg molds, gently patting down into an even layer. Leave about ⅛" of space at the top of your mold to fill in with chocolate.
- Top each egg mold with remaining chocolate (reheat as needed in the microwave if chocolate has solidified) and spread into an even layer. Return tray to the refrigerator and allow to chill for 20 minutes.
- Remove eggs from molds. Melt remaining wafers and drizzle over eggs, topping with optional sprinkles while the chocolate is wet. Allow to dry completely before storing.
Equipment Recommendations
Notes
- Melting wafers: Melting wafers cannot be substituted with chocolate chips - melting wafers are tempered chocolate and ideal for melting and making candies. They harden into a shiny, candy texture and are ideal for using in candy molds.
- Egg mold: The measurements listed were used with a candy mold that makes eight - 2.6 inch x 1.6 inch eggs (about the size of an actual large egg). Measurements will vary based on the type of candy mold used.
- Storage: Candies will keep for 2-3 weeks in a sealed container at room temperature.


I had so much fun creating this recipe! I hope you give it a try and love it as much as I do. If you have a question, check out the post above, which is packed with information about the recipe. Tried the recipe? I'd love to hear your thoughts — leave a comment and a star rating to share your feedback!