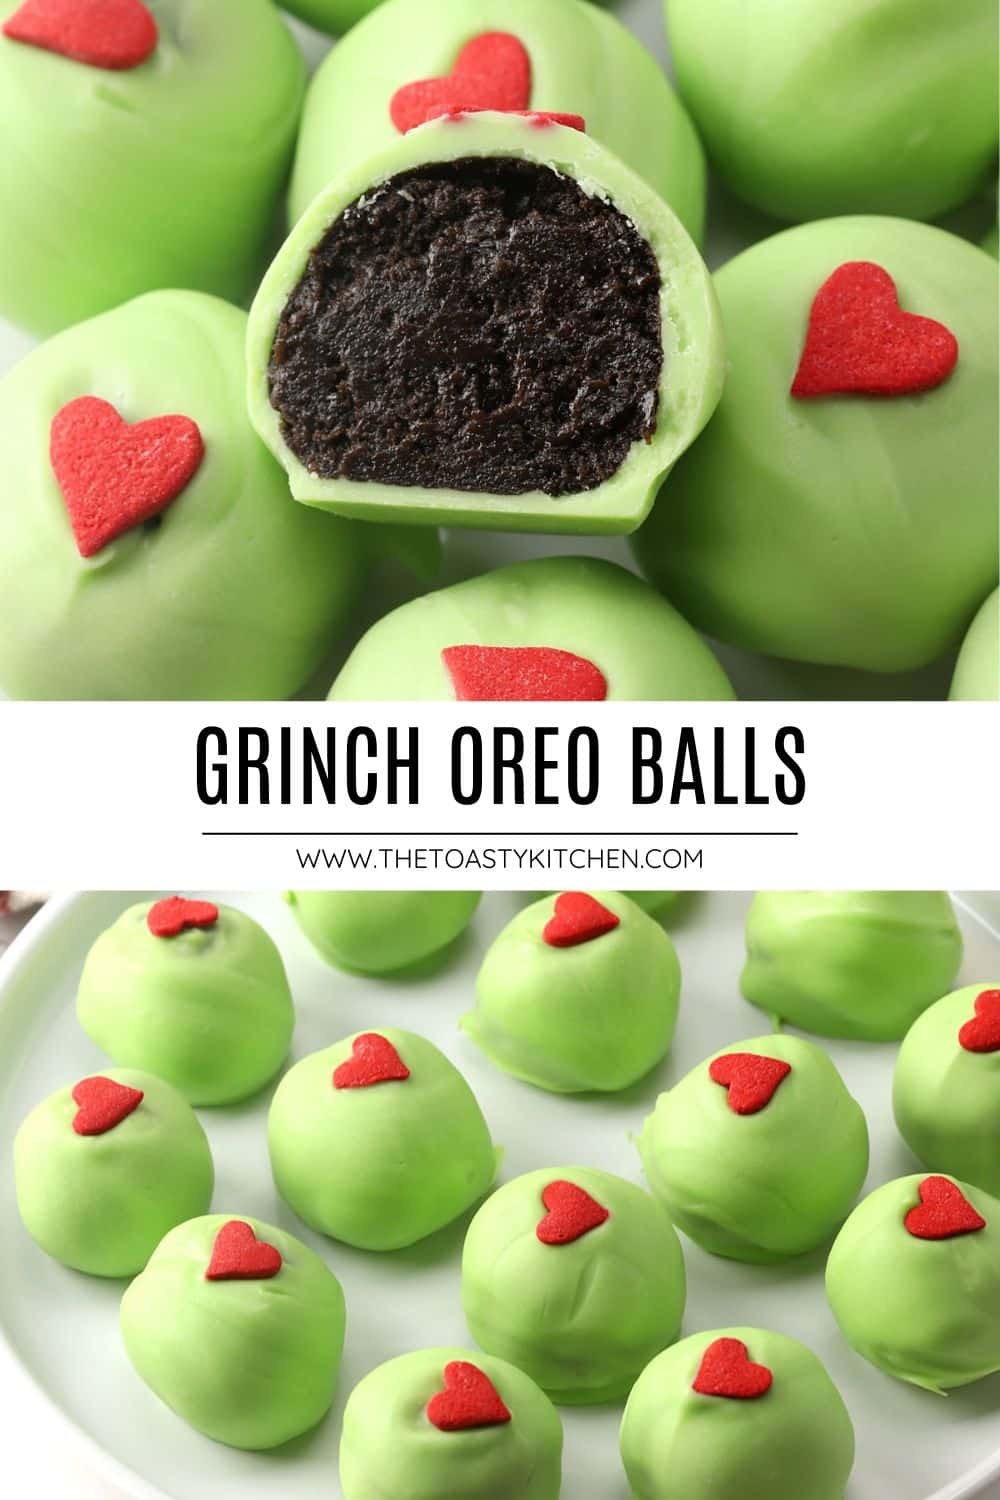
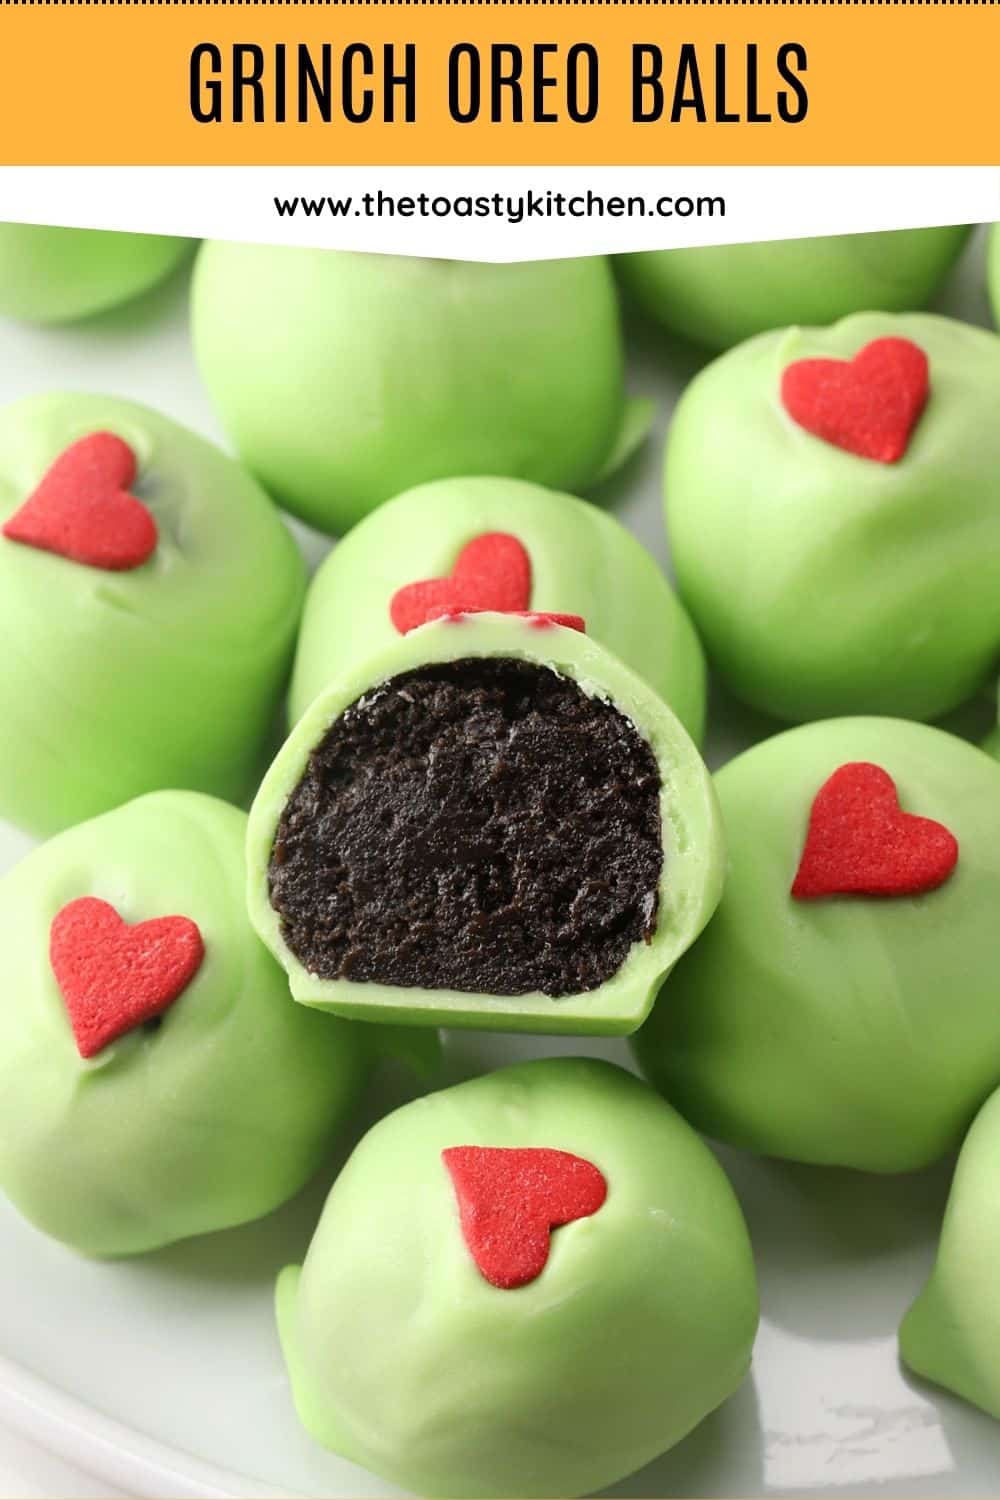

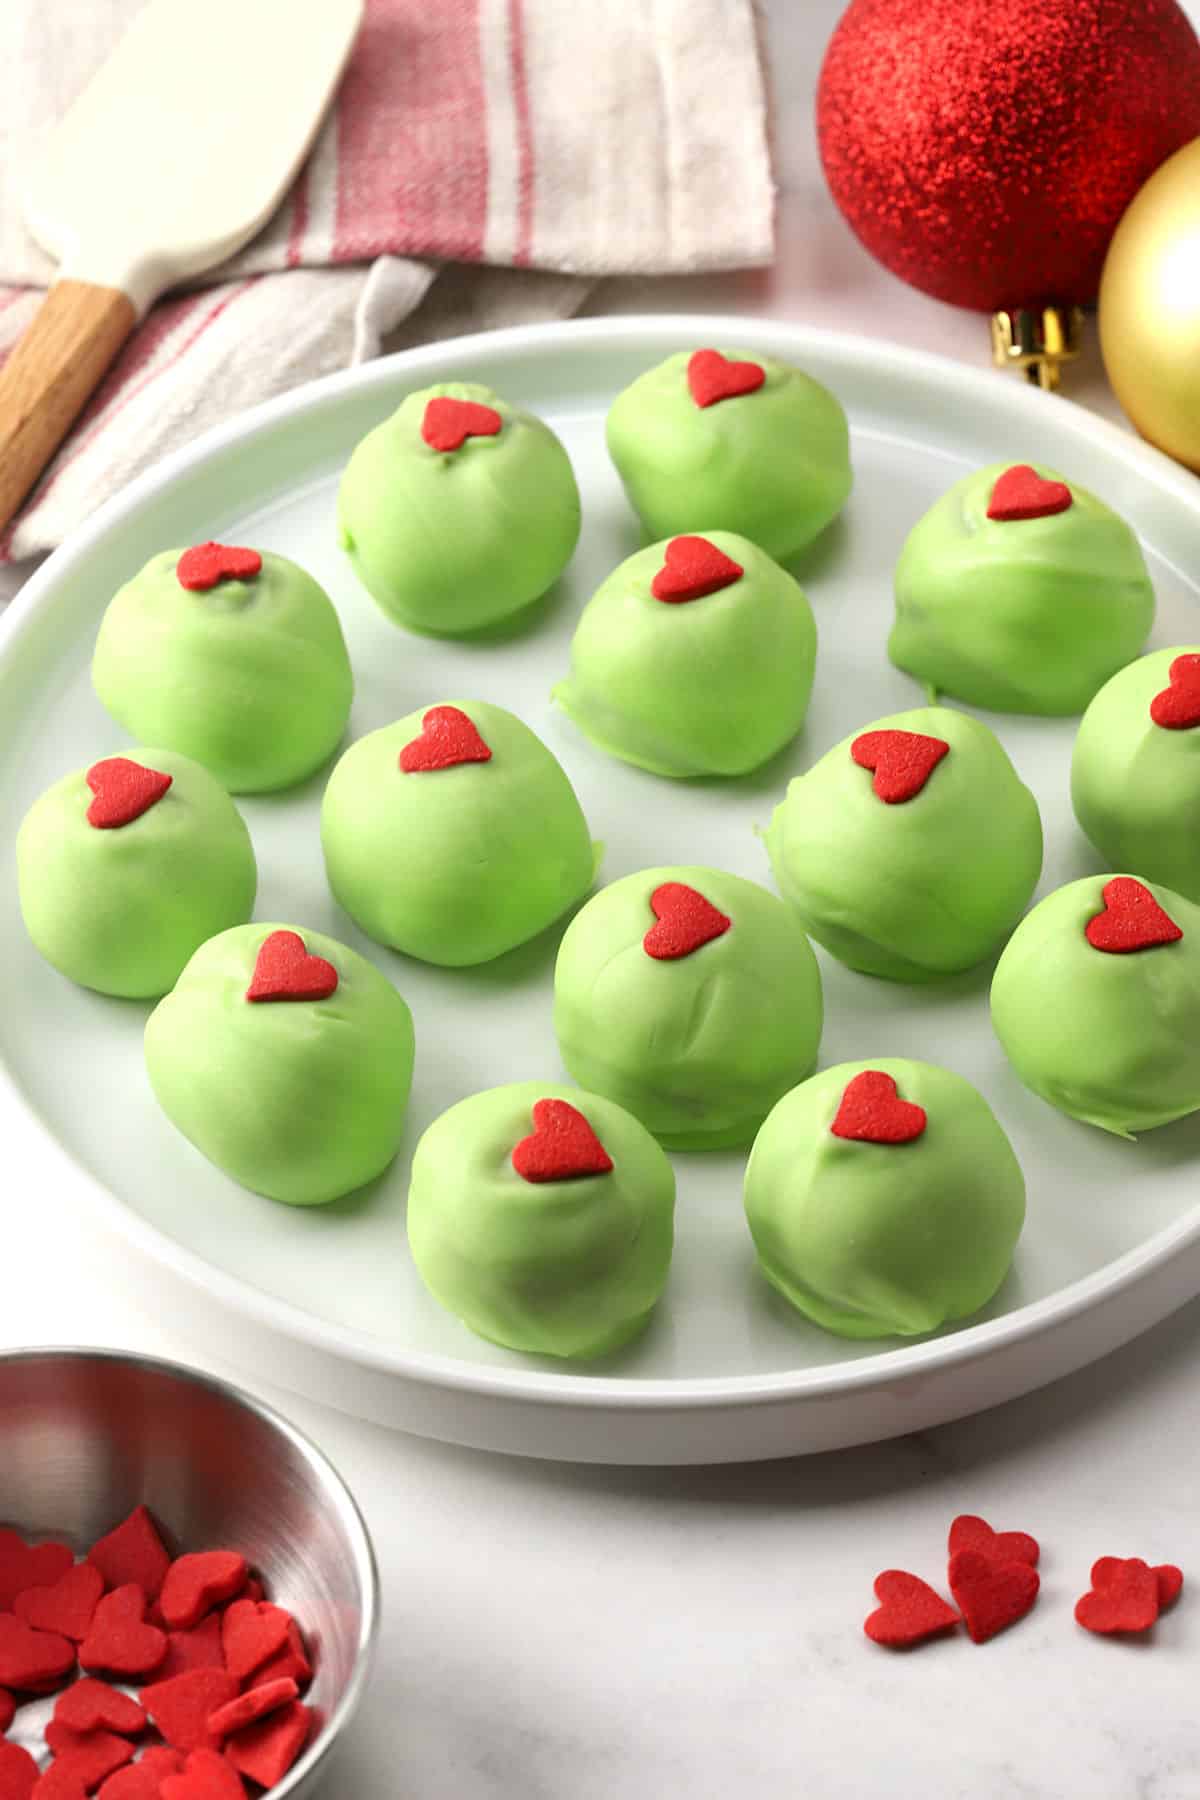
Make a batch of cute, no-bake Grinch oreo balls for your next holiday dessert tray. Crushed oreo cookies and cream cheese are coated in green candy coating and topped with a red heart.
Heather's recipe summary
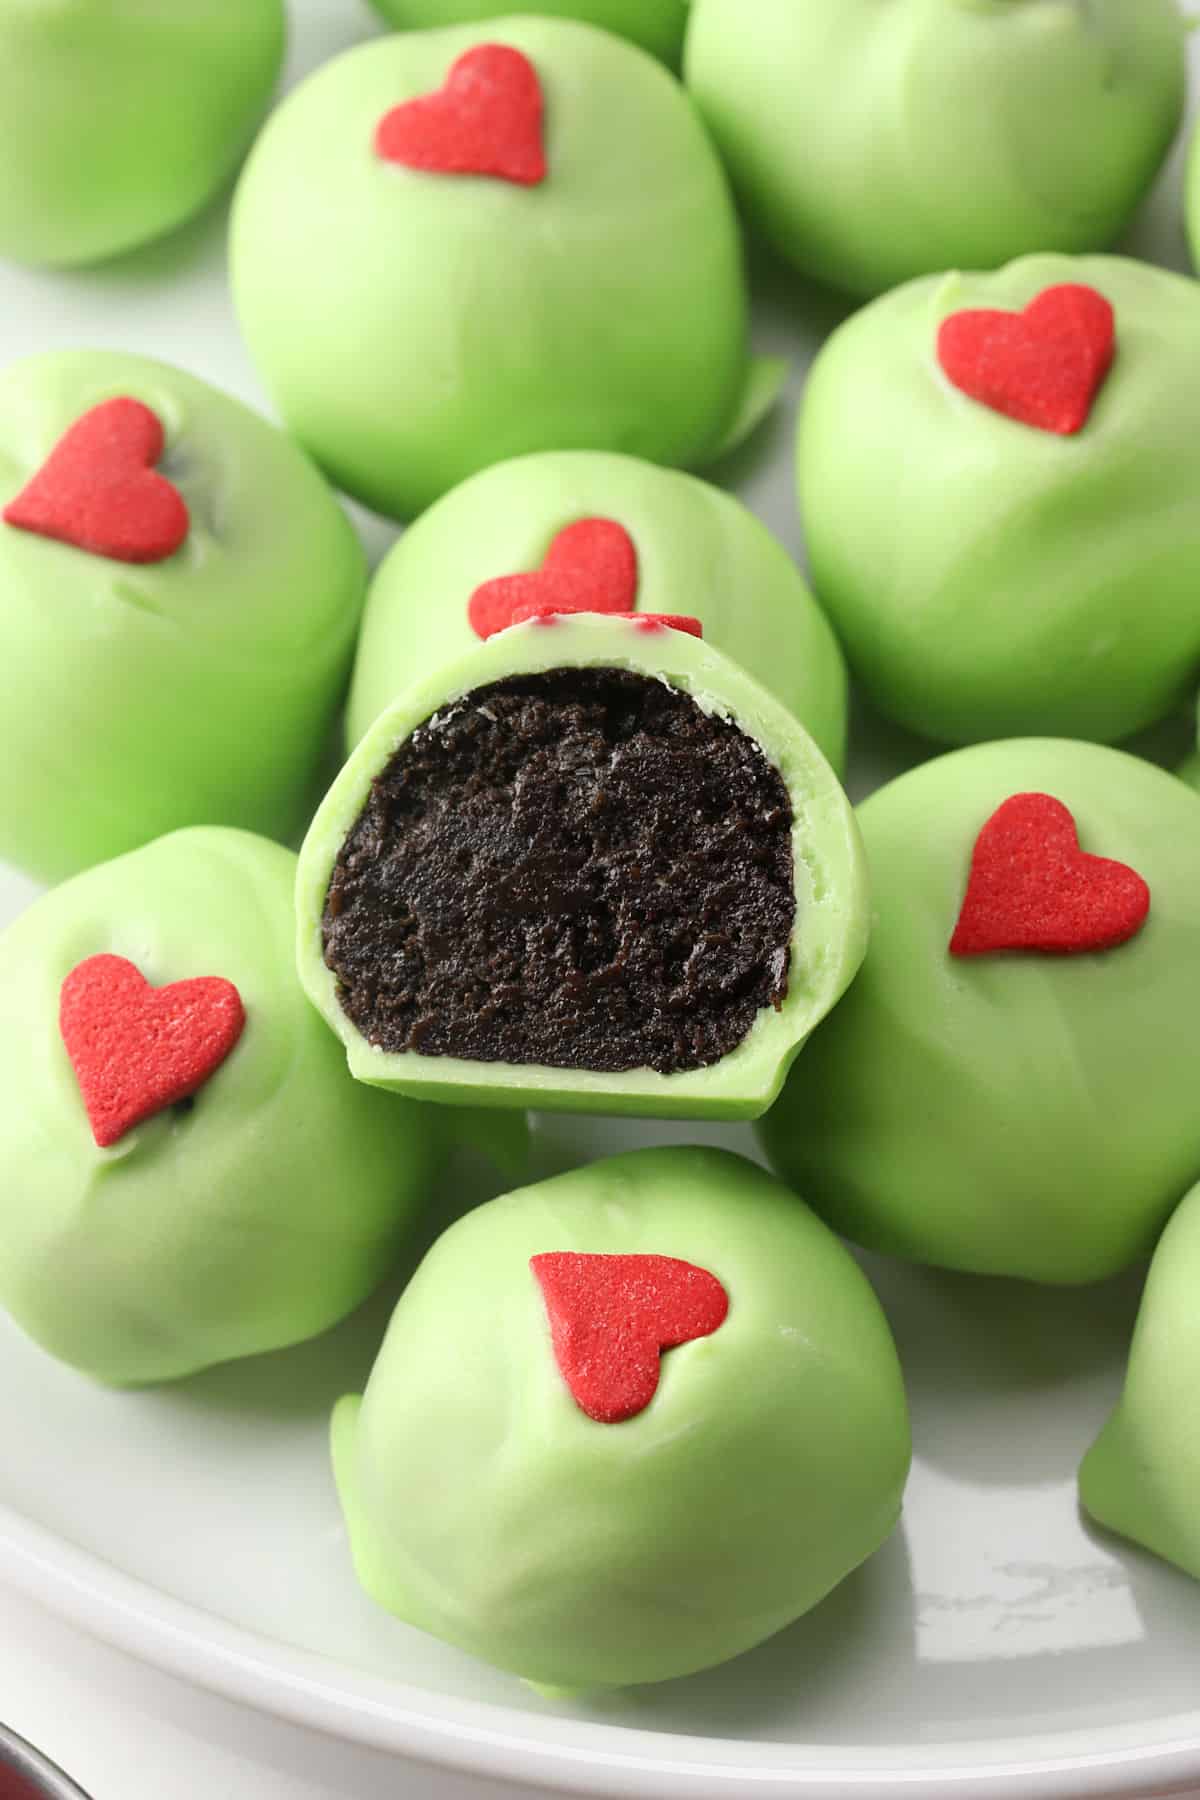
Flavor/texture: Soft, rich Oreo filling coated in white chocolate and adorned with a red heart sprinkle.
Easy to make: Only four ingredients are needed to make these cute and festive no-bake treats.
Yield: 38 Oreo balls
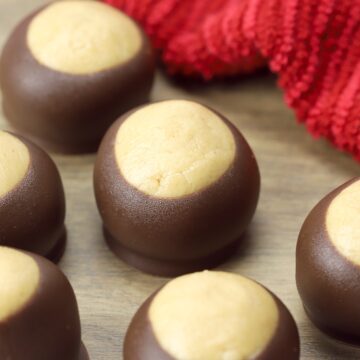
Similar to: Chocolate Tahini Balls and Peanut Butter Buckeyes
Jump to:
Ingredients and substitutions
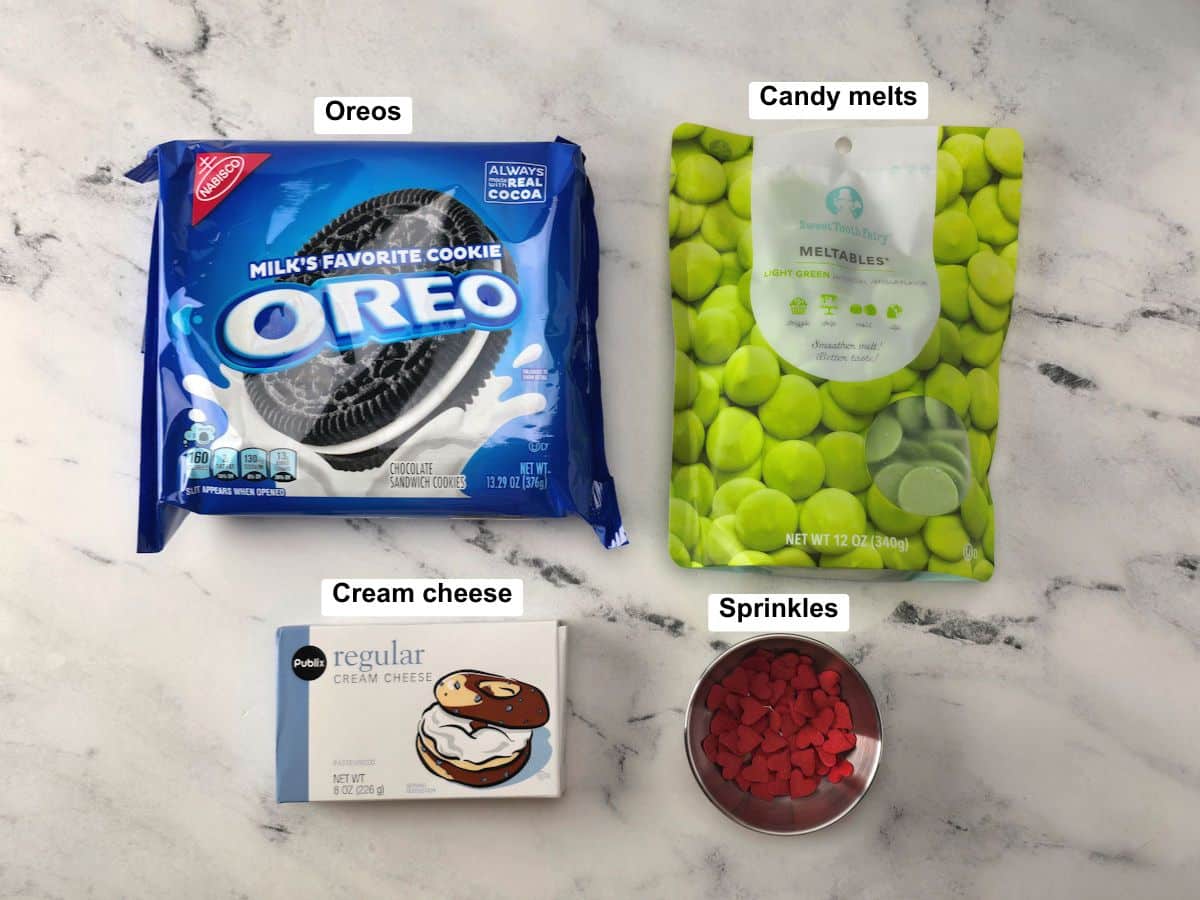
- Melting wafers - You'll need light green melting wafers for that classic grinch color. You can find a variety of melting wafer colors at craft stores like Hobby Lobby, Michael's, or Joann Fabrics. You can also purchase melting wafers on Amazon (Light Green Coating Melting Wafers, 1 lb)
- Sprinkles - I used Wilton Jumbo Heart Sprinkles and picked out the red hearts.
How to make grinch Oreo balls
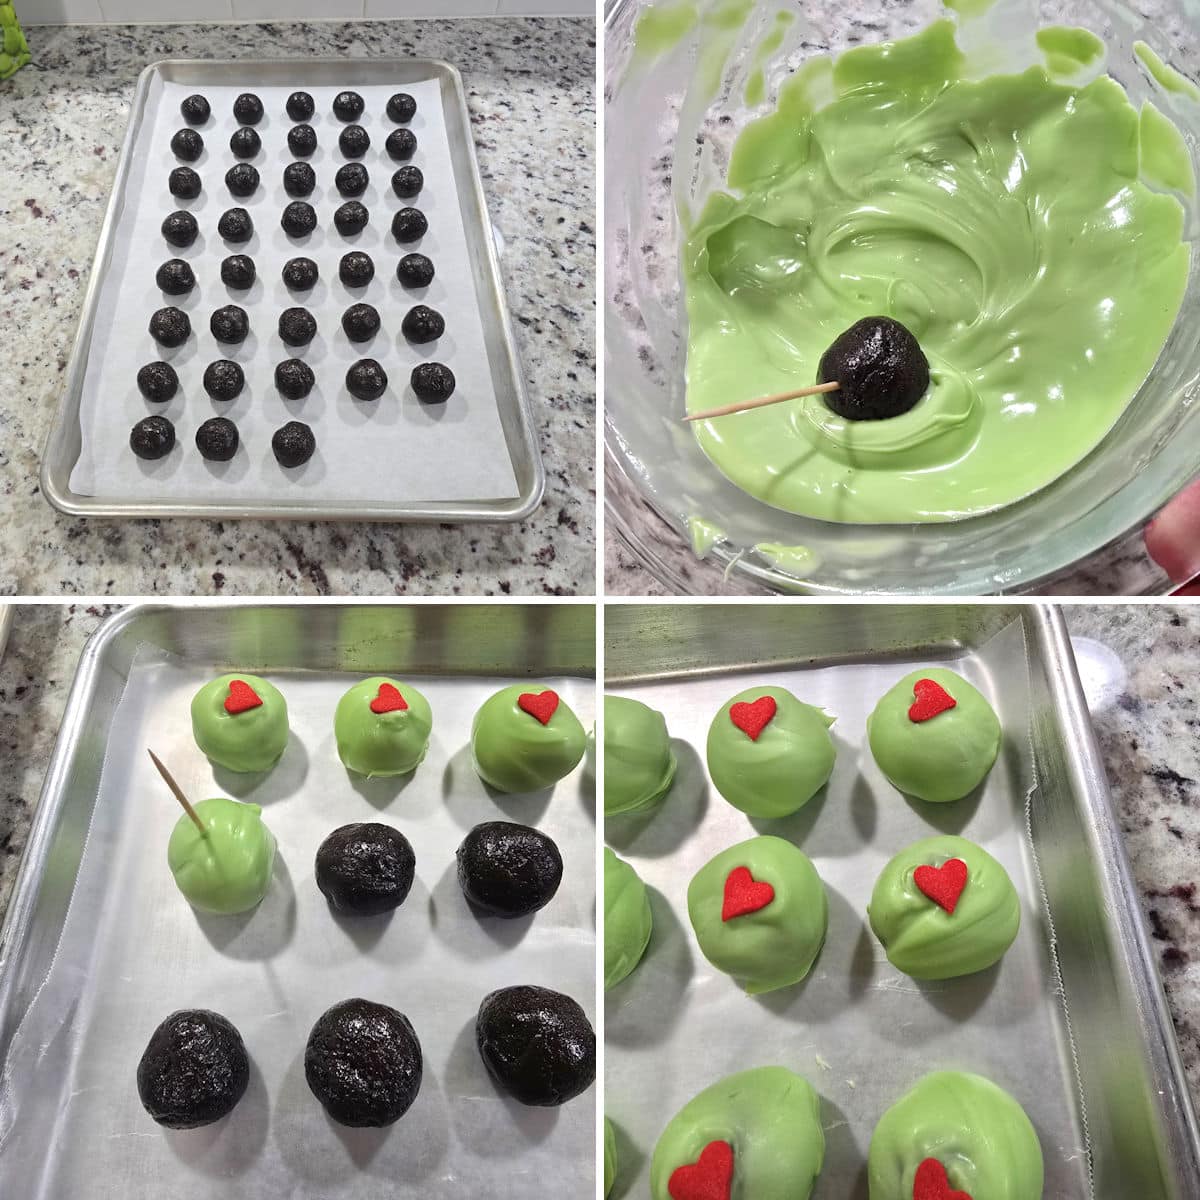
- Combine Oreo crumbs and cream cheese mixture together and form into 1 inch balls.
- Coat each ball in melted candy coating. A toothpick helps with this.
- Place on a parchment lined baking sheet and decorate with a heart shaped sprinkle.
- Refrigerate for at least 30 minutes before serving.
Tips and tricks
Refrigerate before dipping - Just after rolling, your oreo balls will feel a bit greasy and soft. They need to be refrigerated or frozen to firm up for easier dipping. Line a baking sheet with parchment paper or wax paper then transfer the entire pan to the refrigerator or freezer.
Don't chill too long - Refrigerate your oreo balls for 30 minutes or freeze them for 15 minutes. Chilling for too long can cause the candy coating to crack as it sets. If you've chilled your oreo balls overnight, allow them to warm up for about 10 minutes on the countertop before dipping.
Use a toothpick - I recommend the toothpick method I use when making buckeyes. Insert a toothpick into the center of your oreo ball. Use the toothpick to roll it gently in the candy coating to cover all sides. Gently tap to remove excess candy coating then return it to the parchment. Remove the toothpick and use the heart sprinkle to cover the toothpick hole.
Add sprinkles immediately - Candy coating sets quickly, so add your sprinkle immediately after removing the toothpick.
Reheat candy coating as needed - Your candy coating will cool down over time. Reheat in 10 second increments to keep it warm and thin for easy coating.
Frequently asked questions
Yes, oreo balls need to be refrigerated because they contain cream cheese. They can sit at room temperature for up to 2 hours before leftovers must be discarded.
Your oreo balls can crack if they are too cold. The cold interior can cause the candy coating to crack as it sets. To prevent this, take care not to chill your oreo balls for too long (maximum 30 minutes in the refrigerator or 15 minutes in the freezer). If they've been chilling for longer, allow them to warm up slightly on the countertop before dipping.
I have this issue with some brands of candy melts. If you've melted your candy melts properly and they're still too thick, try adding coconut oil or vegetable oil, 1 teaspoon at a time, stirring to incorporate. If you're a regular candy maker and have paramount crystals on hand, I'd suggest using those instead. Microwave in 10 second increments to help keep your melted candy warm, thin, and dippable. Take care not to add too much oil because it can prevent the candy from setting properly.
No, unless you have oil-based food coloring on hand. Most popular liquid and gel food coloring is water based and will cause your melting wafers to seize up. Double check that you have oil-based food coloring on hand before attempting to color white melting wafers.
I do not recommend chocolate chips for this recipe. Chocolate chips have a dull finish and soft texture when melted and solidified. Your candy will likely taste just as good but will not have that candy bar "snap" or shiny finish. They also melt easily when handled, making your oreo balls messier to eat. You'd also need to use oil-based food coloring to achieve the green color shown (see question on food coloring above).
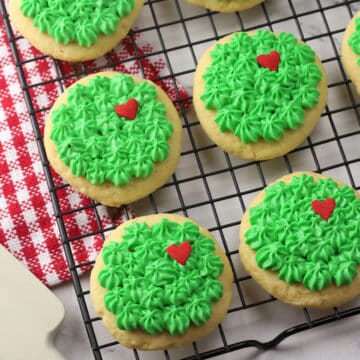
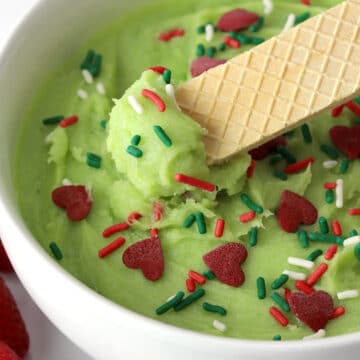
Recommended

📖 Recipe

Grinch Oreo Balls
Ingredients
- 36 oreo cookies, 14 ounce package*
- 8 ounces cream cheese, room temperature
- 12 ounces light green candy melts
- red heart sprinkles
Instructions
- Place oreo cookies in the bowl of a food processor and pulse until you have fine crumbs. Set aside.
- In a large bowl, add cream cheese and beat with a hand mixer or stand mixer until creamy and smooth. Add oreo crumbs half at a time and mix until fully incorporated.
- Line a baking sheet with parchment or wax paper (choose one that will fit into your refrigerator/freezer).
- Using your hands, roll oreo mixture into 1 inch balls (or use a small cookie scoop for even portioning). Place oreo balls on the prepared baking sheet.
- Refrigerate oreo balls for 30 minutes or freeze for 15 minutes.
- In a microwave safe bowl, add melting wafers and microwave in 30 second increments, stirring each time, until melted.
- Remove a portion of oreo balls from the refrigerator and carefully dip balls one at a time in melted candy coating. I recommend piercing each ball with a toothpick and using it to gently roll and coat each ball with candy coating. Gently tap to remove excess coating before placing back onto lined baking sheet.
- Remove the toothpick and quickly add a heart sprinkle while candy coating is still wet.
- Return oreo balls to the refrigerator and allow to set for 30 minutes before serving.
- Store oreo balls in the refrigerator in a tightly sealed container for up to 2 weeks.
Equipment Recommendations
Notes
- *Oreo package size: Package sizes for Oreo cookies can vary. Any package between 13-14 ounces works in this recipe, which equals between 33 to 36 cookies.
- Storage: Oreo balls must be refrigerated and will keep for up to 3 weeks in a tightly sealed container. Oreo balls can sit out at room temperature for up to 2 hours before requiring additional refrigeration.
- Freezing: Oreo balls can be frozen for up to 3 months. To thaw, transfer to the refrigerator to thaw overnight.

I had problems getting the melted candy melts to stick to the balls. I followed the recipe exactly. Any tips on how to be successful dipping the balls (which seemed very greasy).
Thanks for your help!
Hi Katie, what brand of melts are you using? I haven't come across this issue before, but the candy may adhere more easily if the balls are frozen or very cold (the candy will solidify almost immediately upon dipping).
I had so much fun creating this recipe! I hope you give it a try and love it as much as I do. If you have a question, check out the post above, which is packed with information about the recipe. Tried the recipe? I'd love to hear your thoughts — leave a comment and a star rating to share your feedback!