
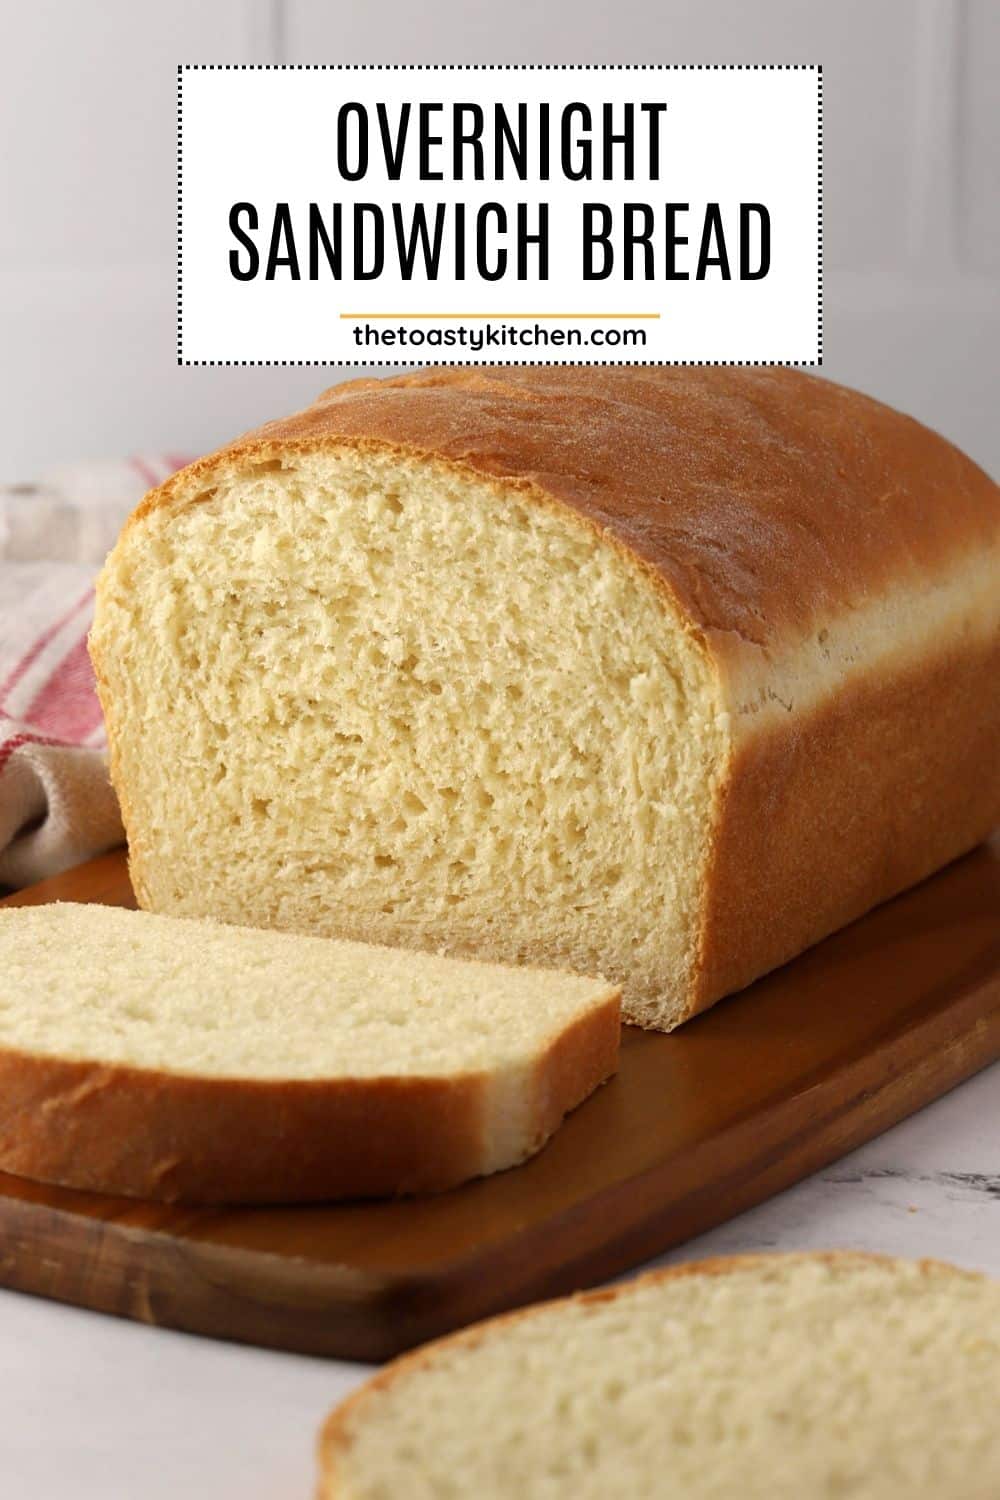
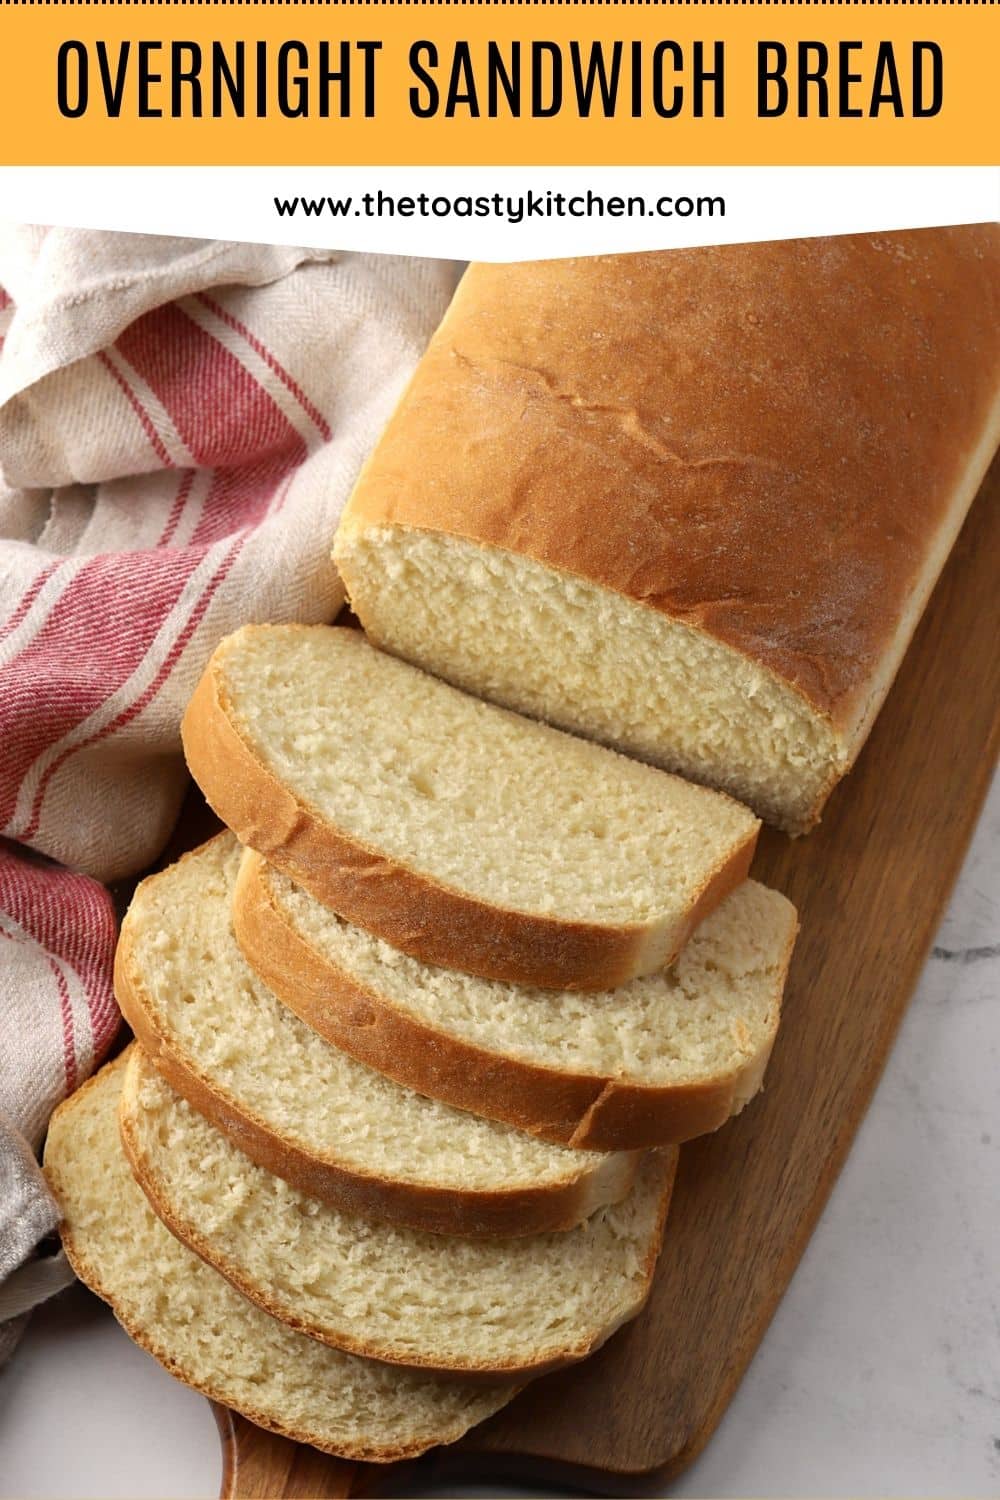
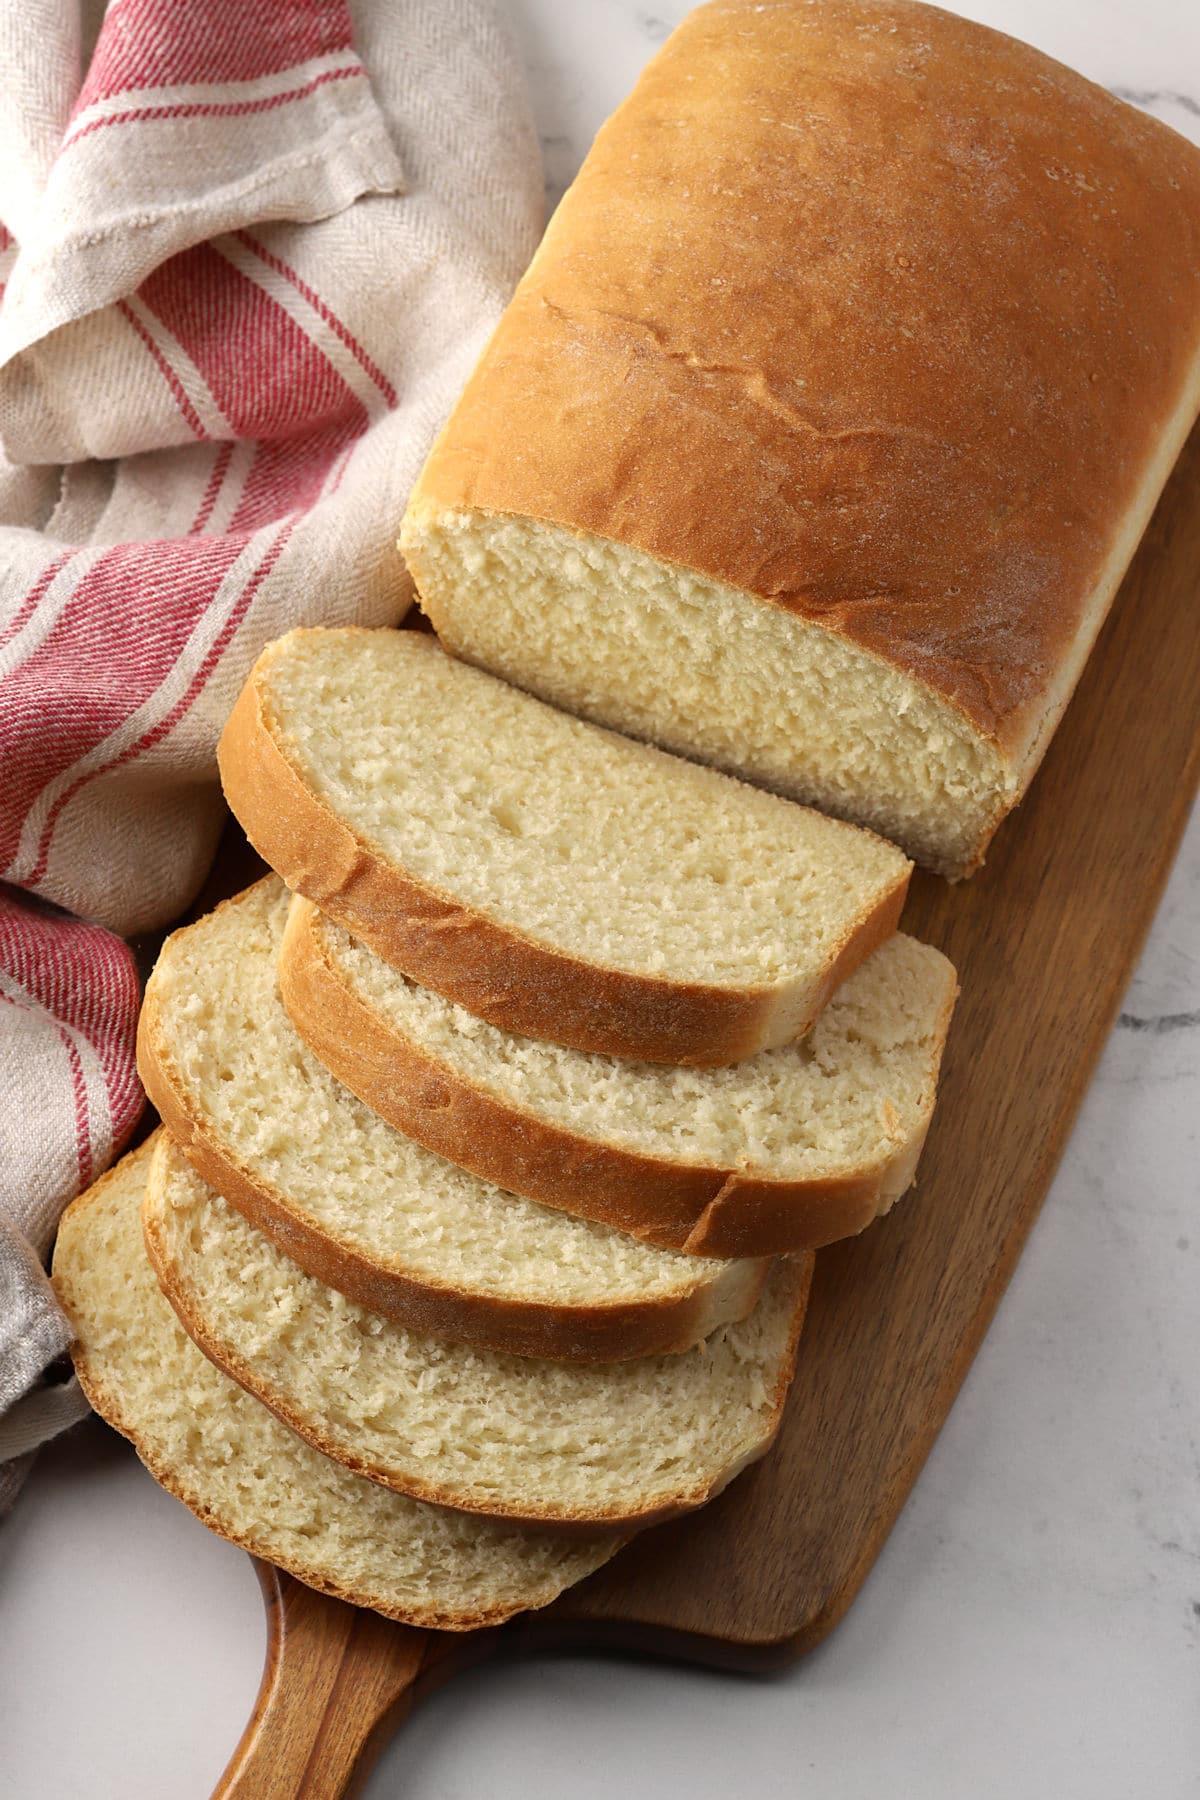
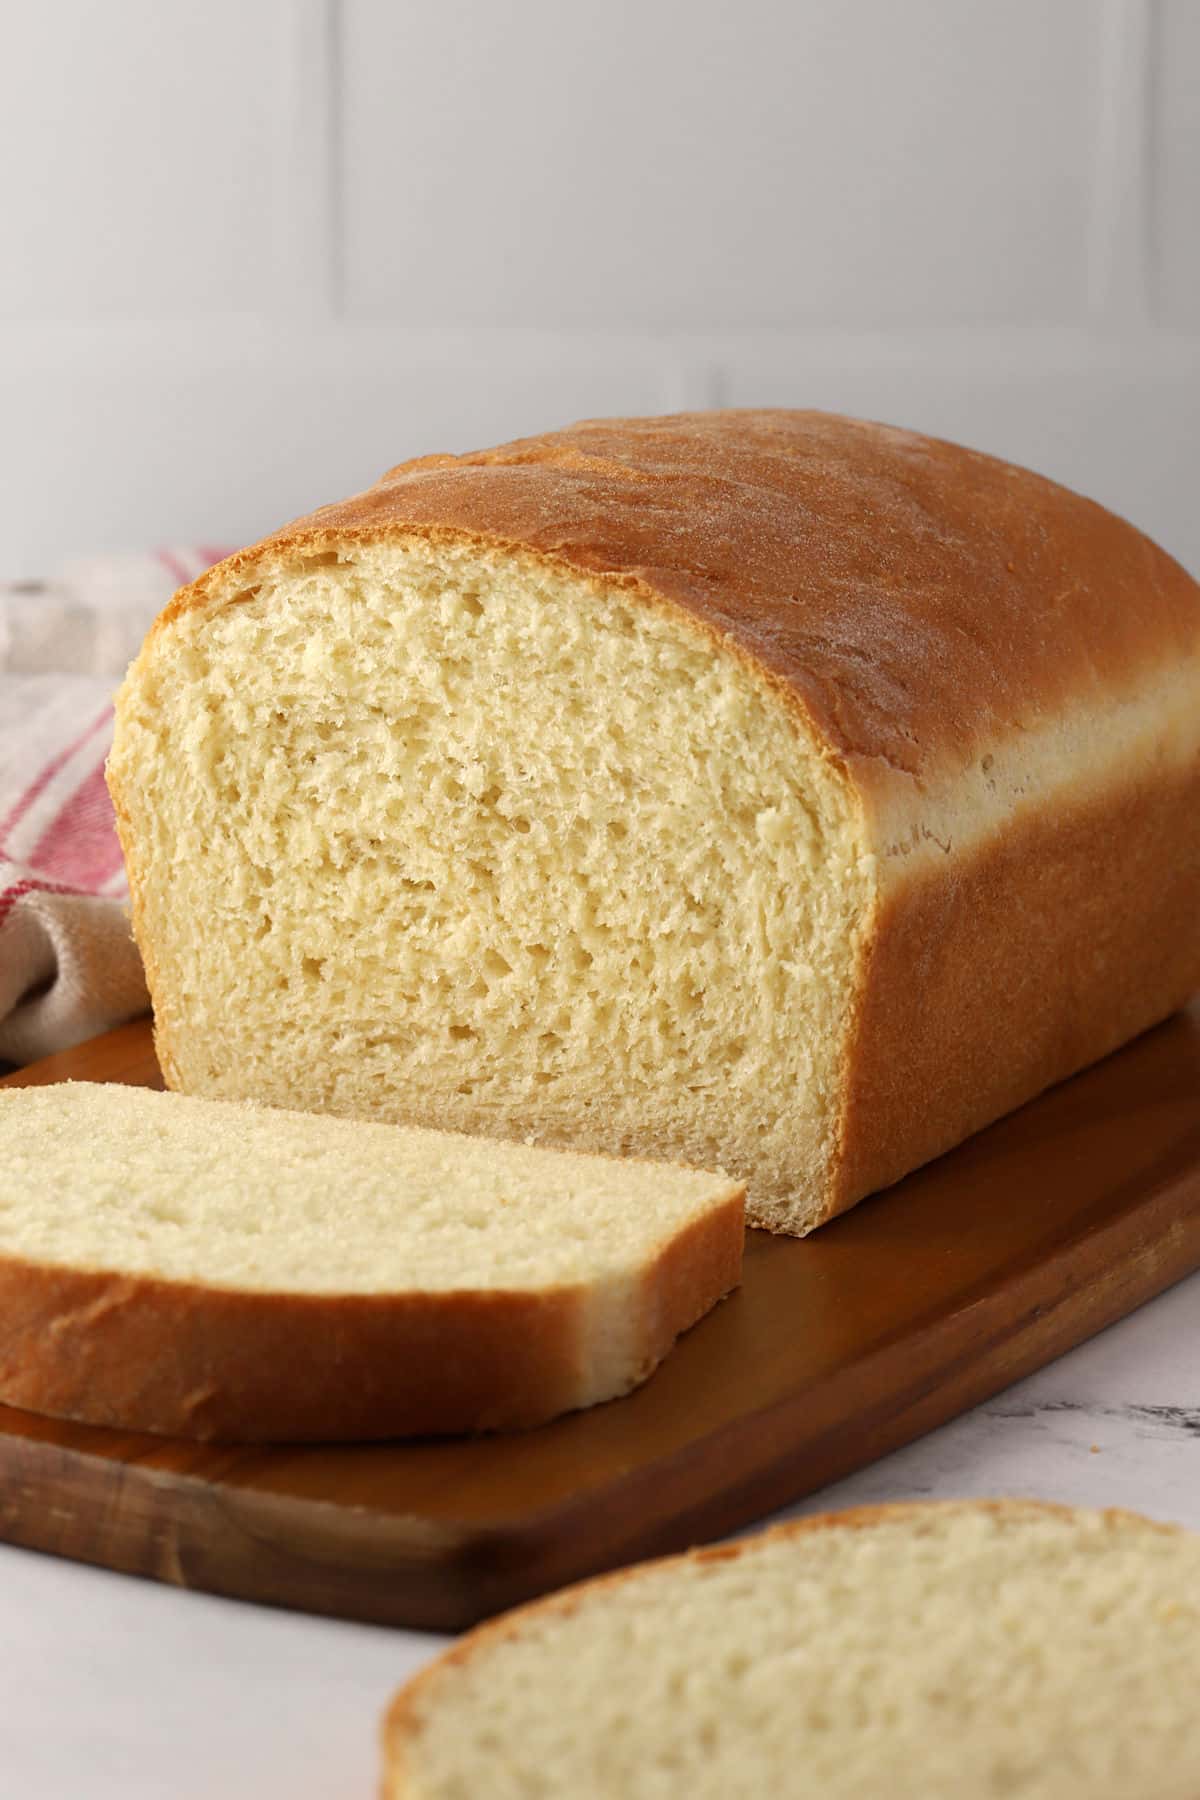
Overnight sandwich bread is made with just seven simple ingredients and turns out fluffy and tall with a golden crust. The dough can be refrigerated overnight for fresh-baked bread on your schedule.
Heather's recipe summary
Flavor/texture: Buttery bread loaf with a soft interior and chewy crust.
Overnight rest: Dough rests in the refrigerator overnight, up to 3 days, before baking. Bake fresh bread on your schedule!
Pan size: This recipe works in an 8.5x4.5, 9x4 pullman, or 9x5 loaf pan.
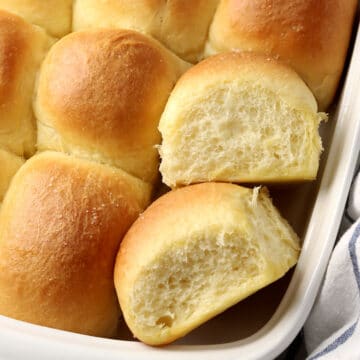
Similar to: Soft Dinner Rolls
Jump to:
Ingredients and substitutions
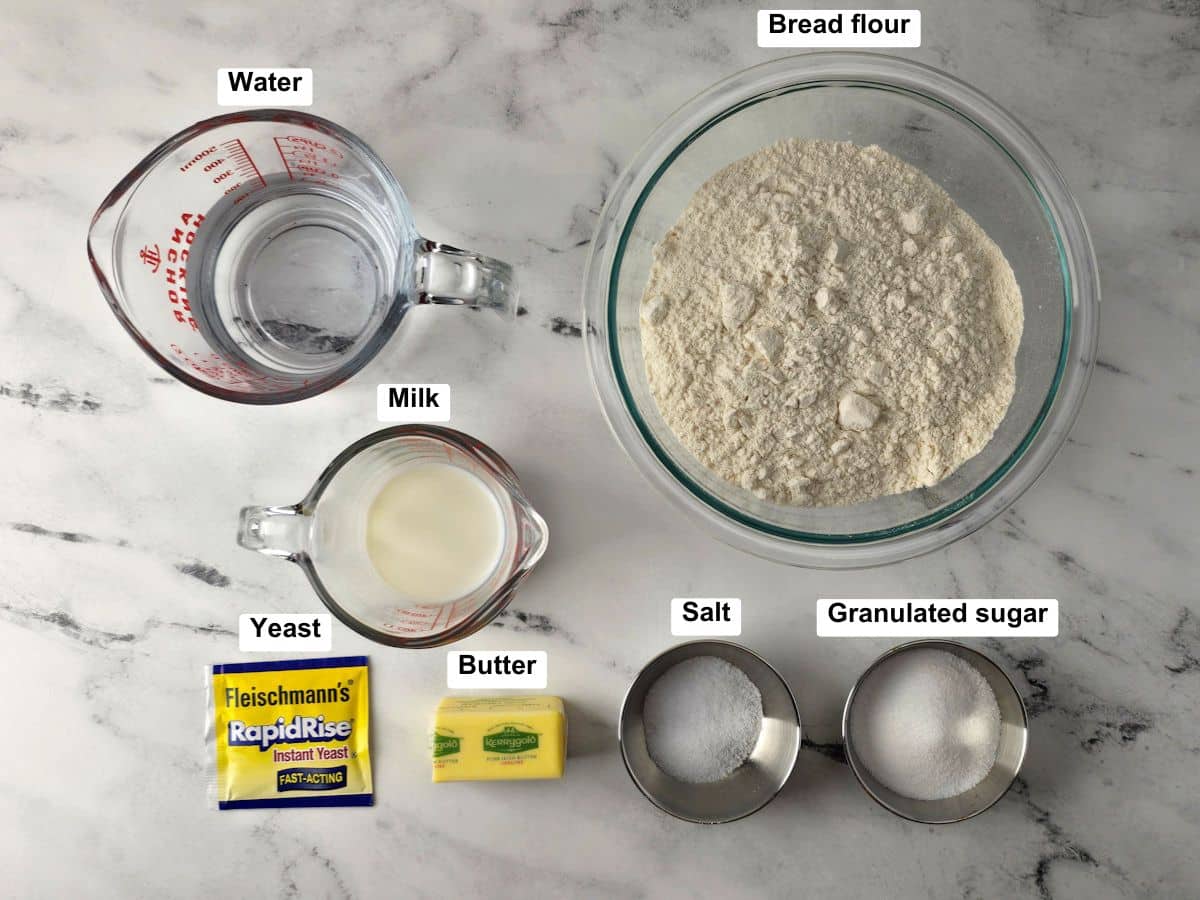
- Flour - Bread flour works best in this recipe, but all-purpose flour can work as a substitute. The brand you're using can affect your results. See my section below detailing what brands work best in this recipe.
- Yeast - I use instant yeast in this recipe but dry active yeast will also work. If you're using dry active yeast, your rise times will be longer. I include an activation step no matter what yeast you're using (this ensures your yeast is fresh and active, preventing potential wasted ingredients if your yeast doesn't activate properly).
Bread flour vs. all-purpose flour
Bread flour has a higher protein content than all-purpose flour. In short, it creates a stronger gluten network that leads to a taller rise, airy texture, and better structure. Can it be substituted with all-purpose flour? It depends on the brand.
- King Arthur Bread Flour - 12.7% protein content. I recommend this flour for bread baking.
- King Arthur All-Purpose Flour - 11.7% protein content. A great substitute when you don't want to buy a second type of flour for one recipe. Has a higher protein content than other AP flours and produces good results in bread recipes.
- Gold Medal, Martha White, and Pillsbury All-Purpose Flours - Around 10-11% protein content. These flours are all middle of the road in terms of protein content and can produce varied results in bread recipes.
- White Lily All-Purpose Flour - About 8% protein content. The low end of protein in an AP flour (similar to a cake flour). This flour works best in cakes, cookies, and muffins. I don't recommend using this flour in a bread recipe.
For more information: America's Test Kitchen: A Guide to All-Purpose Flour
How to make soft sandwich bread
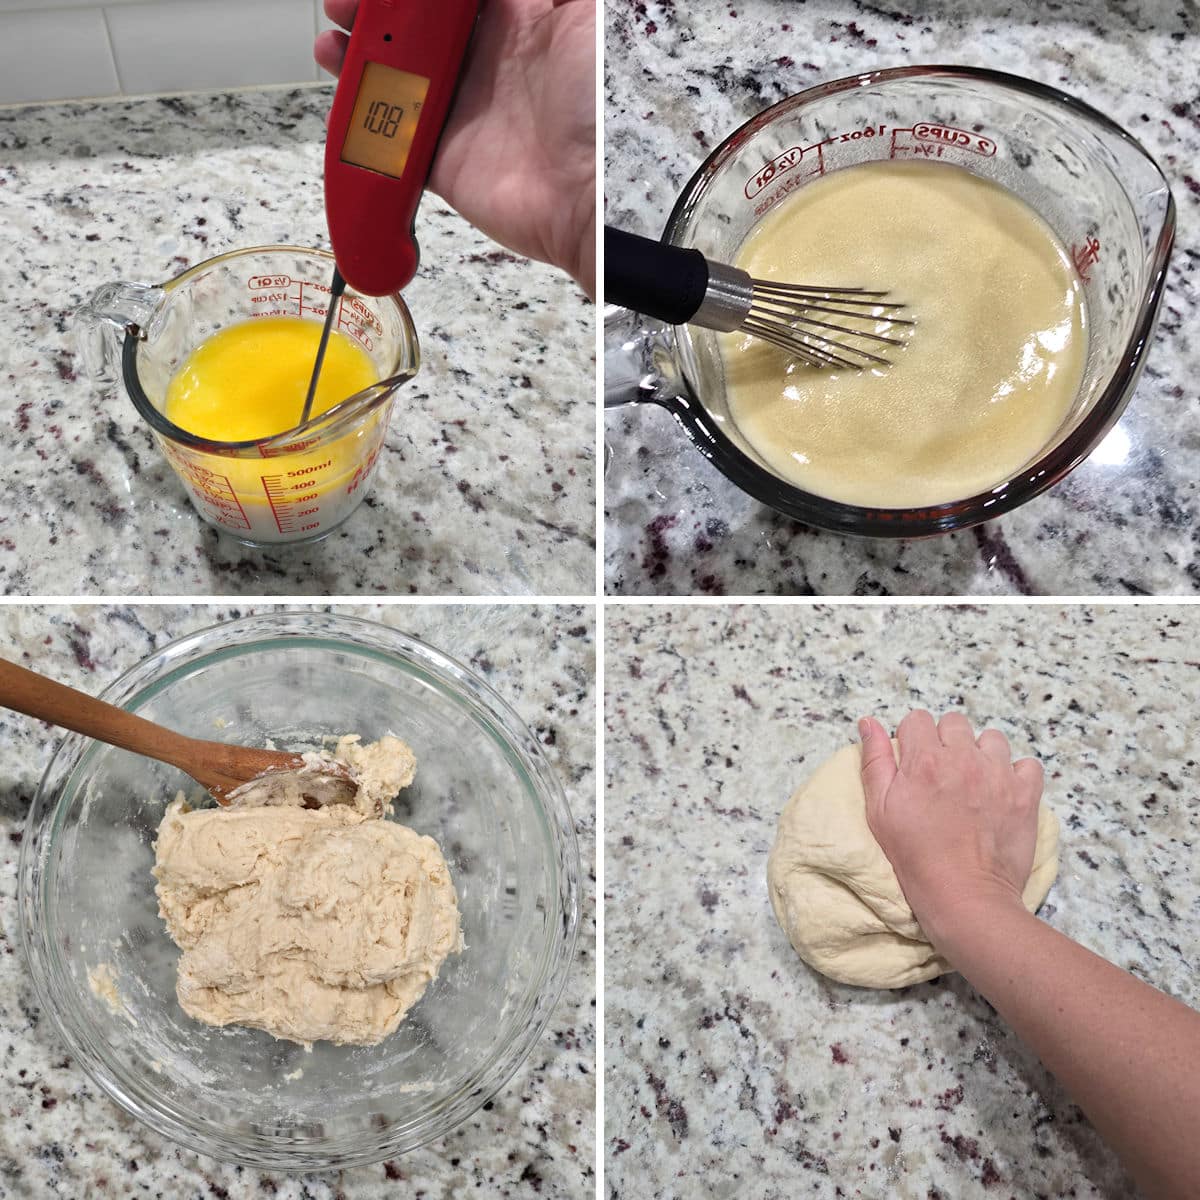
- Microwave water, milk, and butter until mixture is warm and between 100-110F.
- Whisk in sugar and yeast and allow to set until foamy (about 5 minutes).
- Pour yeast mixture into your flour and salt, then stir until a sticky dough forms.
- Knead for 3-5 minutes.
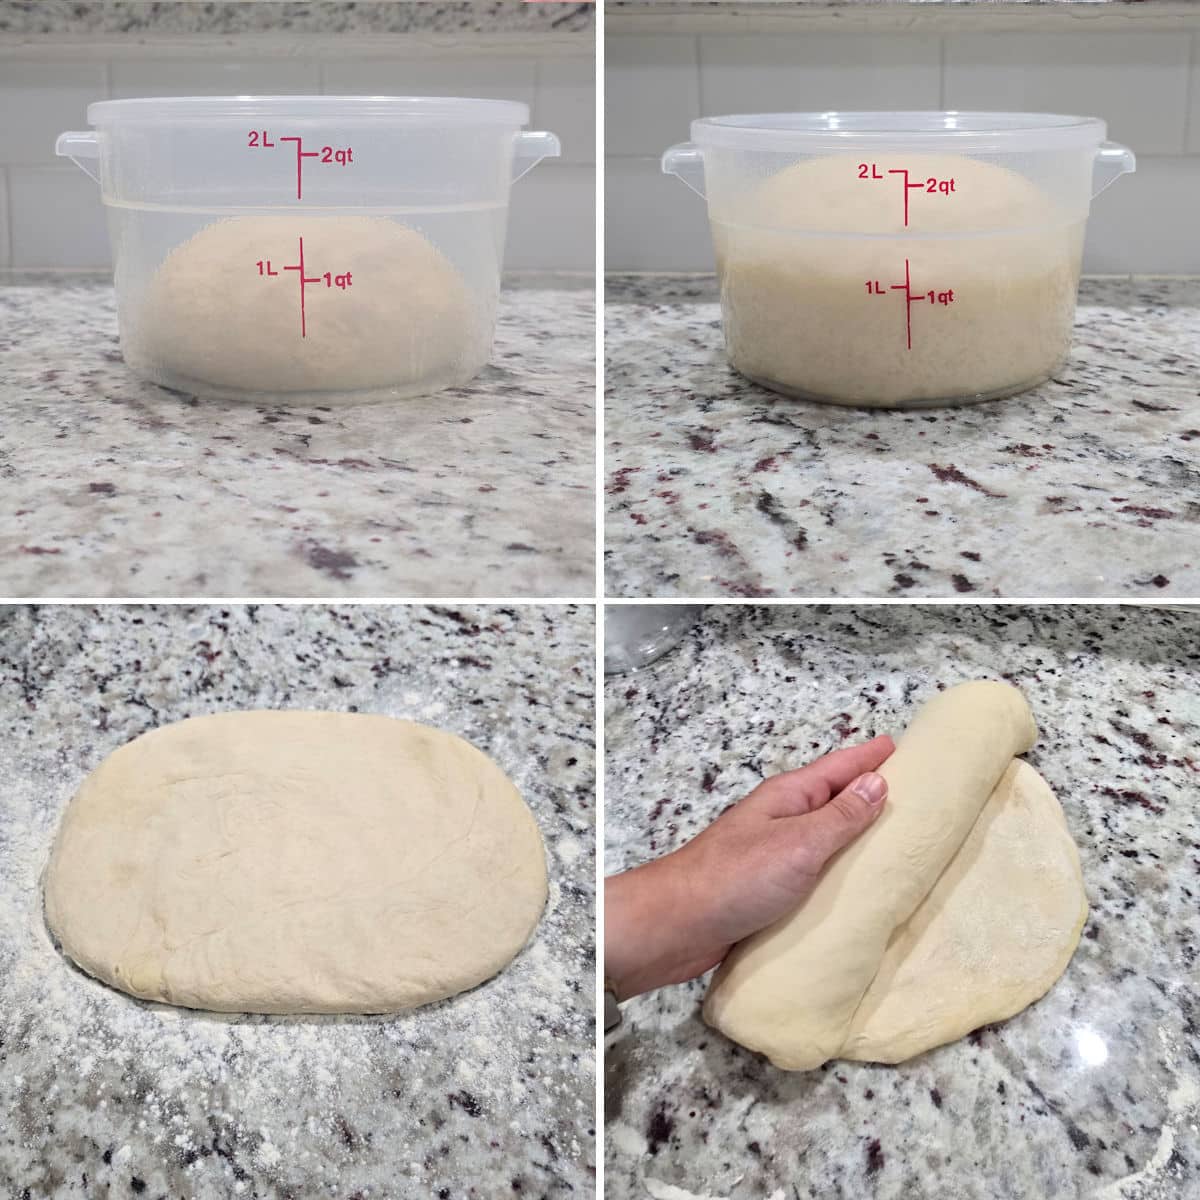
- Place in a greased bowl and cover.
- Allow dough to double in size (about an hour).
- Pat into a rectangle.
- Gently roll dough into a log.
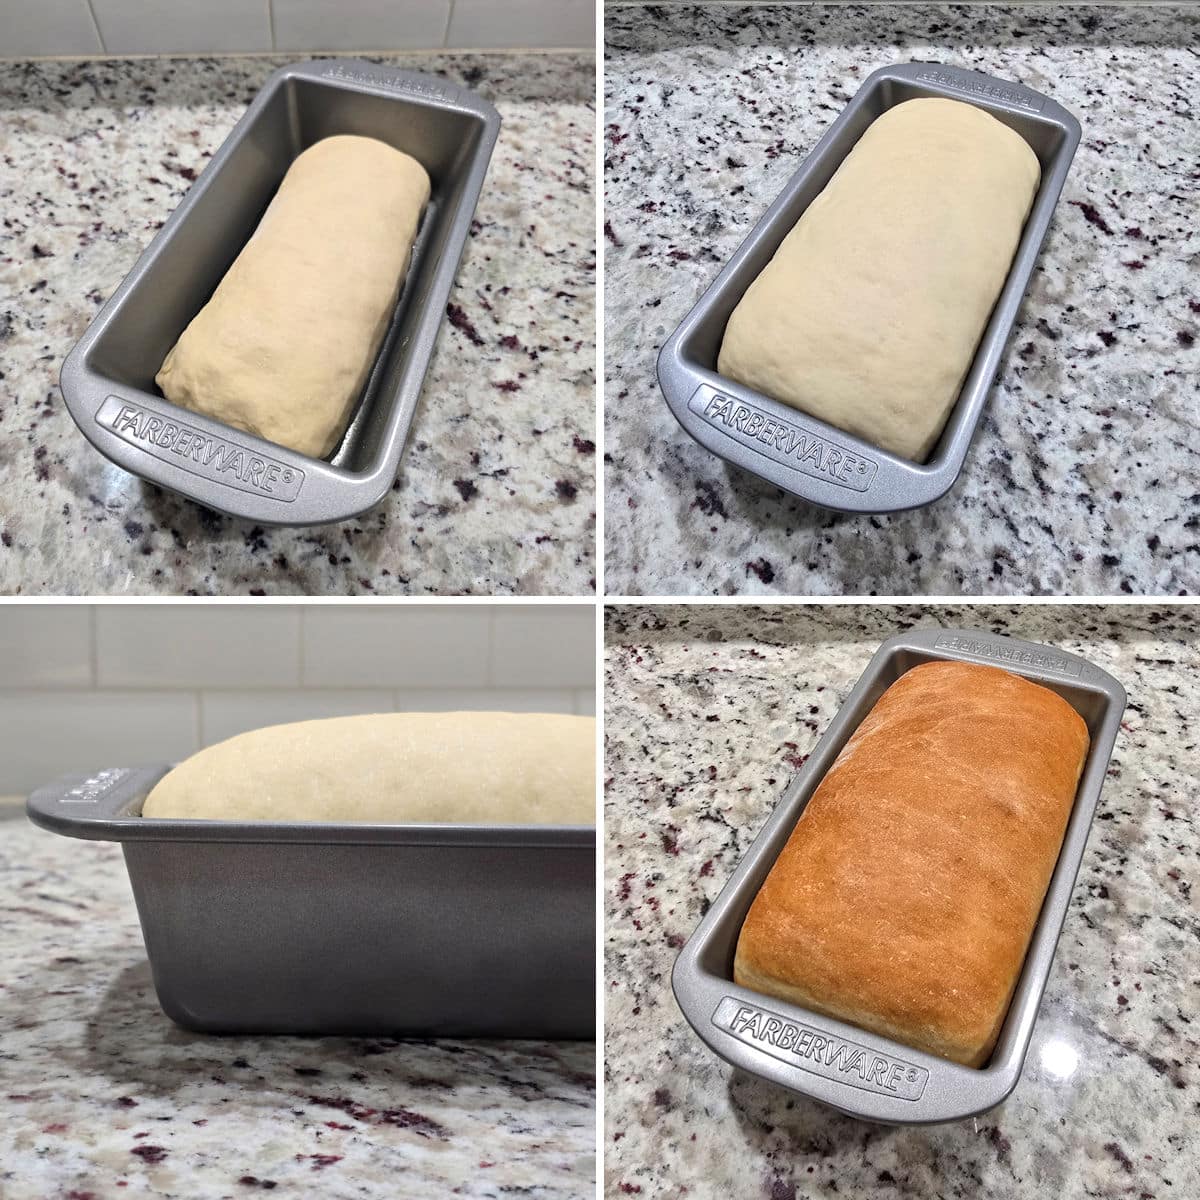
- Place dough into a greased loaf pan and cover tightly in plastic wrap.
- Refrigerate overnight, or until ready to bake.
- Dough will rise about 1 inch above the top of the pan (unless using a pullman pan).
- Bake until golden brown and bread reaches 195F in the center.
Heather's top tip
Use an instant-read thermometer
It can be hard to tell when yeast bread is done using visual cues alone, so I use an instant-read thermometer. Bread is done when it reaches 195F in the center. A thermometer prevents doughy or dry bread and ensures baked goods turn out perfectly every single time.
Frequently asked questions
This bread is made with an enriched dough, which means that fats and dairy have been added for flavor and moisture. Milk, butter, and sugar help make this bread soft and moist.
I haven't tested this recipe with dairy-free variations, but here's a great recipe to try that's already dairy-free (and vegan!): Easy Homemade Vegan Bread
Use a serrated knife (like this one: 10" bread knife on Amazon) for best results. The serrated blade saws through the bread easily without pressing into the loaf or squishing it.
This recipe works with an 8.5.4x5 loaf pan, a 9x5 loaf pan (shown) or a 9x4 pullman pan (for straight sides and a traditional store-bought look).
Recommended


📖 Recipe
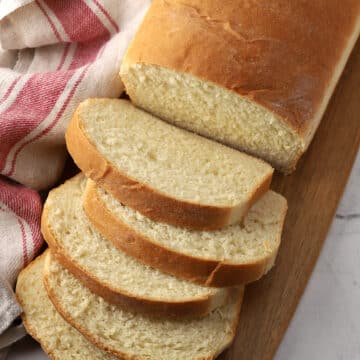
Overnight Sandwich Bread
Ingredients
- 1 cup (240 g) water
- ¼ cup (60 g) whole milk
- ¼ cup (56 g) unsalted butter, sliced into pieces
- 3 tablespoons (37 g) granulated sugar
- 1 ½ teaspoons (5 g) instant yeast
- 3 ⅓ cups (400 g) bread flour, or high protein AP flour*
- 2 teaspoons (6 g) kosher salt
Instructions
- In a microwave safe bowl, add water, milk and butter pieces. Microwave in 20 second increments until butter has melted and mixture is warm to the touch, but not hot (about 110℉).
- Whisk in sugar and yeast and allow to rest for about 5 minutes. Mixture will look foamy and bubbly. (If it's not foamy after 10 minutes, your yeast may be expired.)
- Meanwhile, add flour and salt to a large bowl. Once ready, add yeast mixture to the bowl and stir with a wooden spoon until a sticky dough forms.
- Turn dough out onto a lightly floured surface. Using floured hands, knead the dough for 3-5 minutes. Dough will look smooth, slightly tacky, and slowly springs back when gently pressed. (See notes below for stand mixer directions).
- Transfer dough to a lightly greased bowl, tossing dough to coat all sides, and cover with plastic wrap or an airtight lid. Allow to rise for about 1 hour at room temperature, or until doubled in size.
- Punch dough down and turn out onto a lightly floured surface.
- Pat dough into a rectangle, then roll up into a log, pinching the seams closed.
- Transfer loaf, seam side down, into a greased 8.5x4.5 loaf pan (or 9x5 loaf, or 9x4 pullman pan).
- Overnight: Cover with plastic wrap (allowing space for the dough to expand) and transfer to the refrigerator overnight (up to 3 days).Same day: Cover with plastic wrap and allow to rise for about 1 hour. Test dough by pressing with a finger. If it slowly springs back about halfway and feels jiggly and airy, it's ready. If dough springs back quickly and feels dense, it needs more time.
- Preheat oven to 350℉. If your dough is refrigerated, set pan on the counter while the oven preheats.
- Transfer loaf to the oven and bake for about 40-45 minutes if refrigerated overnight (30-35 minutes if same day), or until the center reaches 195℉. Tent your loaf with foil if the top is browning too quickly.
- Rest bread for a few minutes before popping out of the pan and transferring to a cooling rack (this ensures the bread doesn't get soggy while cooling in the pan). Allow to cool completely before slicing and serving.
Equipment Recommendations
Notes
- *Flour variations: This recipe works best with bread flour, but an AP flour with higher protein content (like King Arthur) can also produce great results. Low protein flours like cake flour or white lily flour are not recommended.
- Yeast: This recipe can be prepared with instant or dry active yeast. If using dry active yeast, your rise times will take slightly (15-20 minutes) longer.
- Stand mixer directions: Add ingredients to the bowl of a stand mixer fitted with a paddle attachment or dough hook. Mix on low until a soft, sticky dough forms. Beat on medium speed until the dough starts to pull away from the sides of the bowl (this takes about 2 minutes). If dough looks wet and sticky, add more flour, 1 tablespoon at a time, until dough comes together and looks soft and slightly tacky, not sticky. Beat for an additional 5 minutes. Dough should feel soft and slowly bounce back when pressed.
- How long can dough rest in the refrigerator?: Enriched dough will keep for up to 3 days in the refrigerator before baking.
- Storage: Keeps 2-3 days at room temperature, frozen for up to 3 months.


I had so much fun creating this recipe! I hope you give it a try and love it as much as I do. If you have a question, check out the post above, which is packed with information about the recipe. Tried the recipe? I'd love to hear your thoughts — leave a comment and a star rating to share your feedback!