
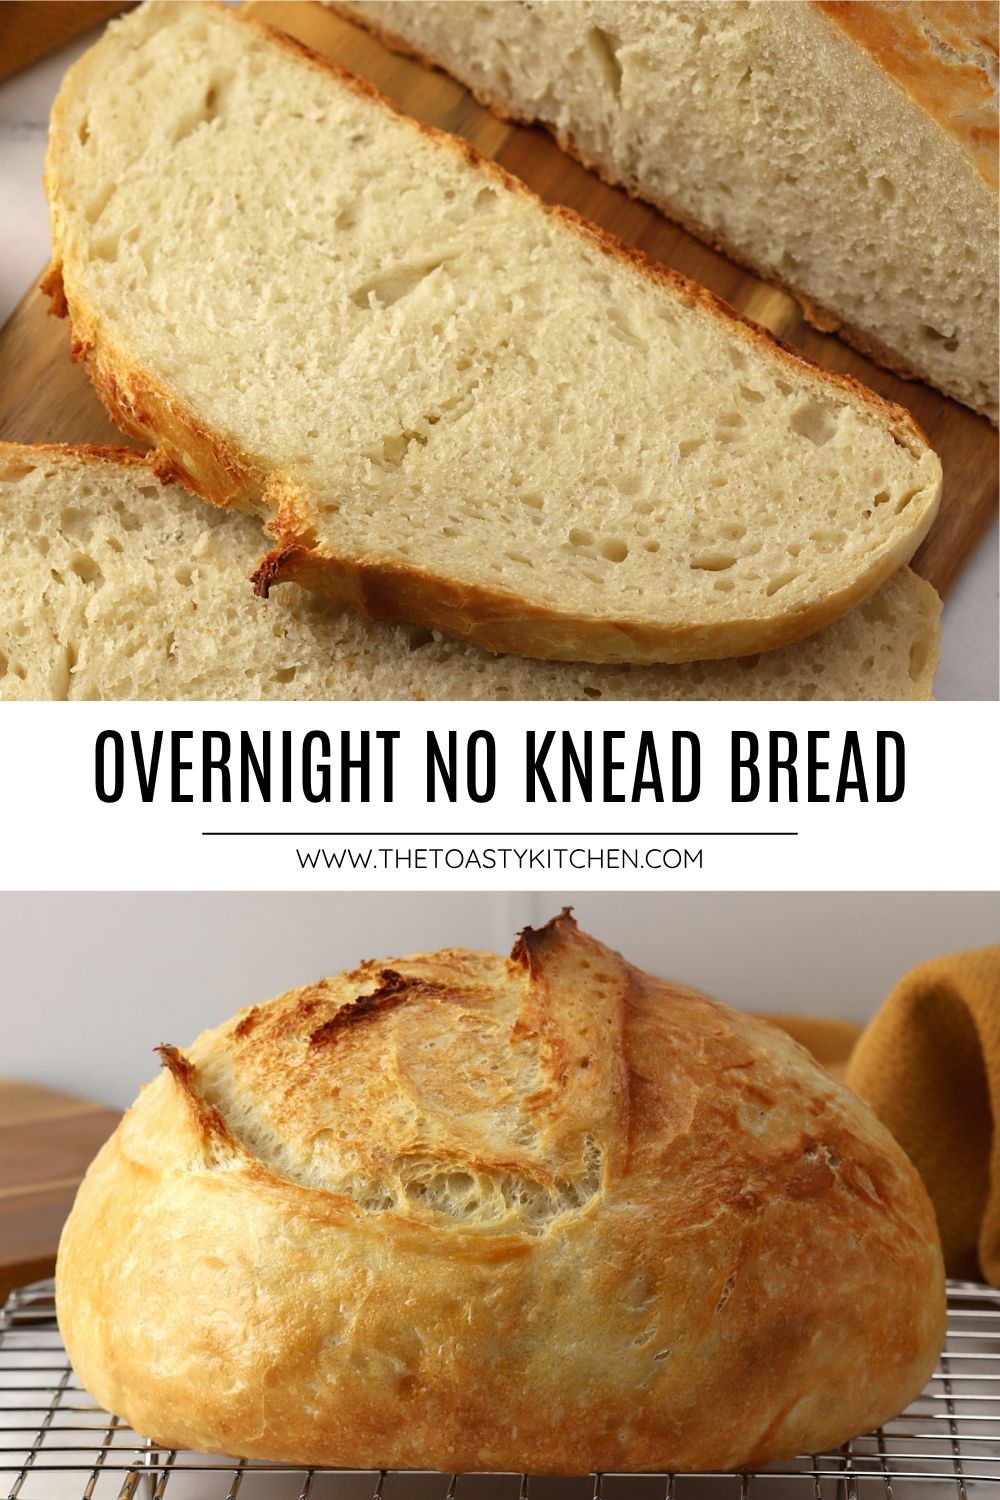
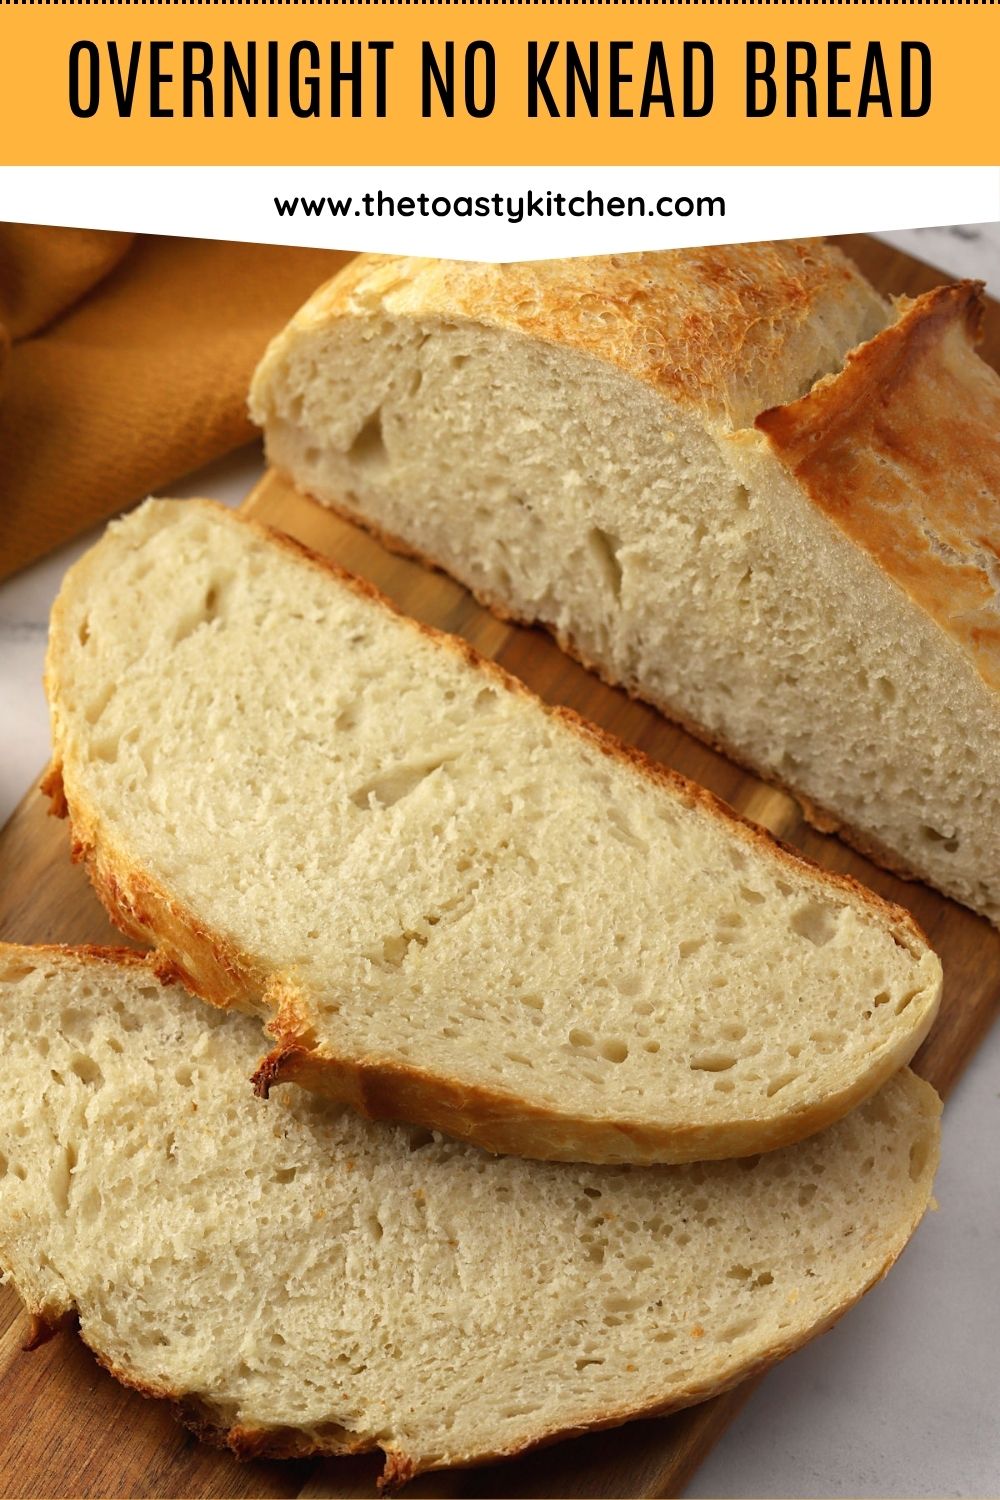
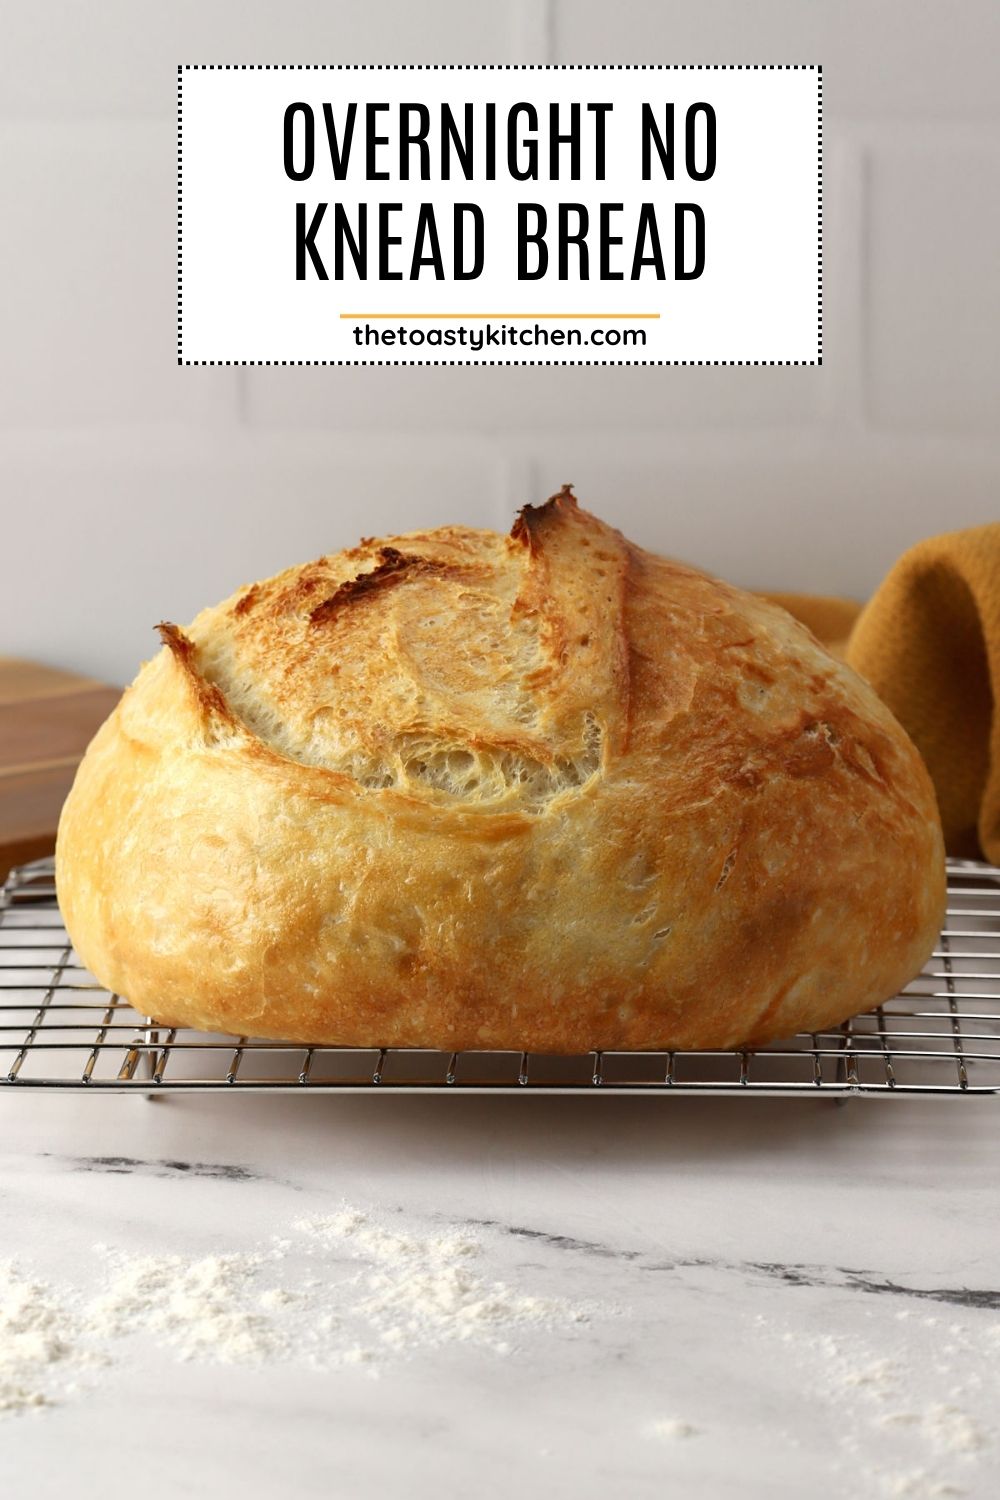
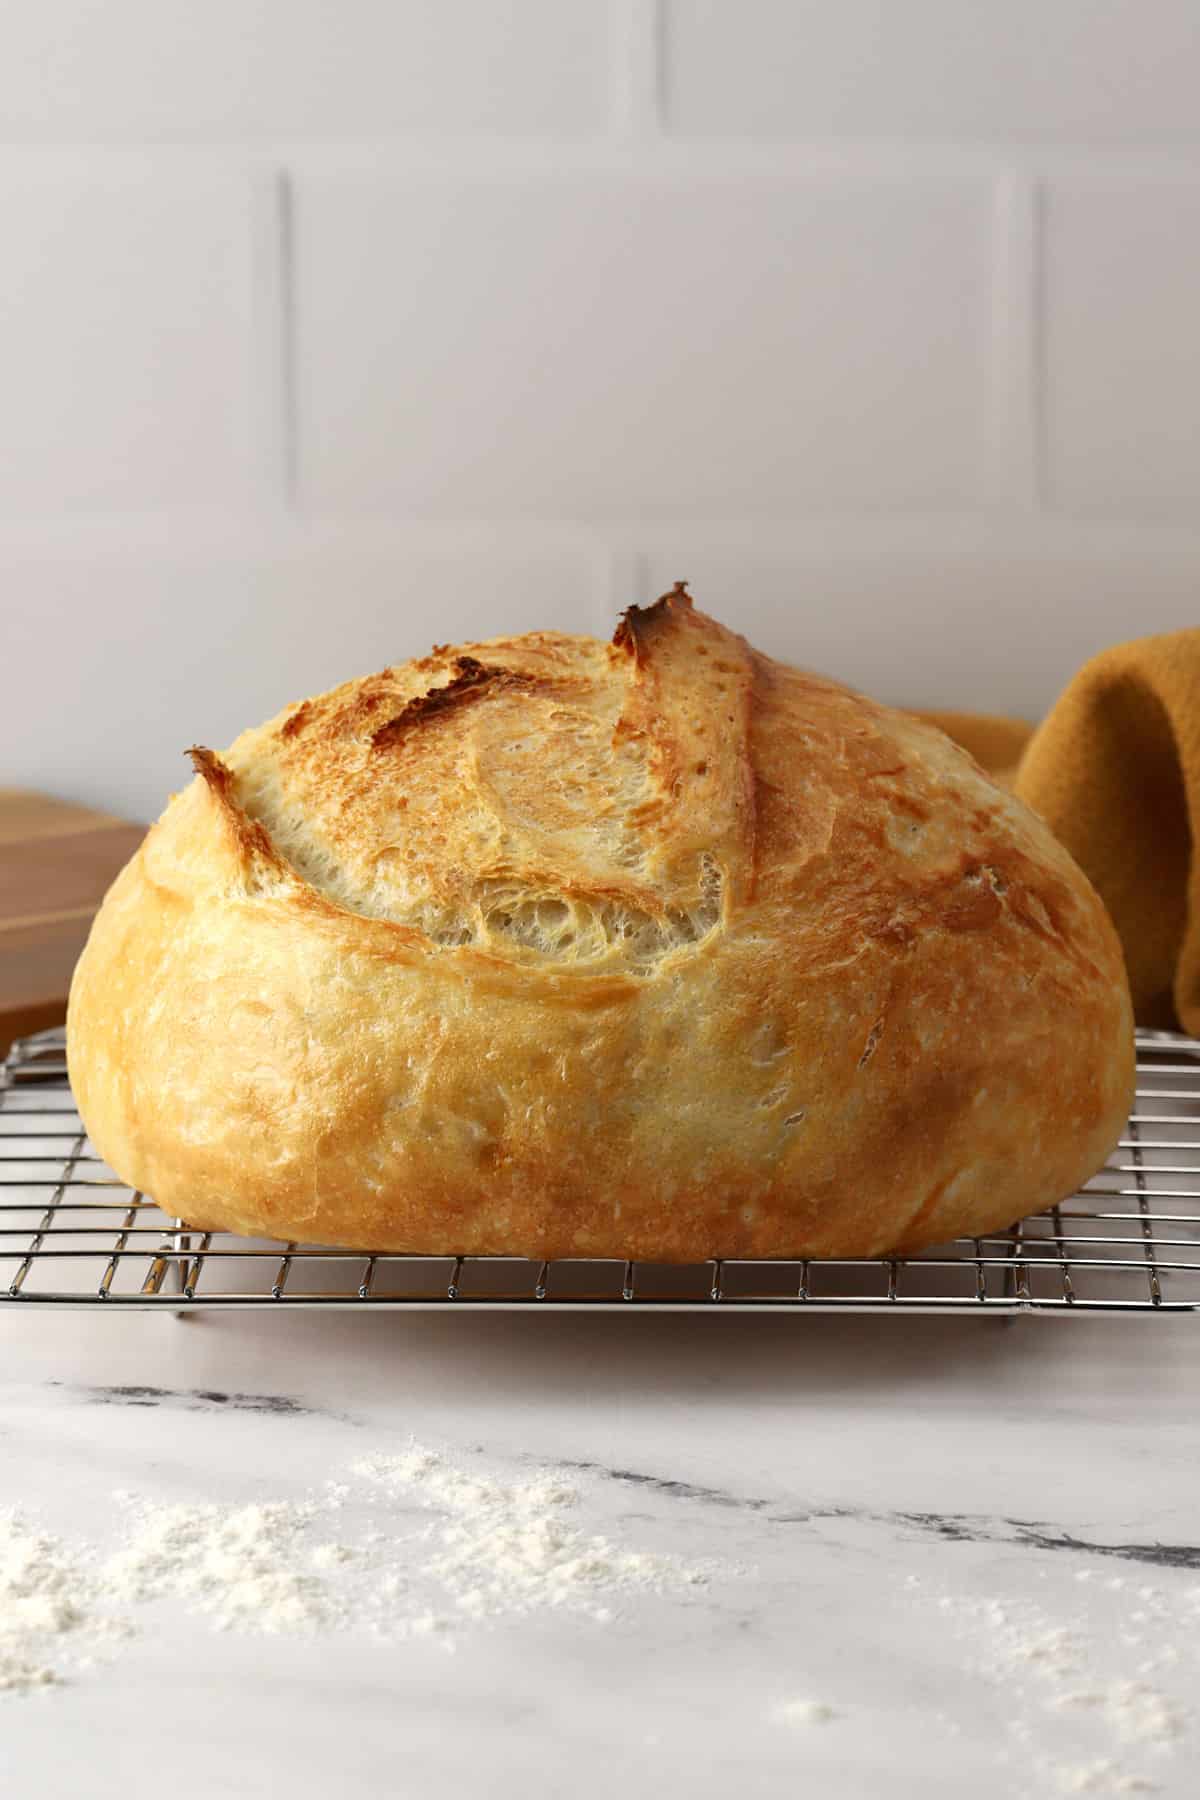
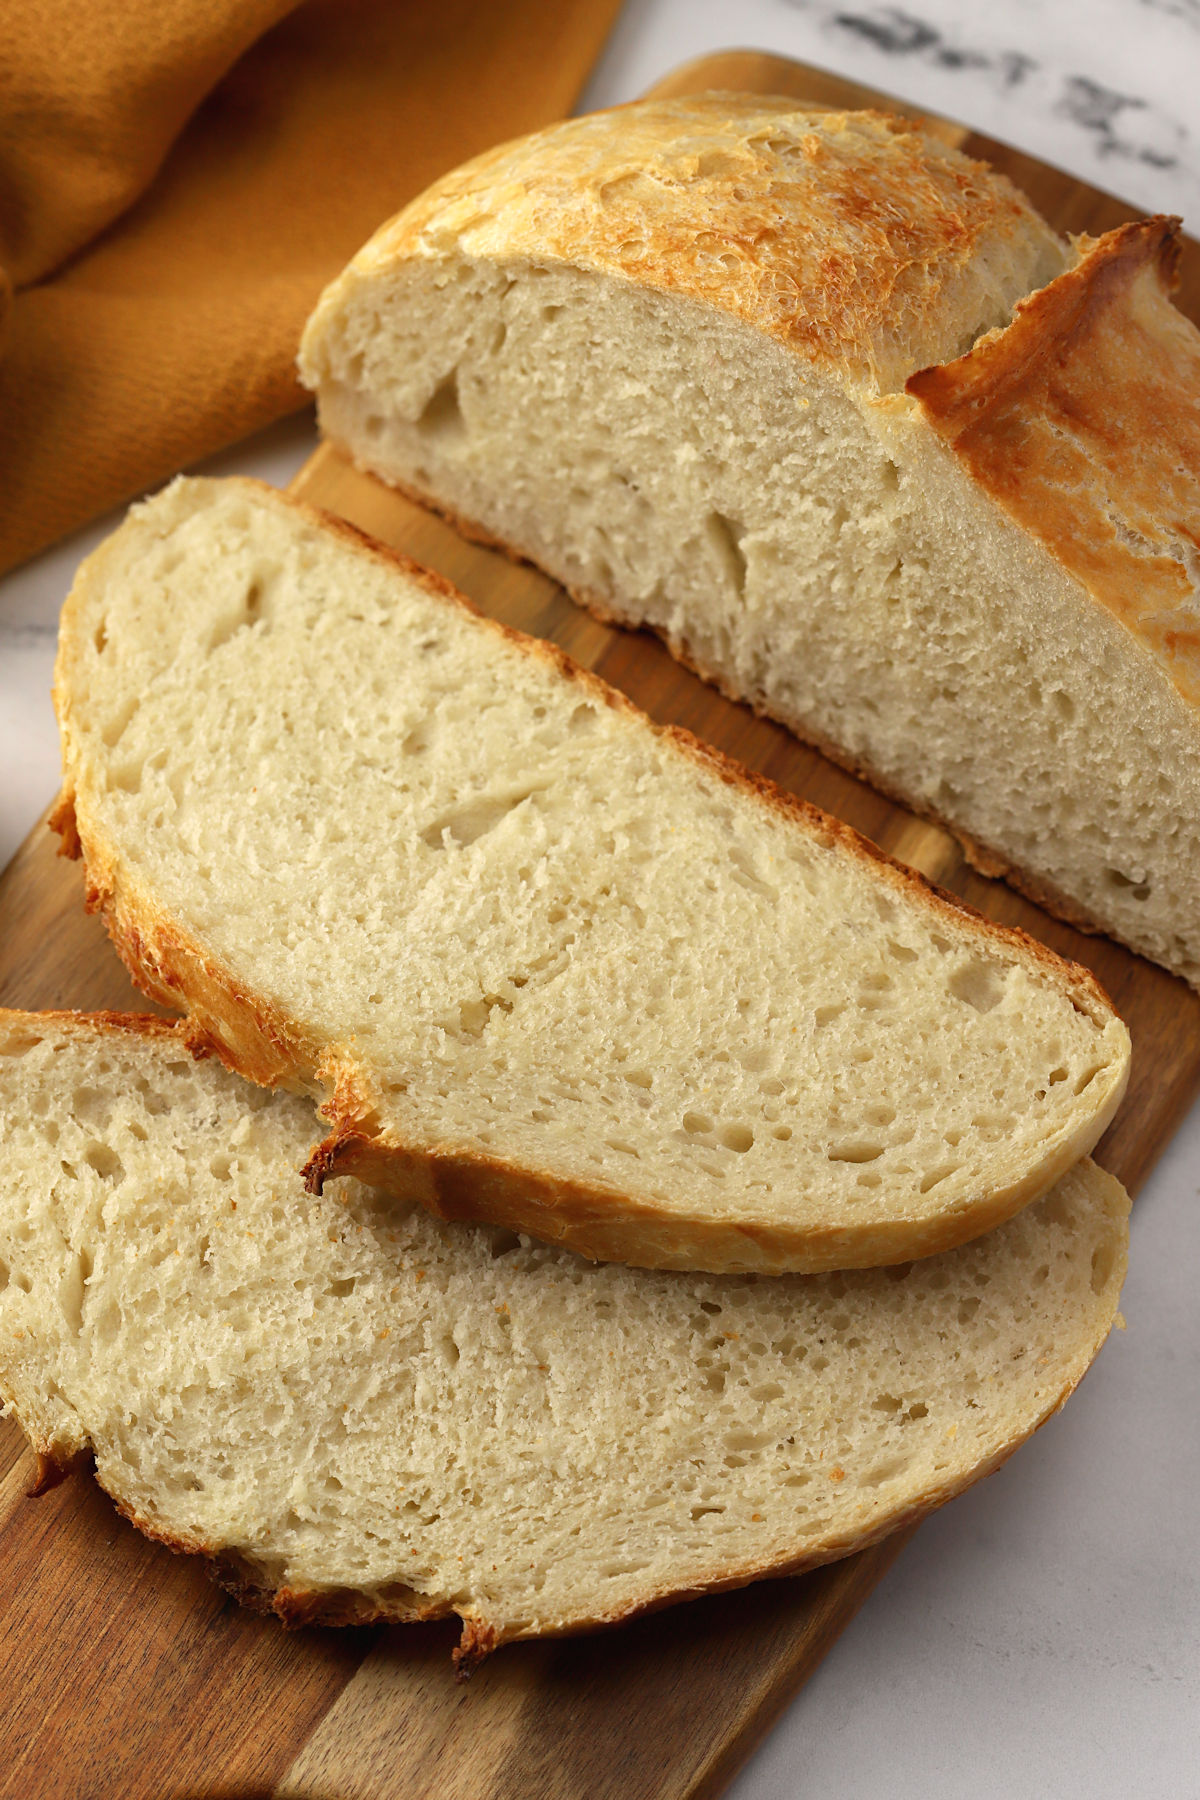
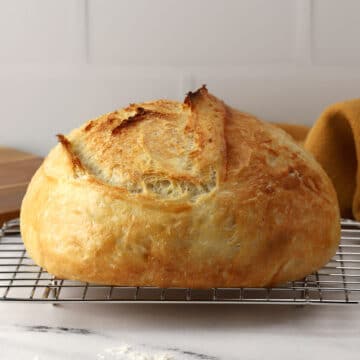
Overnight no knead bread is a simple, crusty bread with a golden brown crust and soft, chewy interior. It's made with four ingredients, less than a minute of mixing, and zero kneading or folding. Store the dough in the refrigerator for up to 3 days and bake when it's convenient for you.
Heather's recipe summary
Flavor/texture: Crusty artisan bread loaf with a soft, chewy interior. Great fresh from the oven or toasted and topped with butter.
Overnight rest: Dough rests in the refrigerator overnight (up to 3 days) before baking.
Yield: One 7" round loaf
Similar to: Overnight Sandwich Bread
Jump to:
Ingredients and substitutions
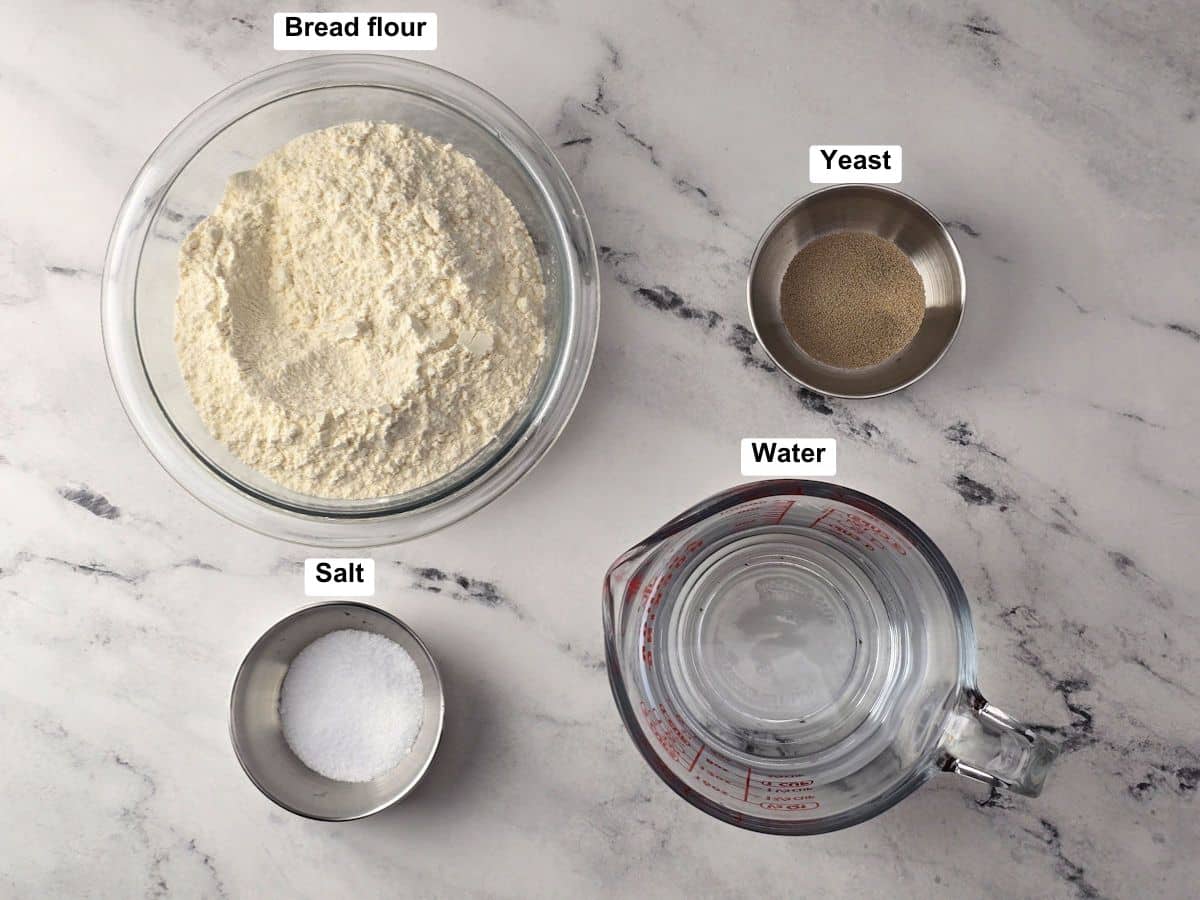
- Flour - Bread flour works best when making bread, but all-purpose flour can sometimes work as a substitute (depending on the brand). I use and recommend King Arthur.
- Yeast - I use instant yeast in this recipe but dry active yeast will also work. If you're using dry active yeast, your rise time will be slightly (15-20 minutes) longer.
Bread flour vs. all-purpose flour
Bread flour has a higher protein content than all-purpose flour. In short, it creates a stronger gluten network that leads to a taller rise, airy texture, and better structure. Can it be substituted with all-purpose flour? It depends on the brand.
- King Arthur Bread Flour - 12.7% protein content. I recommend this flour for bread baking.
- King Arthur All-Purpose Flour - 11.7% protein content. A great substitute when you don't want to buy a second type of flour for one recipe. Has a higher protein content than other AP flours and produces good results in bread recipes.
- Gold Medal, Martha White, and Pillsbury All-Purpose Flours - Around 10-11% protein content. These flours are all middle of the road in terms of protein content and can produce varied results in bread recipes.
- White Lily All-Purpose Flour - About 8% protein content. The low end of protein in an AP flour (similar to a cake flour). This flour works best in cakes, cookies, and muffins. I don't recommend using this flour in a bread recipe.
How to make no knead bread
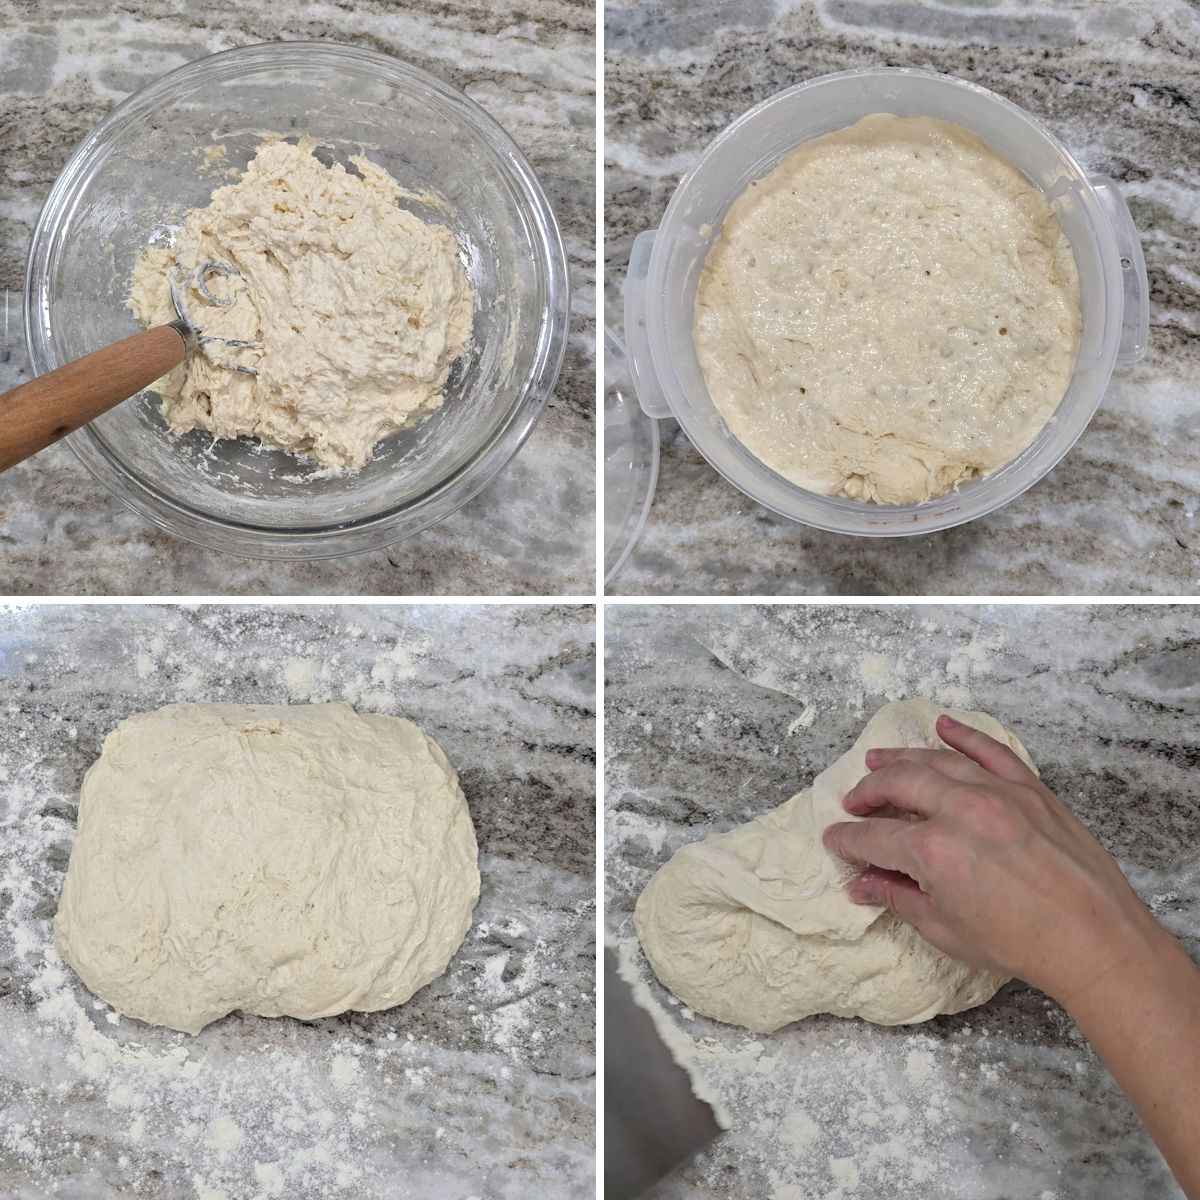
- Mix ingredients in a bowl until a sticky dough forms.
- Cover and rise for two hours at room temperature, then refrigerate overnight (up to 3 days).
- Preheat oven and turn dough out onto a floured surface.
- Gently pull each corner to the center to form a ball.
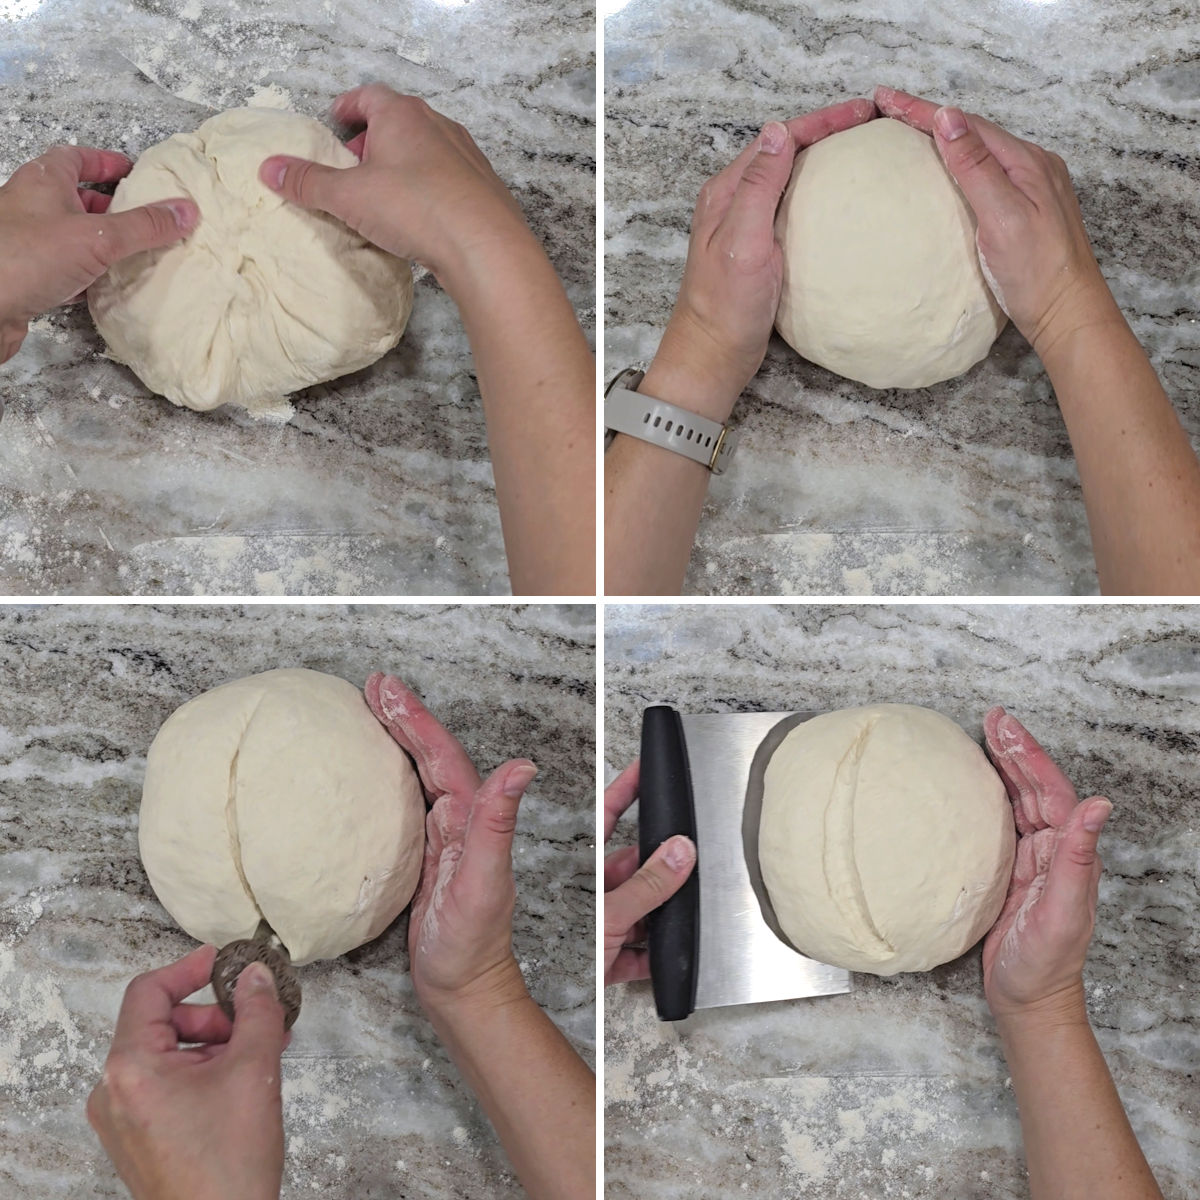
- Pinch the seams closed.
- Flip dough over onto a clean countertop and pull towards you to create a taut surface.
- Score the top with a knife or bread lame.
- Use a bench scraper to transfer to parchment.
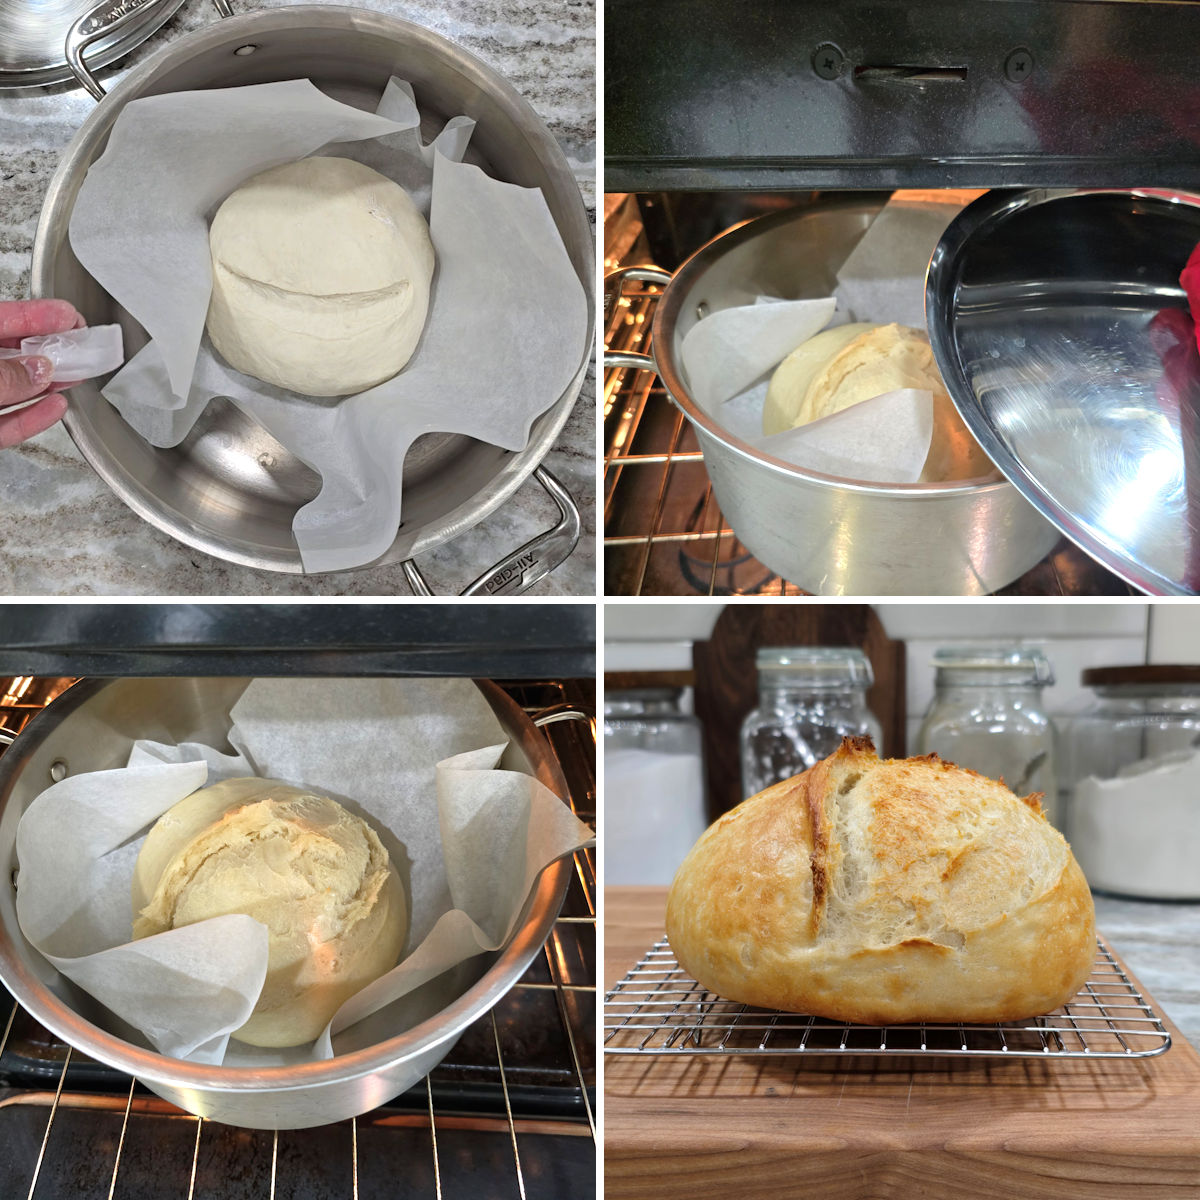
- Place parchment into preheated Dutch oven and optionally add a few ice cubes to create steam.
- Remove lid halfway through baking.
- This allows the bread to brown and form a crunchy crust.
- Transfer bread to a cooling rack.
Heather's top tip
Use an instant-read thermometer
It can be hard to tell when yeast bread is done using visual cues alone, so I use an instant-read thermometer. Lean bread (like this recipe) is done when it reaches 205F in the center. A thermometer prevents doughy or dry bread and ensures it turn out perfectly every single time.
Tips and tricks
Use parchment - It prevents your bread from sticking and makes it easy to lift in and out of the pan.
Don't skip the rest - An extended rest in the refrigerator allows the dough to develop a malty, fermented flavor (similar to sourdough). This dough needs a minimum of one night's rest in the refrigerator, but tastes even better after 2 to 3 days.
Frequently asked questions
No, I don't recommend it. This recipe calls for only four ingredients, with only the salt adding any initial flavor. As the dough rests in the refrigerator, the yeast develops a malty, fermented flavor similar to sourdough. This bread had a flat, bland flavor when tested without an overnight rest. Don't skip it!
Use a serrated knife (like this one: 10" bread knife on Amazon) for best results. Slice the bread in half down the center, then place the flat/cut sides face down on the cutting board. Starting at the small end, cut straight down using a sawing motion to create uniform slices.
Recommended
📖 Recipe
Overnight No Knead Bread
Ingredients
- 1 ¼ cups (300 g) water, warm (about 110F)
- 1 teaspoon (3 g) instant yeast
- 3 ⅓ cups (400 g) bread flour
- 1 tablespoon (9 g) kosher salt, or 1 ½ teaspoons (9g) table salt
Instructions
- Add warm water and instant yeast to a large bowl and whisk until yeast has dissolved. Add bread flour and kosher salt. Stir until a shaggy dough forms.
- Cover bowl with plastic wrap or an airtight lid and allow to rise for 2 hours at room temperature. Dough should be about double in size and look bubbly and jiggly.
- Transfer to the refrigerator to rest overnight, up to 3 days (I find that 2-3 day bread has the best flavor).
- Remove dough from refrigerator to warm up while your oven preheats.
- Place an empty Dutch oven with the lid inside your oven and preheat to 450℉.
- Once the oven has preheated, pour dough out onto a lightly floured surface. Pull each corner to the center to form a ball and pinch the seams closed.
- Flip the dough over onto a clean section of countertop and cup the dough with your hands, pulling it towards you to create a taut ball.
- Use a bench scraper to transfer bread (seam side down) onto a piece of parchment paper.
- Score the top of the bread with a sharp knife or lame.
- Remove preheated Dutch oven and remove the lid. Use the parchment to lift your dough into the pan. Optionally, add a few ice cubes under the parchment (this produces steam which helps your bread rise) then return lid.
- Bake for 25 minutes covered, then remove lid and bake for another 20-25 minutes. Bread should look golden brown on top and reach 205F in the center when tested with an instant-read thermometer.
- Allow bread to cool for at least 20 minutes before slicing and serving.
Equipment Recommendations
Notes
- Don't have a Dutch oven?: Bread can be baked uncovered on a sheet pan for 45-50 minutes. Bread will turn out slightly flatter but taste just as good. Alternatively, flip a large metal bowl over the dough on the sheet pan and follow directions above as if the bowl were a lid.
- Storage: Bread will keep for up to 2 days at room temperature or frozen for up to 3 months.


I had so much fun creating this recipe! I hope you give it a try and love it as much as I do. If you have a question, check out the post above, which is packed with information about the recipe. Tried the recipe? I'd love to hear your thoughts — leave a comment and a star rating to share your feedback!