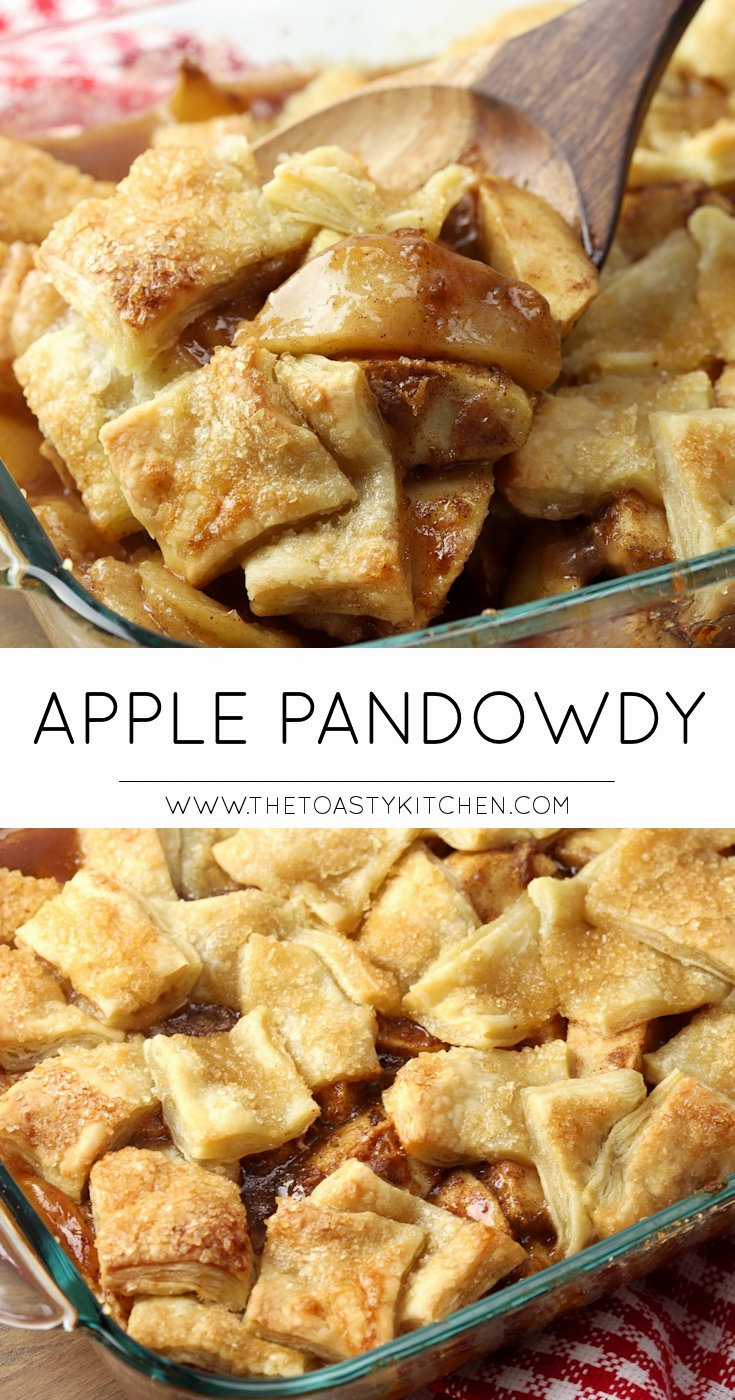
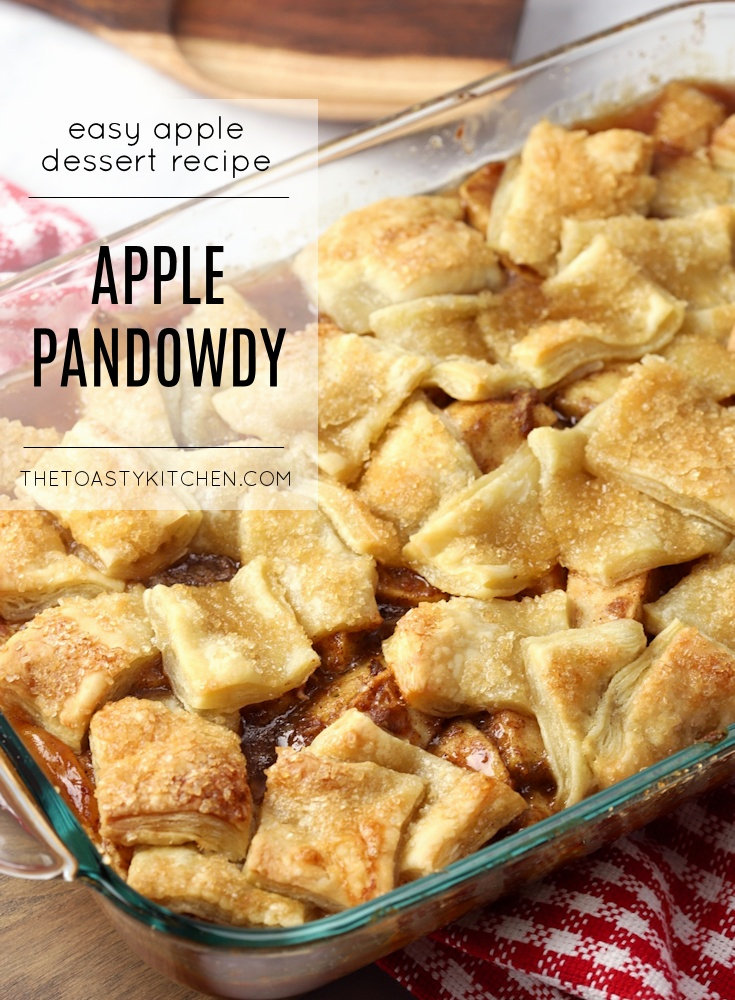
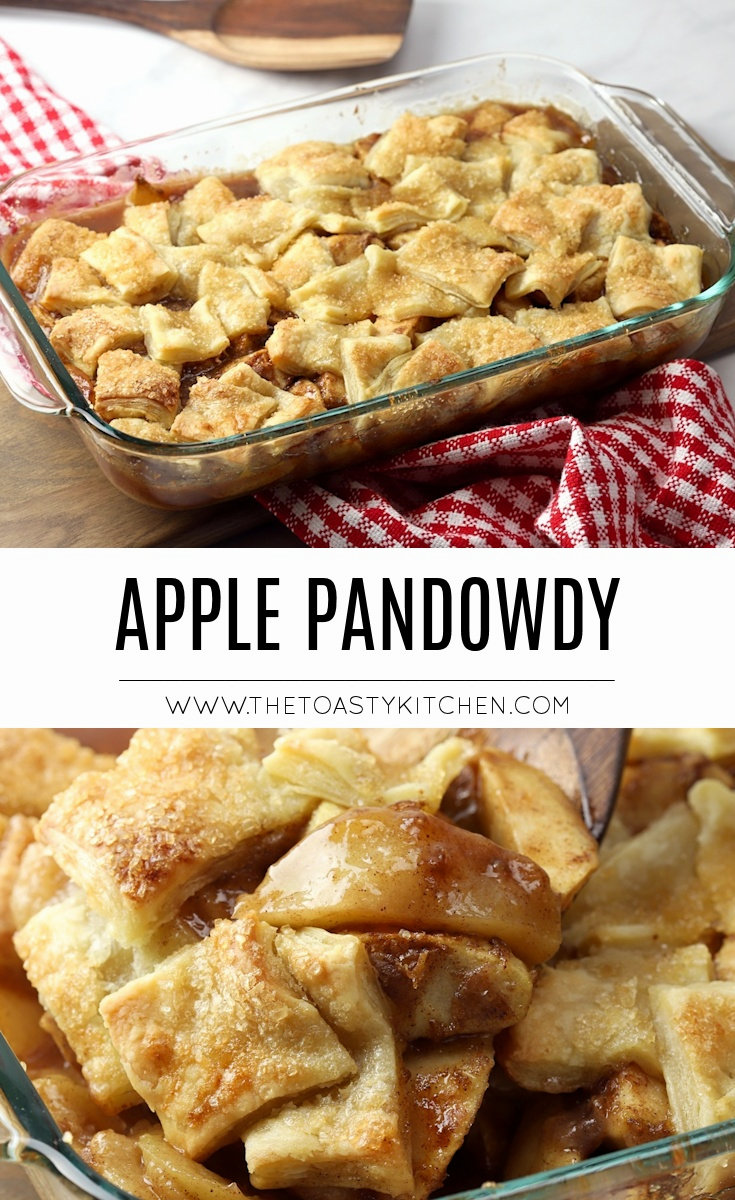
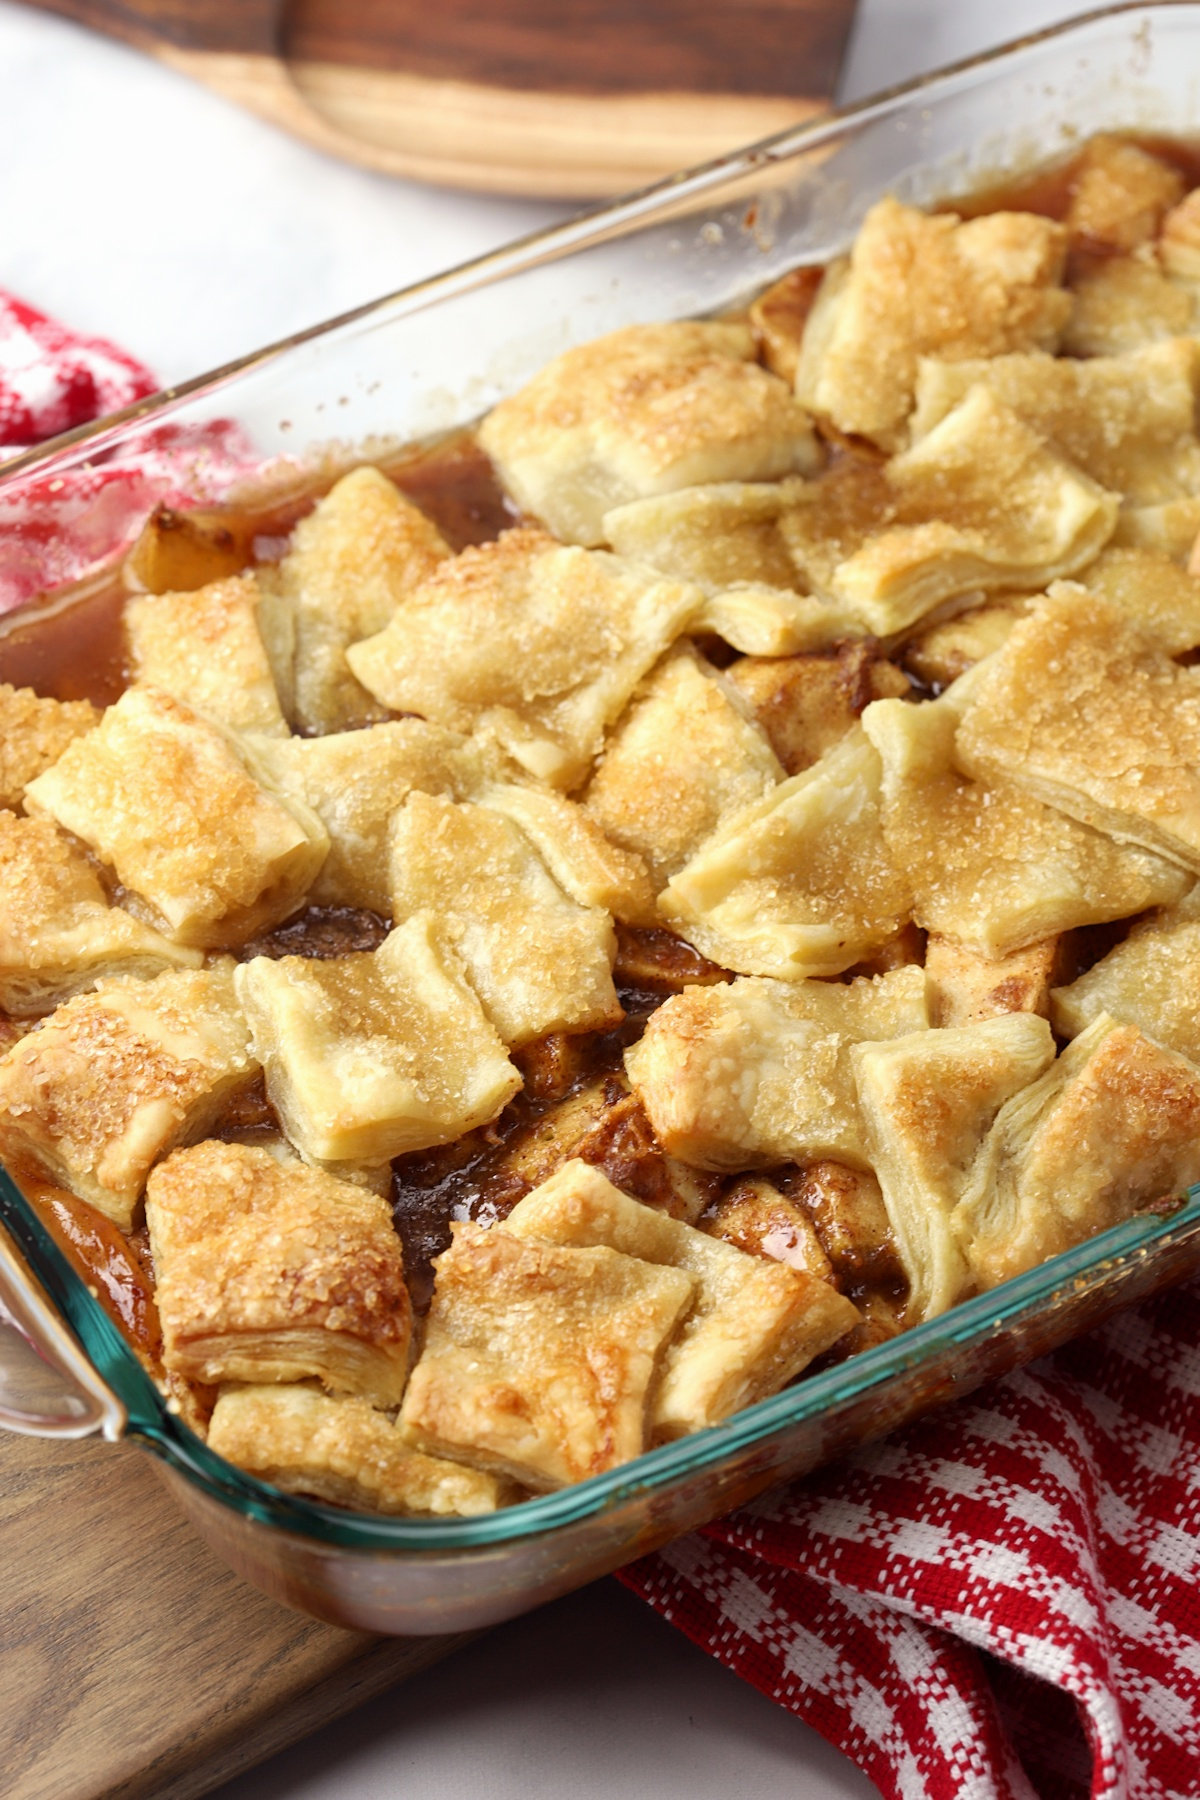
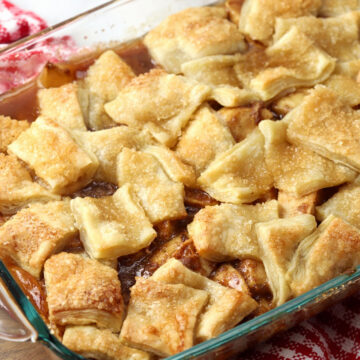
Apple Pandowdy is a classic American dessert. Spiced apples are topped with rustic puff pastry and drizzled with melted butter, with a crunchy sugar crust.
Recipe summary
Flavor/texture: Classic spiced apple pie filling topped with flaky, buttery puff pastry crust.
Pan size: 7x11 or similar 2-quart pan
Serves: 8 people
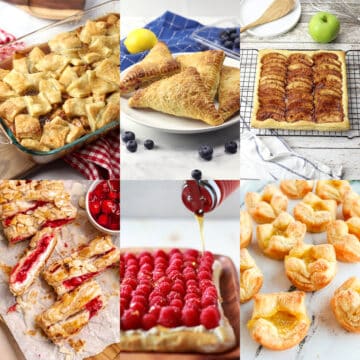
Similar to: Apple Blackberry Crumble, Puff Pastry Apple Tart, Mini Apple Galettes
Jump to:
Ingredients and substitutions
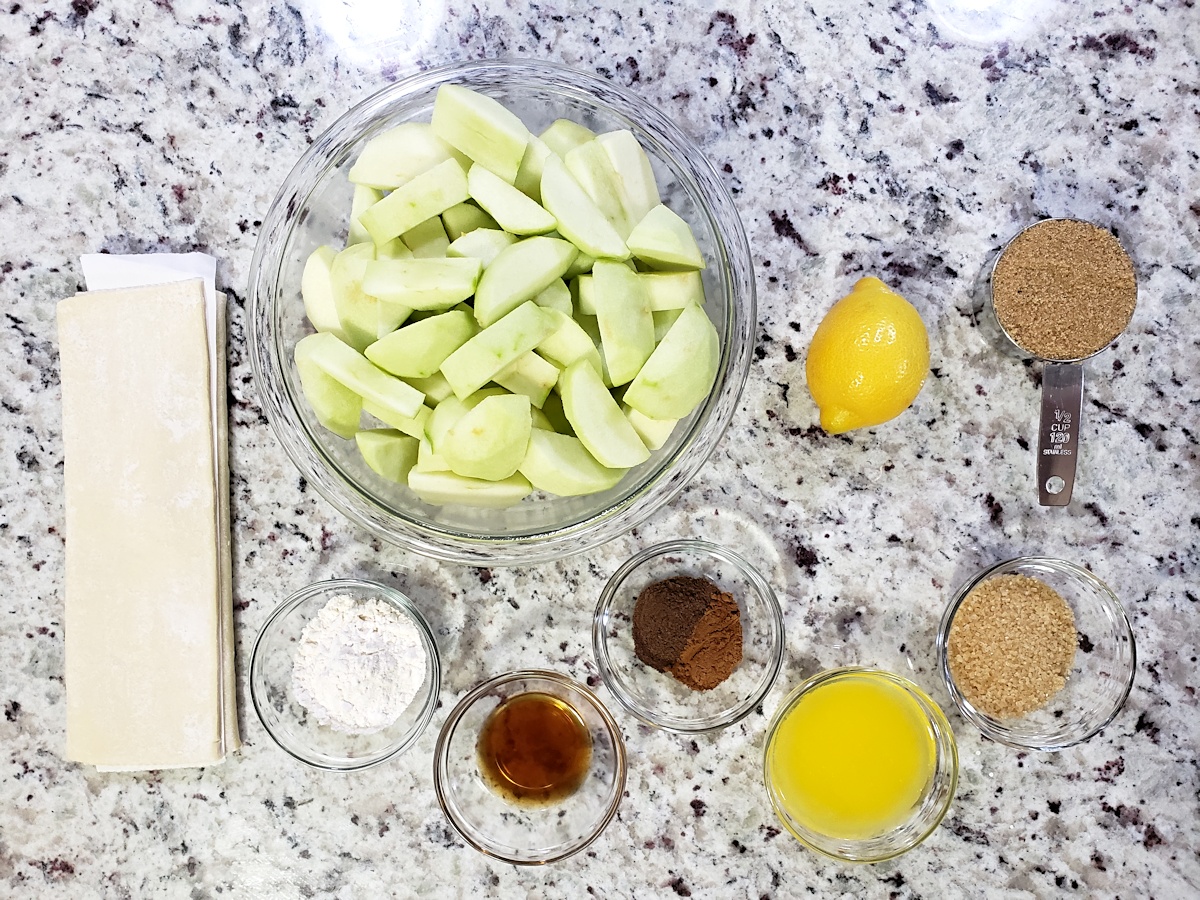
- Apples - Use your favorite pie apples, like granny smith (pictured), honeycrisp, golden delicious, or McIntosh.
- Filling - Brown sugar, flour, vanilla, cinnamon, allspice, lemon juice, and lemon zest coat the apples to make a sweet, cozy filling. Flour acts as a thickener along with the juices of the apples, and could be substituted with cornstarch if needed.
- Puff pastry - Can be substituted with one pie crust instead. Modern pandowdy is often made with either pie crust or puff pastry.
- Topping - Unsalted butter and turbinado sugar help your puff pastry brown in the oven and create a crunchy crust.
How to make apple pandowdy
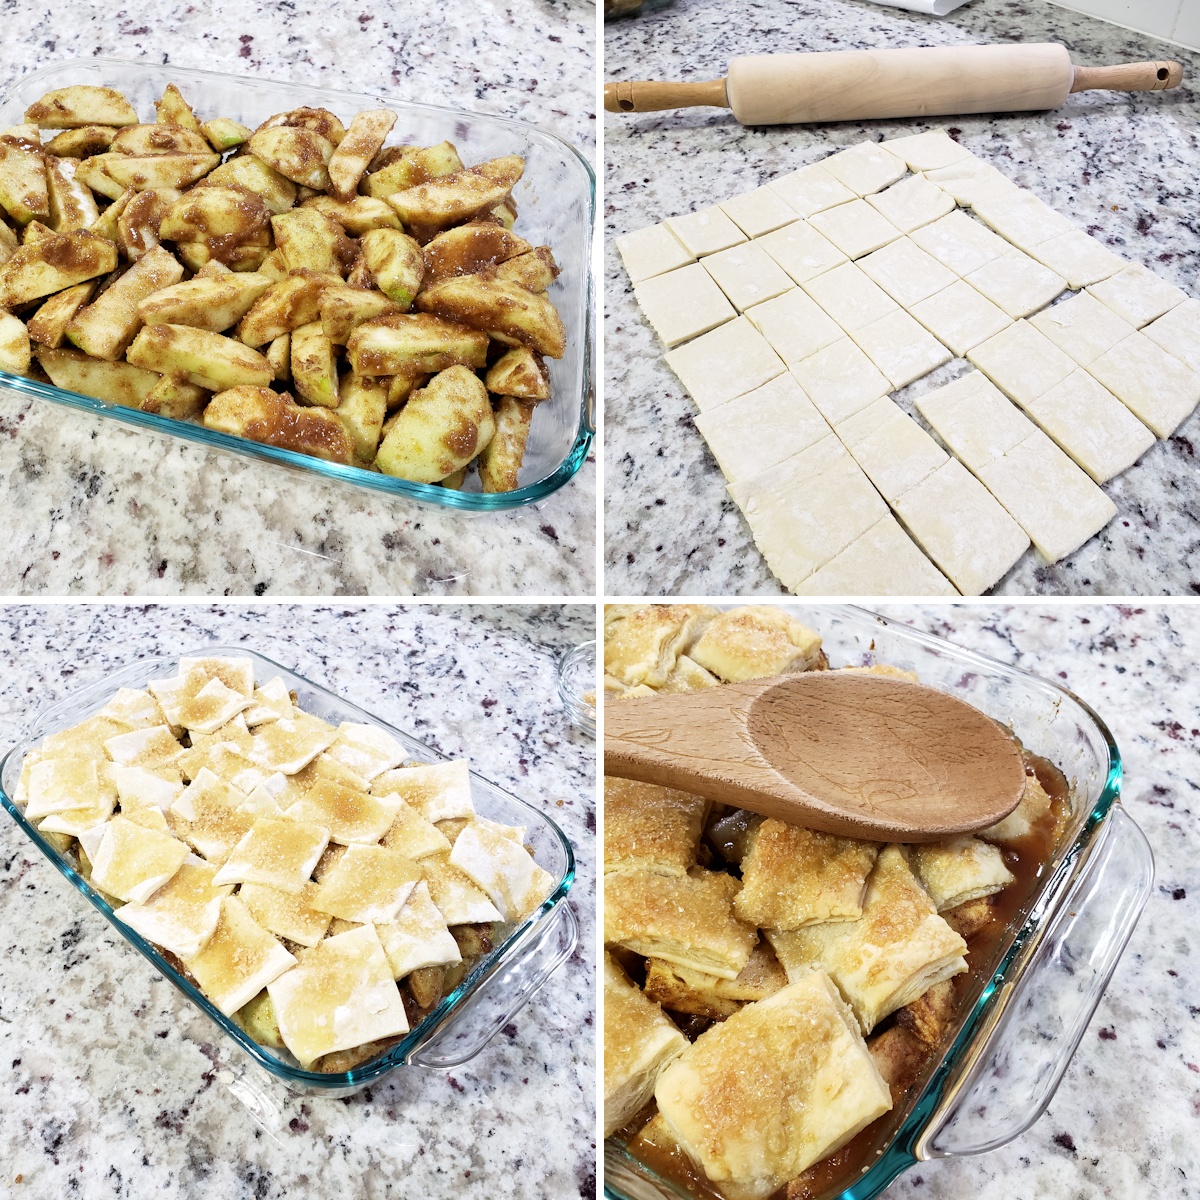
- Mix apple filling in a bowl and pour into a lightly greased pan.
- Slice puff pastry into squares.
- Top apple filling with puff pastry pieces, then drizzle with melted butter and add turbinado sugar.
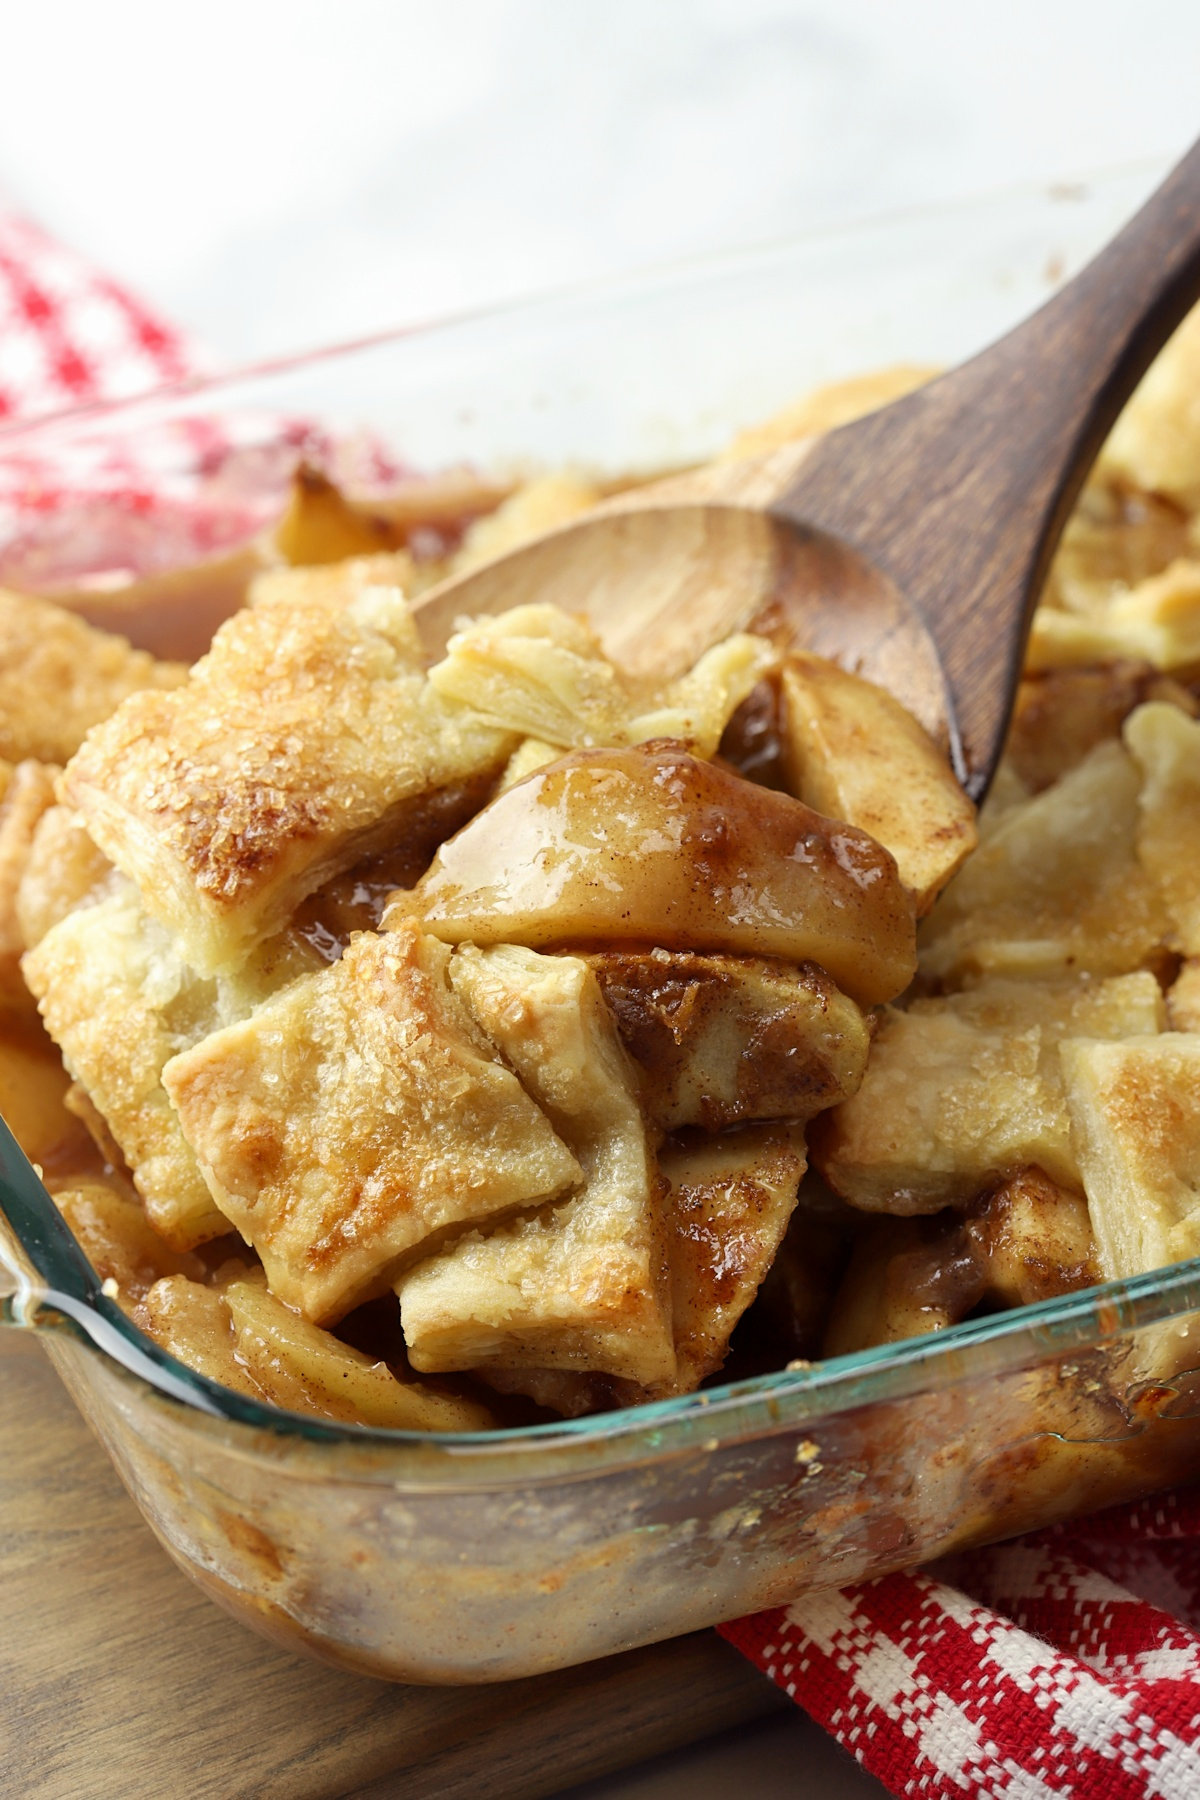
- Bake until apples in the center can easily be pierced through with a fork. Optionally, use the back of a spoon to gently press puff pastry down into the filling to soak up some juices.
Tips and tricks
Making the crust - Don't worry about perfection! The crust is meant to be rustic. Slice it into about 2 inch squares and place them randomly across the filling like patchwork.
Pressing the crust down - This step can be done with puff pastry or a traditional pie crust. While still warm, use the back of a spoon to press the crust down lightly to soak up the filling juices. Your crust may break apart slightly - this is intentional.
Serving - Pandowdy is best served warm from the oven with a scoop of vanilla ice cream or whipped cream, much like a classic apple pie!
Frequently asked questions
Granny smith apples are a great choice for baking because they are firm and keep their shape after baking. They're also widely available in grocery stores year round. Other great choices are Honeycrisp, Golden Delicious, or Rome apples. For more information, check out this article: Bob's Red Mill - Best Apples for Apple Pie.
Yes, the puff pastry can be substituted with one regular pie crust if desired.
Leftovers will keep for about 2 days at room temperature.
Apple pandowdy has all the same flavors as apple pie, but it doesn't have a bottom crust. Instead, puff pastry is cobbled on top of the apple filling before baking.
A cobbler is made with a thick biscuit dough that's dropped on top, while a pandowdy is topped with rolled out dough that's sliced into squares and placed on top.
Apple pandowdy is a classic American dessert that's similar to an an apple pie. Popular in the 1800s and early 1900s, this dessert is filled with sweetened and spiced apple slices topped with dough pieces. The name comes from the "dowdy" or shabby-looking crust.
Recommended


📖 Recipe
Apple Pandowdy
Ingredients
- 2 ½ pounds (1135 g) granny smith apples, peeled, cored, and sliced into ½" wedges
- ½ cup (107 g) brown sugar
- 2 tablespoons all purpose flour
- 2 tablespoons lemon juice
- 2 teaspoons lemon zest
- 2 teaspoons vanilla extract
- 1 teaspoon cinnamon
- ½ teaspoon allspice
- 1 sheet puff pastry, thawed
- 4 tablespoons unsalted butter, melted
- 1 tablespoon turbinado sugar, or granulated sugar
Instructions
- Preheat oven to 375℉. Lightly grease a shallow 2 to 2.5 quart baking dish (like a 7x11 inch glass dish) and set aside.
- In a large bowl, add sliced apples, brown sugar, flour, lemon juice, lemon zest, vanilla extract, cinnamon, and allspice. Toss to evenly coat apple slices. Pour apples into prepared baking dish and spread into an even layer. Set aside.
- Roll out your puff pastry sheet into a 12 inch square. Slice into pieces (about 2 inch squares), then scatter on top of your apple pie filling, overlapping slightly and leaving gaps to show the filling underneath.
- Drizzle melted butter over the puff pastry layer and sprinkle with turbinado sugar.
- Bake for 55-65 minutes, or until apples in the center of the dish can be pierced through easily with a fork. Baking time will depend on thickness and type of apples used. Puff pastry should be golden brown across the top.
- While still warm, use the back of a spoon to gently press puff pastry down into filling, allowing it to soak up some of the juices.
- Serve warm, optionally with a scoop of vanilla ice cream.
Notes
- How many lemons do I need? You'll need one medium lemon for this recipe.
- Puff pastry alternative: Puff pastry can be substituted with one standard pie crust instead.
- Best apples to use: Granny smith, honeycrisp, or golden delicious apples are ideal for baking.
- Storage: Any leftovers will keep for up to two days, sealed with foil or fitted lid, at room temperature.


Made this as the recipe read and it was amazing!! My husband said it taste like what he grew up eating as a kid.
Thank you for sharing this recipe!!
My husband rates this a 10 out of 10! I changed a few things: Omitted the lemon zest, added a lot more lemon juice as my apples were rather bland, added more brown sugar to the apples and used a single pie crust that was languishing in my freezer. It was very saucy and delicious. Served with whipped cream.
Can peaches be substituted for the apples?
I haven't tested this recipe with peaches, but they should work just fine. If you give it a try, let us know how it goes!
How many cups is 2 1/2 lbs apples? I don’t have a food scale and apples at the grocery are sold in 3 or 5 lb. bags.
Hi Marion, there's not really a great way to measure apples using cups, but a quick google tells me that 2.5 pounds of apples would equal about 7.5 cups of sliced apples. You could also buy the 3 pound bag and omit one apple, which should get you close enough to the correct weight.
Really good and easy I did it in a 9x13 pan did a little extra apples and added some chopped pecans to the top before I sprinkle the sugar on then served with ice cream..... 😋
This was my offering for the Thanksgiving dessert table and it was a huge hit! I didn't really measure the apples (I just used what I had in my drawer) and I added a dash of cardamom and clove along with upping the amount of cinnamon. It was delicious!! The lemon zest really adds something special to the flavor. I'll definitely be making this again next fall, thanks for this great recipe!!
can it be refrigerated to last longer?
Yes, pandowdy can be refrigerated for 3 to 4 days but the crust will get soft.
I would add cinnamon to the sugar topping - yum!
Made this for Thanksgiving because I needed a dessert that was one dish, few steps and simple instructions as I was assigning this task to the kids. It was a hit. The lemon zest gave it a twist that set it apart from the typical apple pie/crumble flavor. We over cooked it and the apples didn’t hold their shape so we will be making it again soon to correct that.
So glad to hear you enjoyed the recipe!