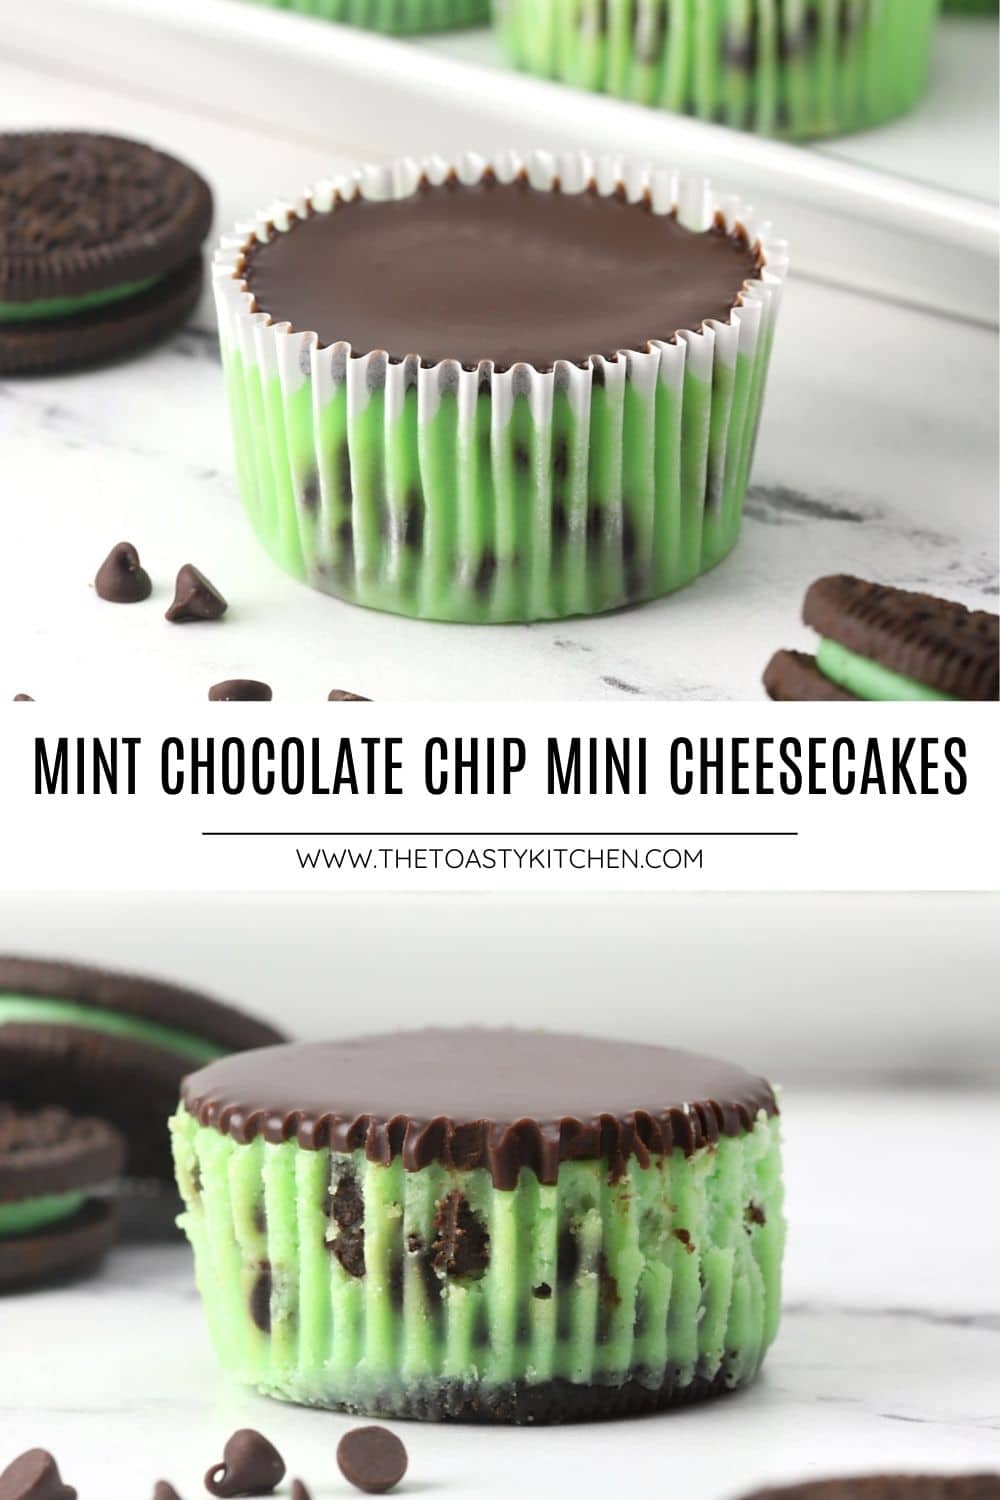
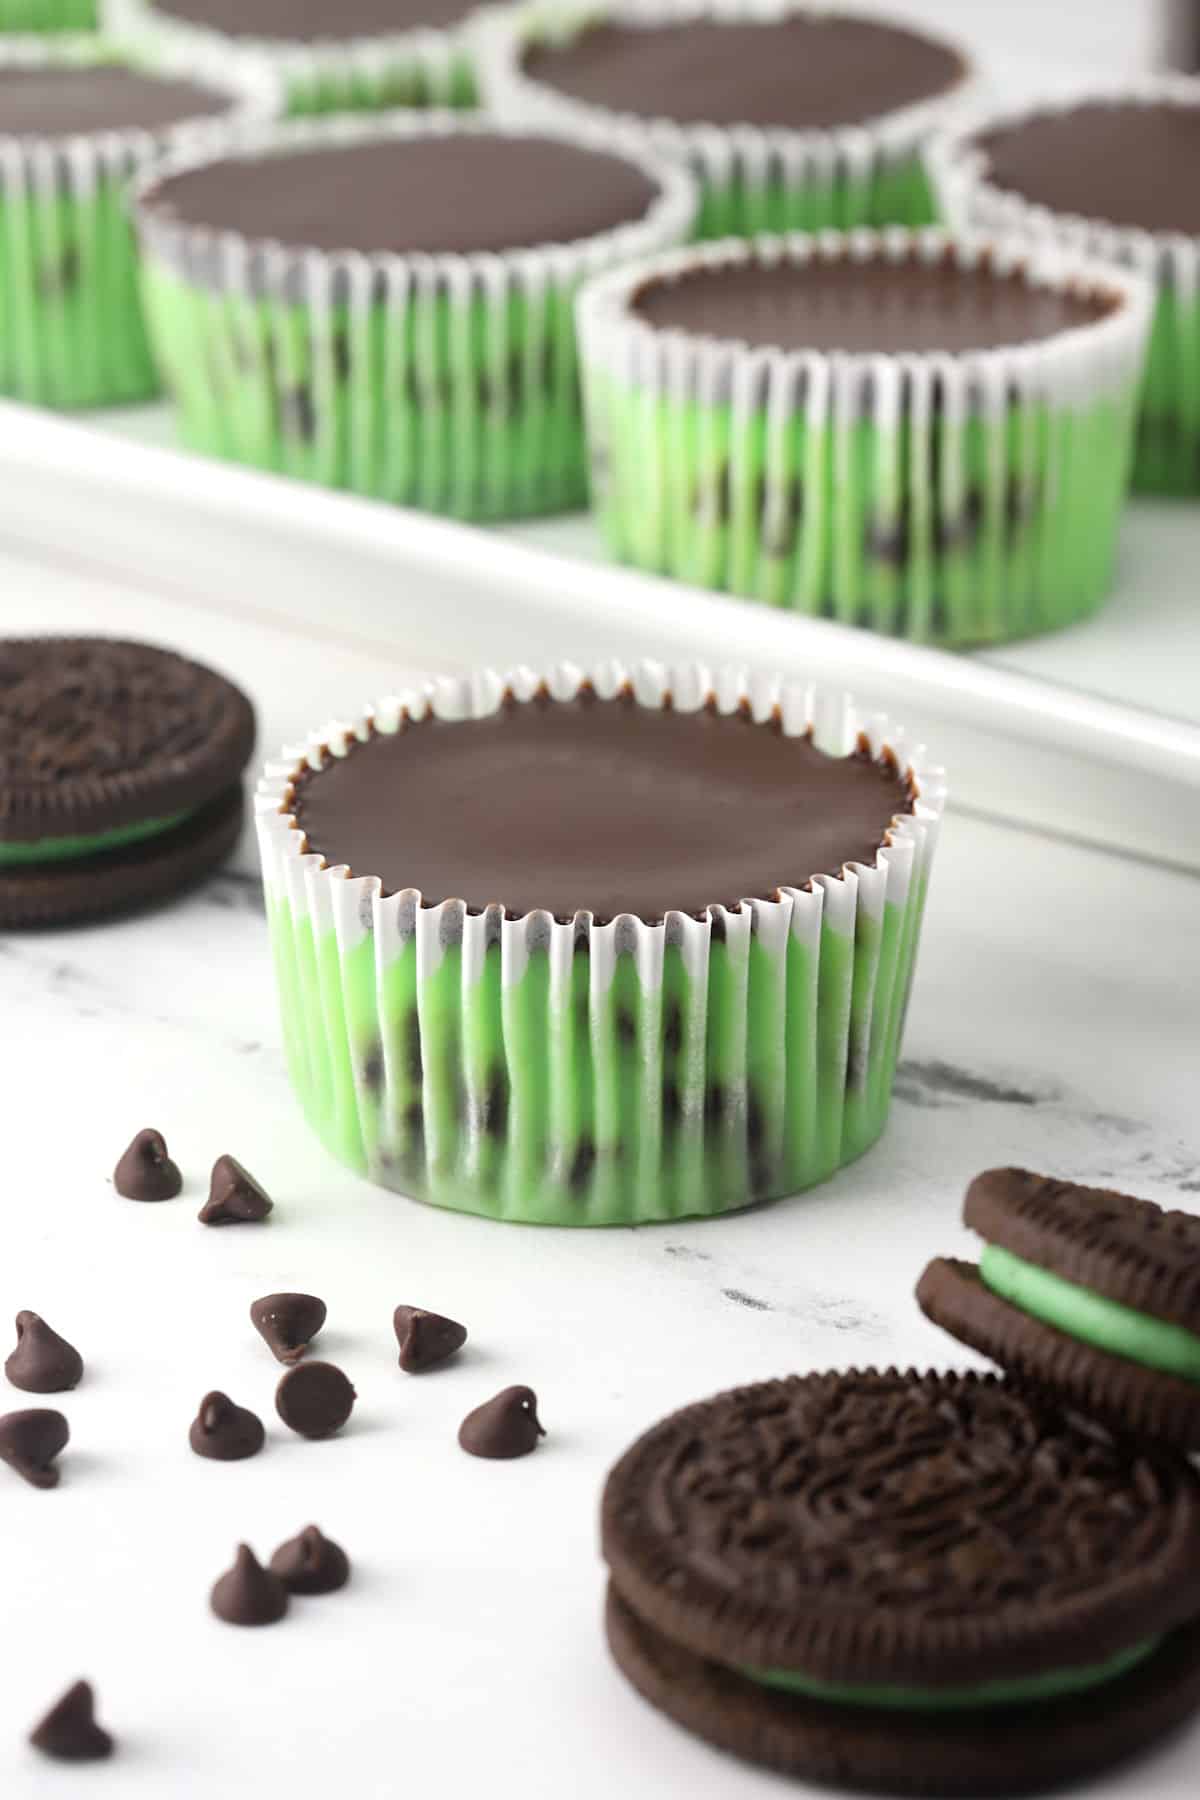
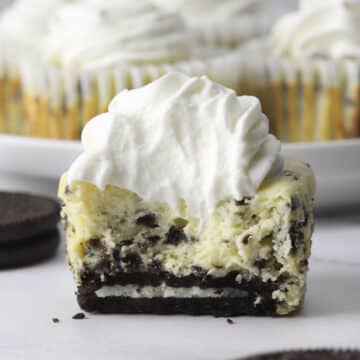
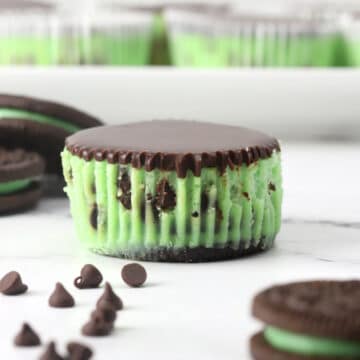
Mint chocolate chip mini cheesecakes are a cute dessert treat filled with chocolate and refreshing mint flavor. They're topped with a decadent chocolate ganache that's both easy and impressive.
Recipe summary
Flavor: Rich, decadent, mint, chocolate.
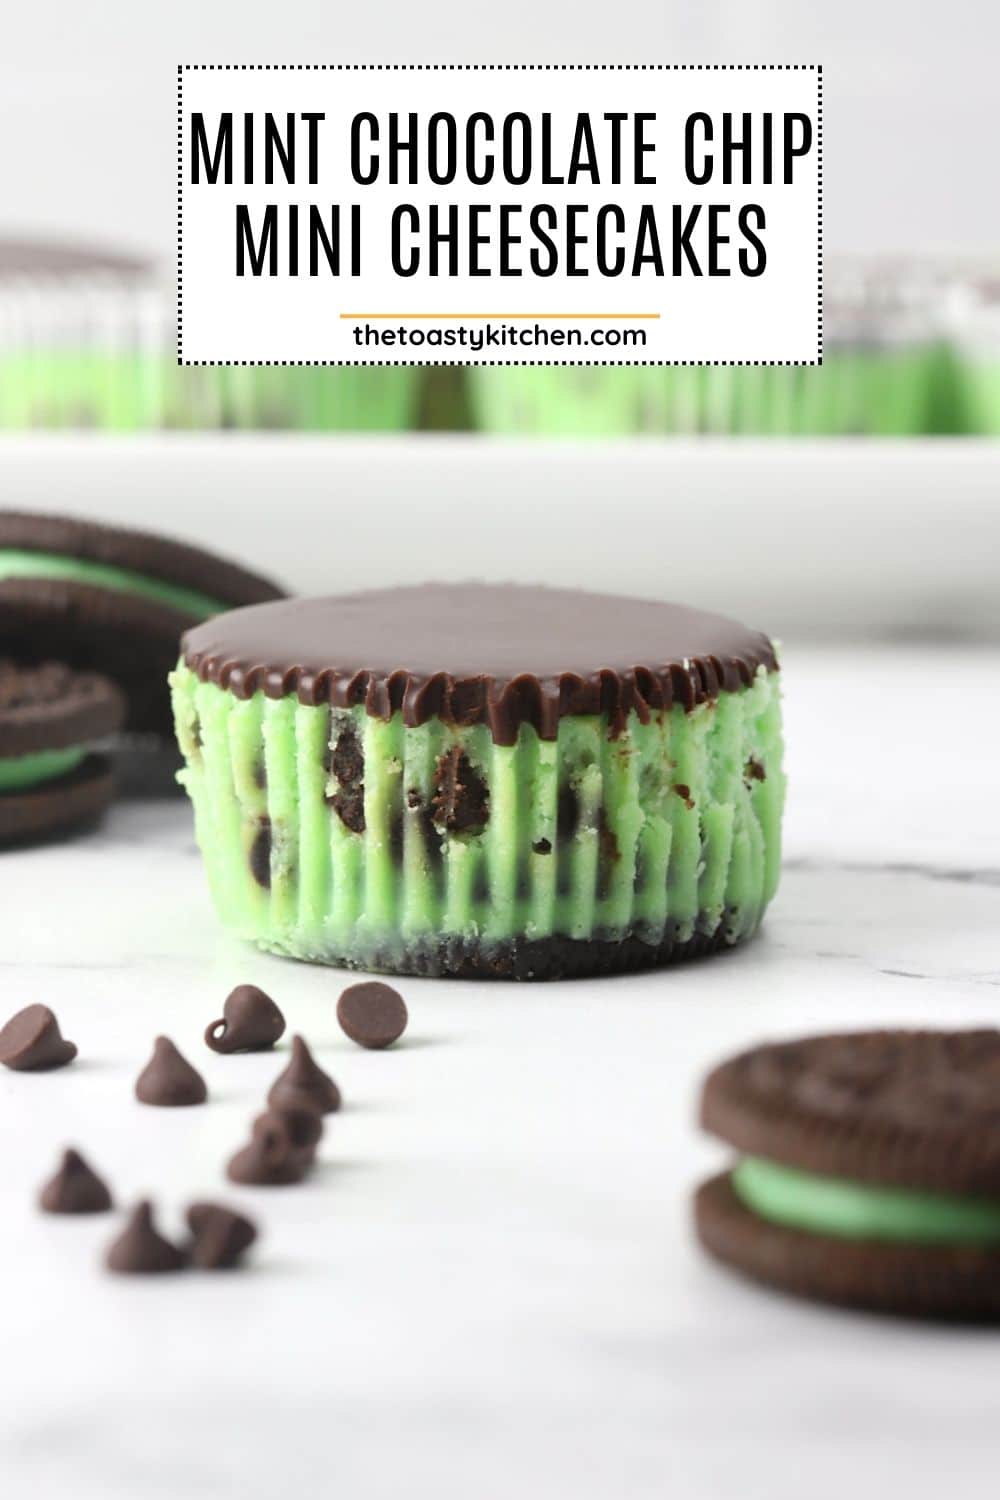
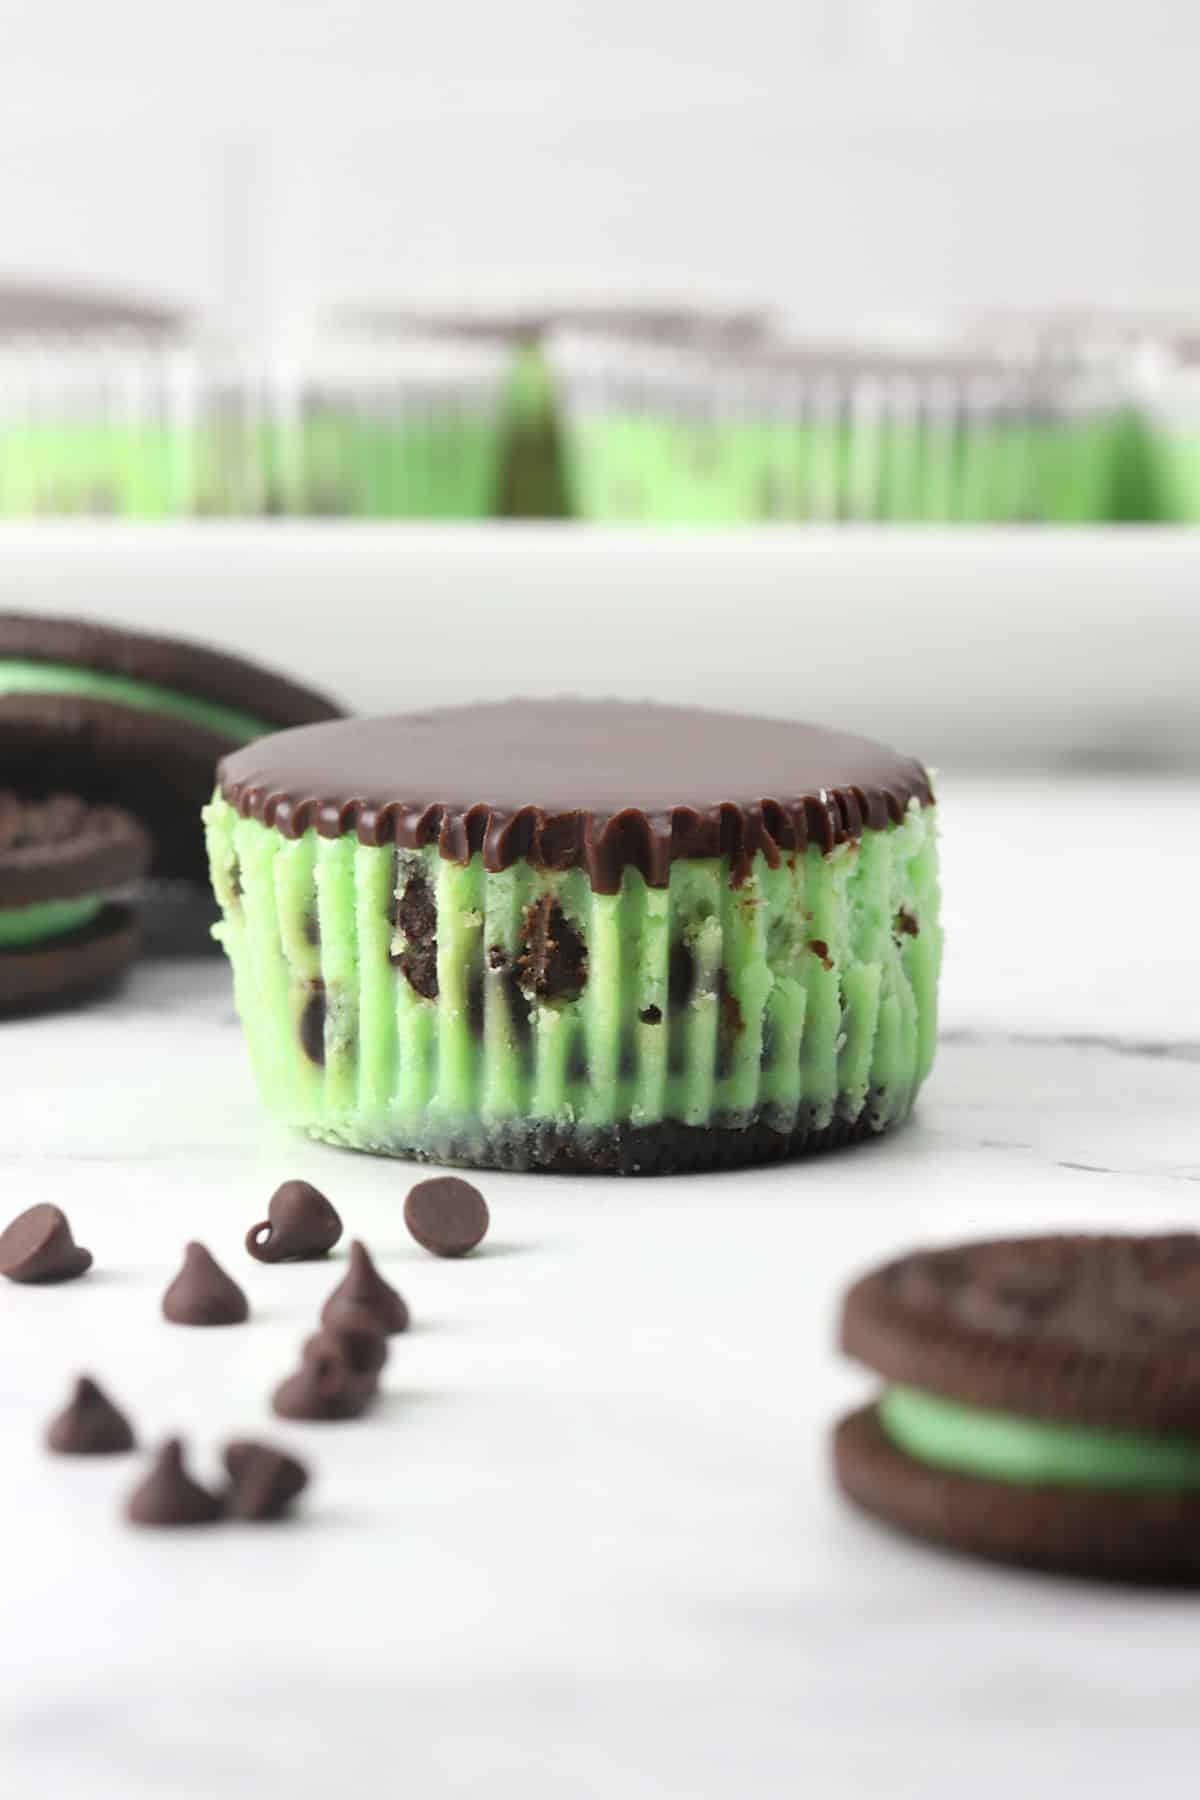
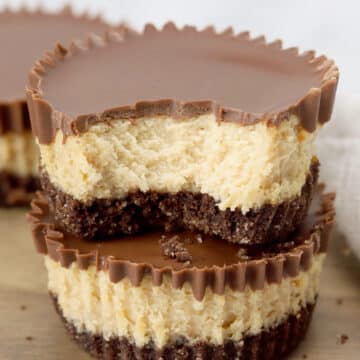
Three layers: Mint Oreo cookies, mint chocolate chip cheesecake filling, and rich, fudgy chocolate ganache.
Pan size: This recipe makes 18 cupcake-sized cheesecakes in a standard size cupcake pan.
Customize with toppings. Swap out the ganache for whipped cream and crushed oreo cookies.
Similar to: Mini Cheesecakes and Mini Oreo Cheesecakes
Jump to:
Ingredients and substitutions
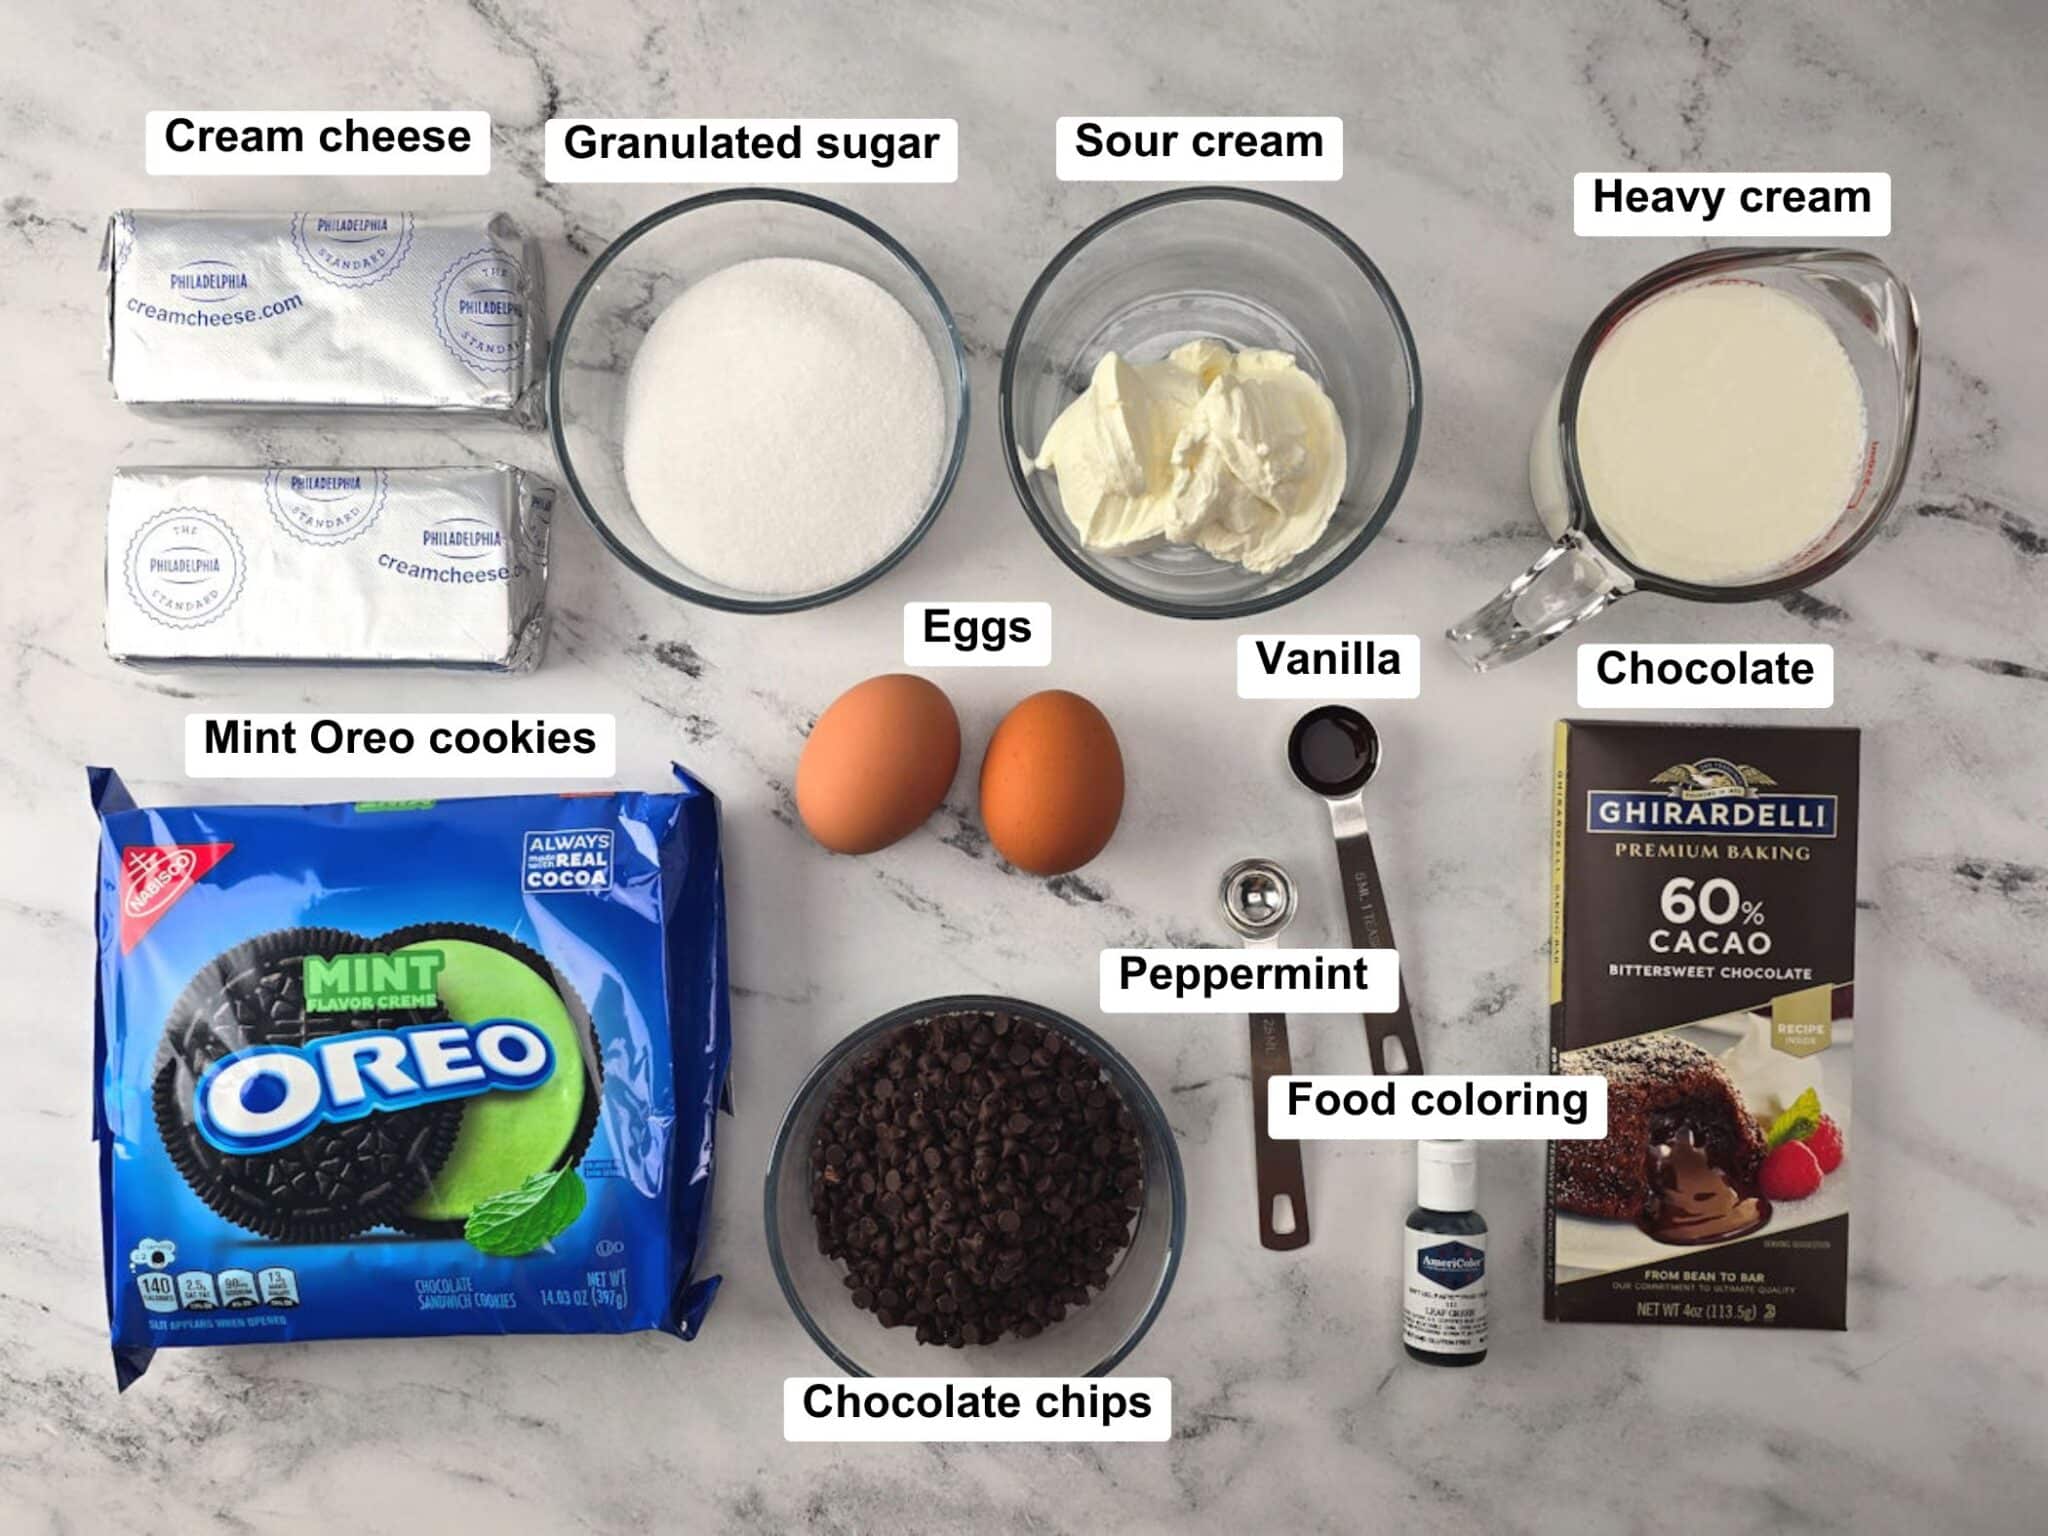
- Cream cheese - Block-style cream cheese is necessary to achieve the proper consistency in this recipe. Whipped or tub cream cheese will not work.
- Granulated sugar - Adds just a hint of sweetness to the cream cheese filling.
- Sour cream - Adds creaminess and tang to the filling.
- Eggs - Add structure to the filling.
- Extracts - Vanilla and peppermint add flavor to the cheesecake filling.
- Food coloring - Optionally, you can add green food coloring to your cheesecake filling. It can be omitted if desired with no change to the outcome of the recipe.
- Mint Oreo cookies - We're using Oreo cookies as the crust for our cheesecakes. Mint Oreos could be substituted with classic Oreos if desired.
- Heavy cream - Necessary to make a ganache. Lower fat dairy, like half & half or whole milk won't work because the ganache won't set properly.
- Chocolate - The best chocolate for ganache is a pure chocolate baking bar, like Ghirardelli or Bakers brands. You can find these in the baking aisle of your local grocery store. Semi-sweet, dark, or bittersweet chocolate all work in this recipe. If you're not sure what you'd prefer, I recommend semi-sweet chocolate. It's a nice mix between milk chocolate and dark chocolate.
How to make mint cheesecakes
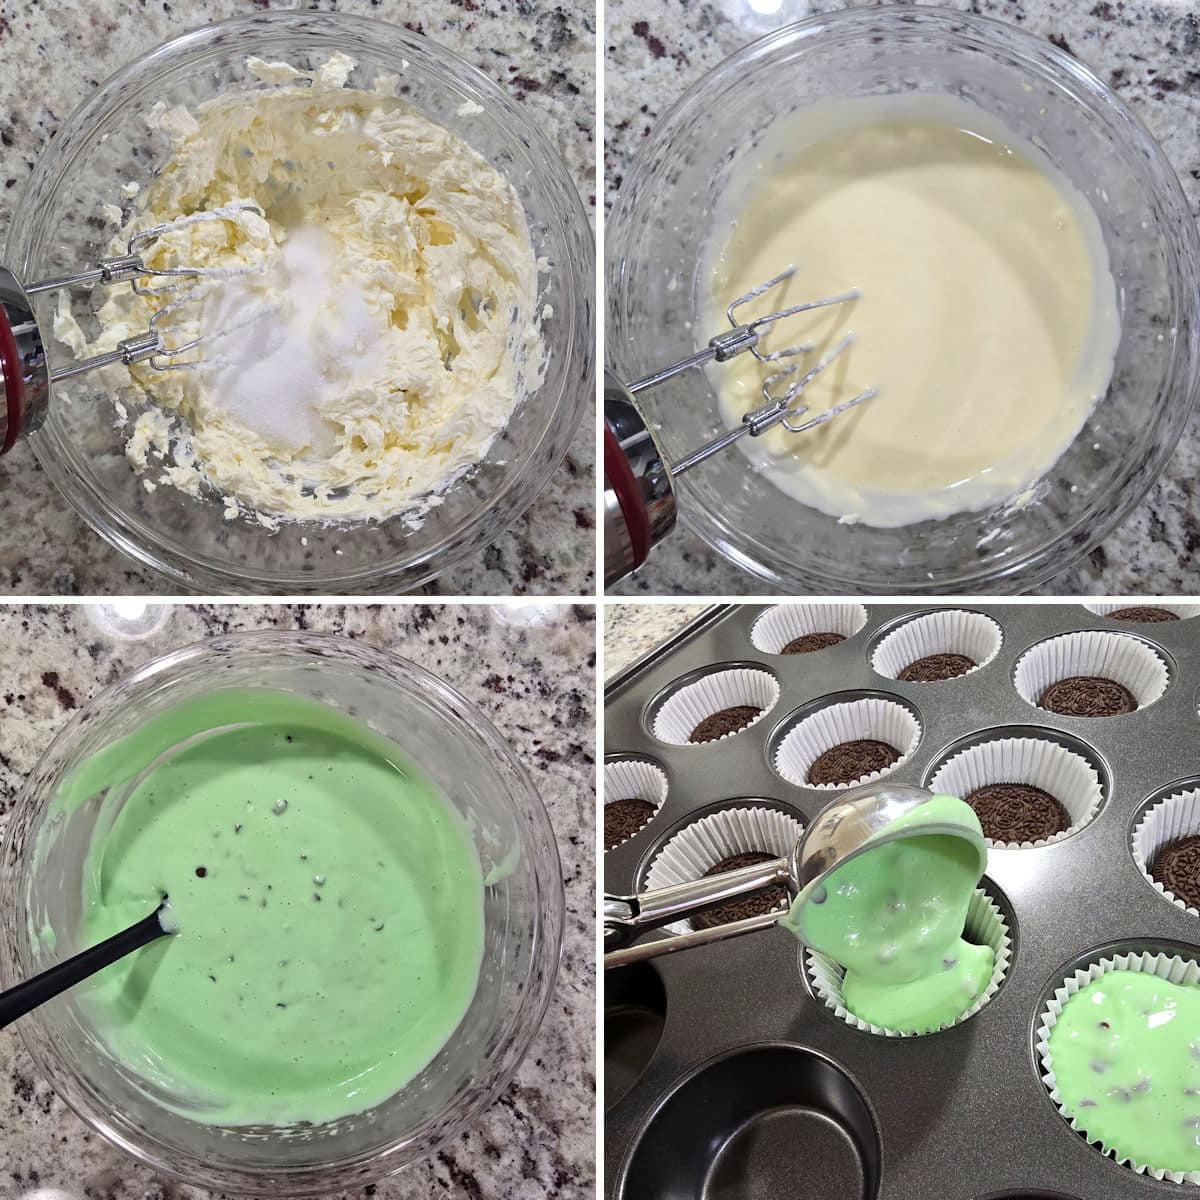
- Mix the filling ingredients using a hand mixer, adding one ingredient at a time for a smooth, lump-free filling.
- Mix just until smooth, no longer, or you risk whipping in extra air that causes your cheesecakes to sink more than they should after baking.
- Add green food coloring and chocolate chips and stir to incorporate.
- Portion cheesecake filling over Oreo cookies. I like to use a large, 3 tablespoon cookie scoop for perfect portioning.
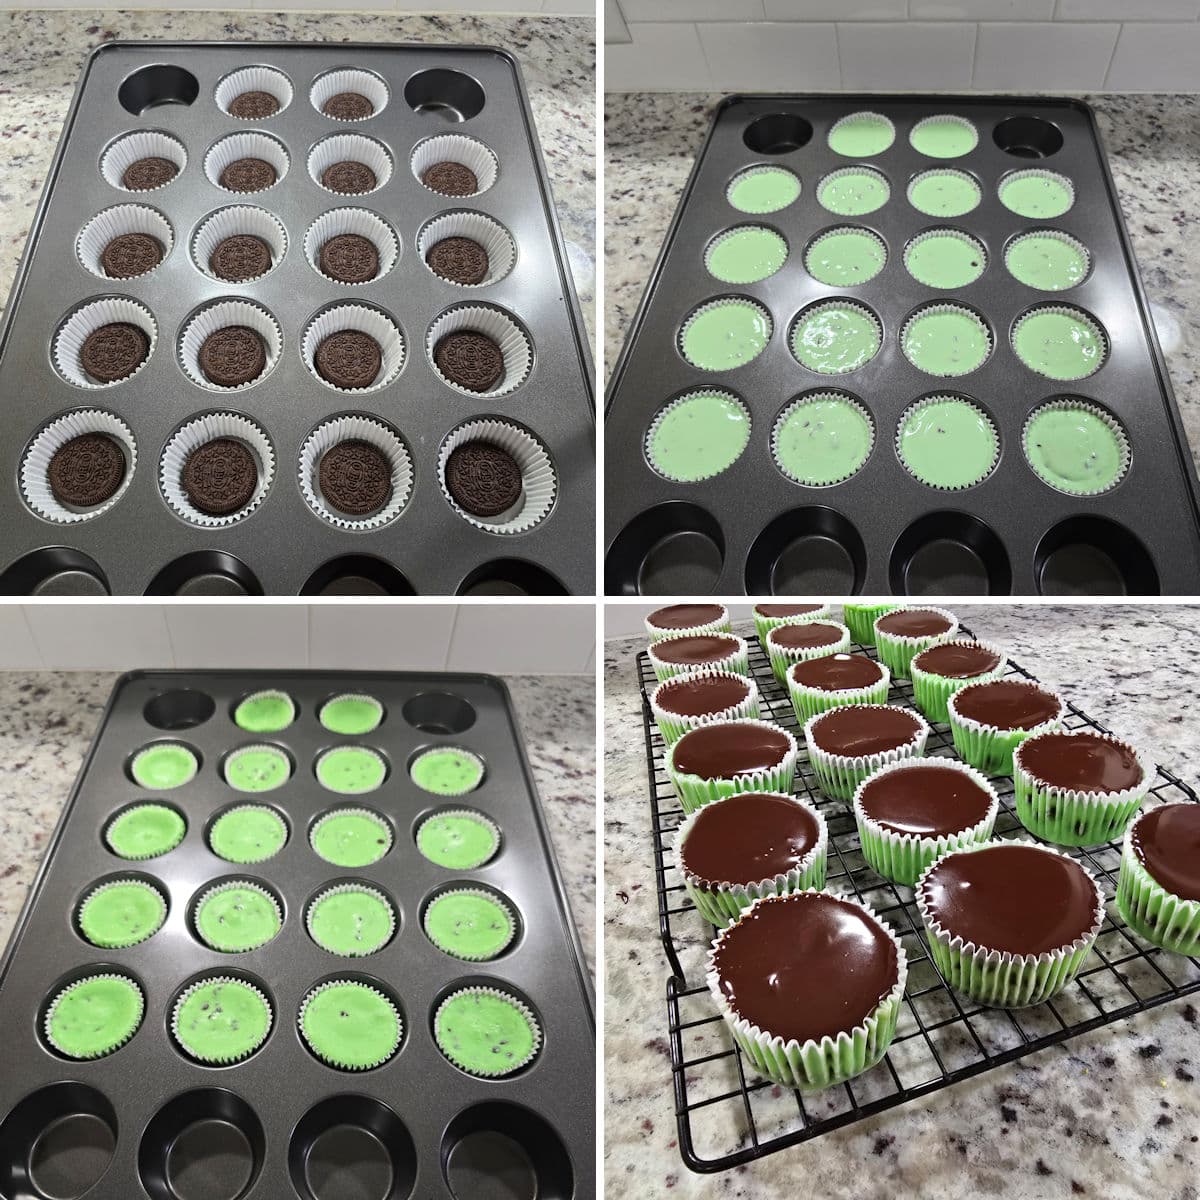
- Oreo cookies placed in cupcake liners.
- Cupcake filling before baking.
- Cupcake filling after baking.
- Topped with chocolate ganache while cooling.
Tips and tricks
Room temperature ingredients - They're easier to mix together to form a smooth, even batter. Starting with cold ingredients can create lumps and takes more mixing to blend together, which adds air to the batter.
Don't overmix your filling - While your cheesecakes will sink slightly in the center as they cool, overmixing, or whipping extra air into the filling, can cause them to sink even more. Instead, mix each ingredient until just combined and turn off the mixer.
Allow your cheesecakes to rest in the oven - Sometimes, the shock of cold air can cause cheesecake to sink when taken out of the oven quickly. When your cheesecakes are done, turn the oven off and crack the door open a few inches. Allow them to rest for 2-3 minutes before removing them from the oven. This allows them to slowly begin cooling off without being shocked immediately.
Cool before serving - Cheesecakes will stick to the wrappers if unwrapped while warm. Your cheesecakes need time to chill before serving.
Variations
Mix-ins - Substitute mini chocolate chips with crushed Oreo cookies, chopped chocolate, or omit mix-ins entirely for a smooth mint cheesecake.
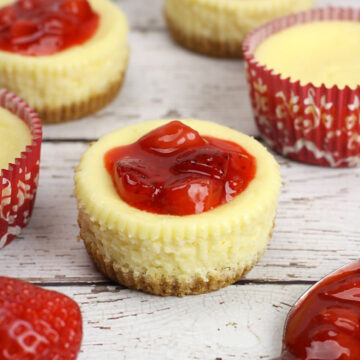
Toppings - Substitute the ganache with whipped cream, half an Oreo cookie, crumbled Oreo cookies, chocolate shavings, or a drizzle of chocolate sauce.
Storage
Cheesecakes will keep for up to 5 days in a sealed container in the refrigerator.
They also freeze well for up to a month. Allow your cheesecakes to cool completely, wrap tightly, and freeze. Allow to thaw for 2 to 3 hours on the countertop before serving.
Frequently asked questions
Yes, cheesecakes can be made a day or two ahead and stored in the refrigerator until ready to serve.
You'll need a standard size cupcake or muffin pan. Here's the exact muffin pan that I use: Wilton Perfect Results Non-Stick Standard-Size Muffin and Cupcake Baking Pan
Whole Oreo cookies don't fit into a mini cupcake pan. The recipe measurements, baking times, and serving sizes are all calculated when using a standard cupcake pan. The term "mini" in the title refers to the size of the cheesecakes compared to a whole cheesecake. The measurements in this recipe are meant for a standard sized cupcake pan, not a "mini cupcake pan".
Yes, the recipe would technically work without a crust if desired. Portion the cheesecake filling into empty cupcake liners and bake using the same times and visual cues in the recipe card below.
Yes. To a bowl add: 1 ½ cups of graham cracker crumbs (chocolate or regular), 3 tablespoons granulated sugar, and ¼ cup melted butter. Stir to create a mixture that looks like wet sand. Press 1 tablespoon of crust into each of your 18 cupcake liners. Proceed with the recipe as written. Graham cracker crust doesn't need to be par-baked beforehand.
Recommended
📖 Recipe
Mint Chocolate Chip Mini Cheesecakes
Ingredients
Cheesecake
- 18 mint Oreo cookies
- 16 ounces (454 g) cream cheese, room temperature
- ½ cup (99 g) granulated sugar
- 2 large eggs, room temperature
- ½ cup (114 g) sour cream, room temperature
- 1 teaspoon vanilla extract
- ½ teaspoon peppermint extract
- green food coloring, optional
- ¾ cup (133 g) mini chocolate chips
Ganache
- 4 ounce semi-sweet chocolate baking bar
- 4 ounces heavy cream
Instructions
Cheesecake
- Preheat oven to 350℉. Line a standard-sized cupcake pan (not a mini cupcake pan) with 18 paper liners and place one Oreo cookie in the bottom of each liner. Set aside.
- In a large bowl, add cream cheese. Using a stand mixer or hand mixer, beat until smooth. Add granulated sugar, then mix until smooth. Next, add eggs and mix until incorporated. Then, add sour cream and mix until incorporated. Last, add vanilla, peppermint, and food coloring (optional) and mix until incorporated. We're adding each ingredient separately to prevent lumps from forming. Take care not to over-mix or whip extra air into the batter (this causes sinking later on).
- Add mini chocolate chips and gently stir to incorporate.
- Distribute batter evenly between cups. Gently tap pan onto counter top a few times to level filling and remove excess air bubbles.
- Bake for about 17-19 minutes, or until cheesecake looks set and centers only slightly jiggle. Turn the oven off and crack the door a few inches. Allow cheesecakes to rest for 2-3 minutes before removing from oven. Remove and allow cheesecakes to cool for 30 minutes.
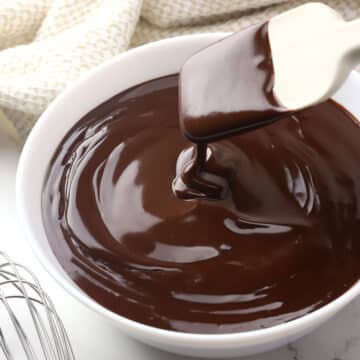
Ganache
- While cheesecakes are cooling, prepare ganache topping.
- Finely chop chocolate, place into a heat-proof bowl, and set aside.
- In a small saucepan over medium heat, add heavy cream. Heat until barely simmering (do not let it come to a full rolling boil, this is too hot).
- Remove from heat and pour over chopped chocolate. Allow to sit, undisturbed, for 2 to 3 minutes.
- Gently stir until chocolate has melted. Larger pieces of chocolate will take longer to melt.
- Allow ganache to cool for 10 minutes before adding a spoonful to each cheesecake. Transfer to the refrigerator and chill cheesecakes for 2 hours before serving.
Equipment Recommendations
Notes
- Mini cheesecake size: This recipe makes 18 standard size cupcake cheesecakes. "Mini" refers to the size compared to a regular whole cheesecake and does not refer to a mini muffin tin. You are welcome to use mini muffin tins for this recipe, but it has not been tested, so baking times and quantities will vary.
- Bring ingredients to room temperature: This is important for making a creamy cheesecake filling. If even one ingredient is cold, it can create lumps in the batter.
- Fixing lumpy batter: Try pressing it through a fine mesh sieve to remove the lumps.
- Storage: Cheesecakes will keep for up to 5 days in a sealed container in the refrigerator.
I had so much fun creating this recipe! I hope you give it a try and love it as much as I do. If you have a question, check out the post above, which is packed with information about the recipe. Tried the recipe? I'd love to hear your thoughts — leave a comment and a star rating to share your feedback!