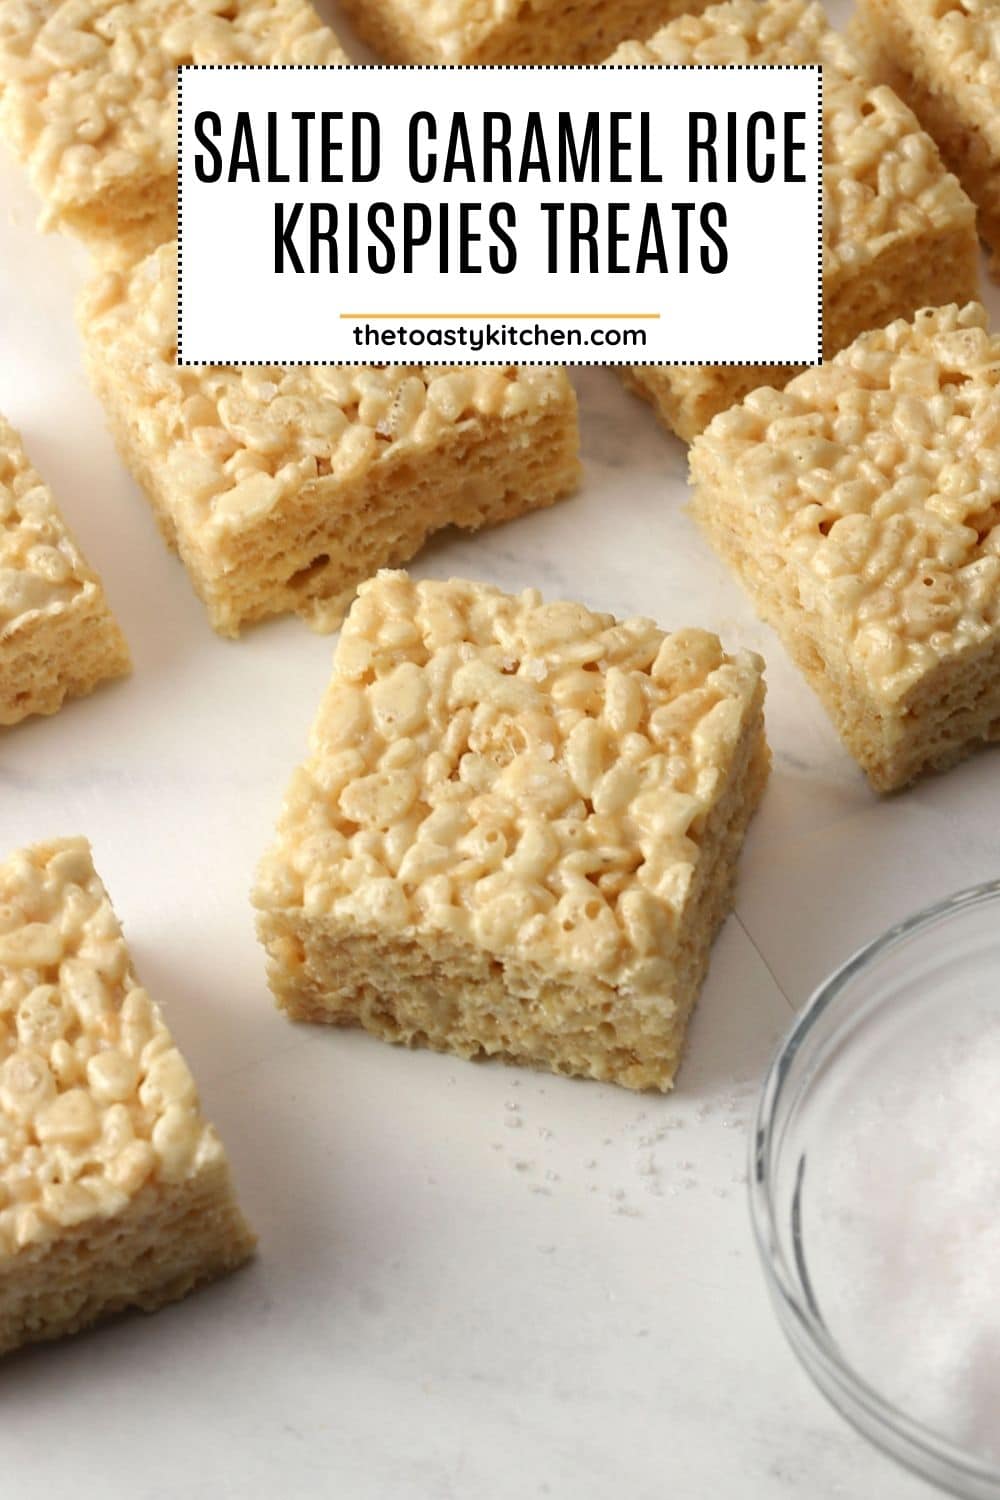
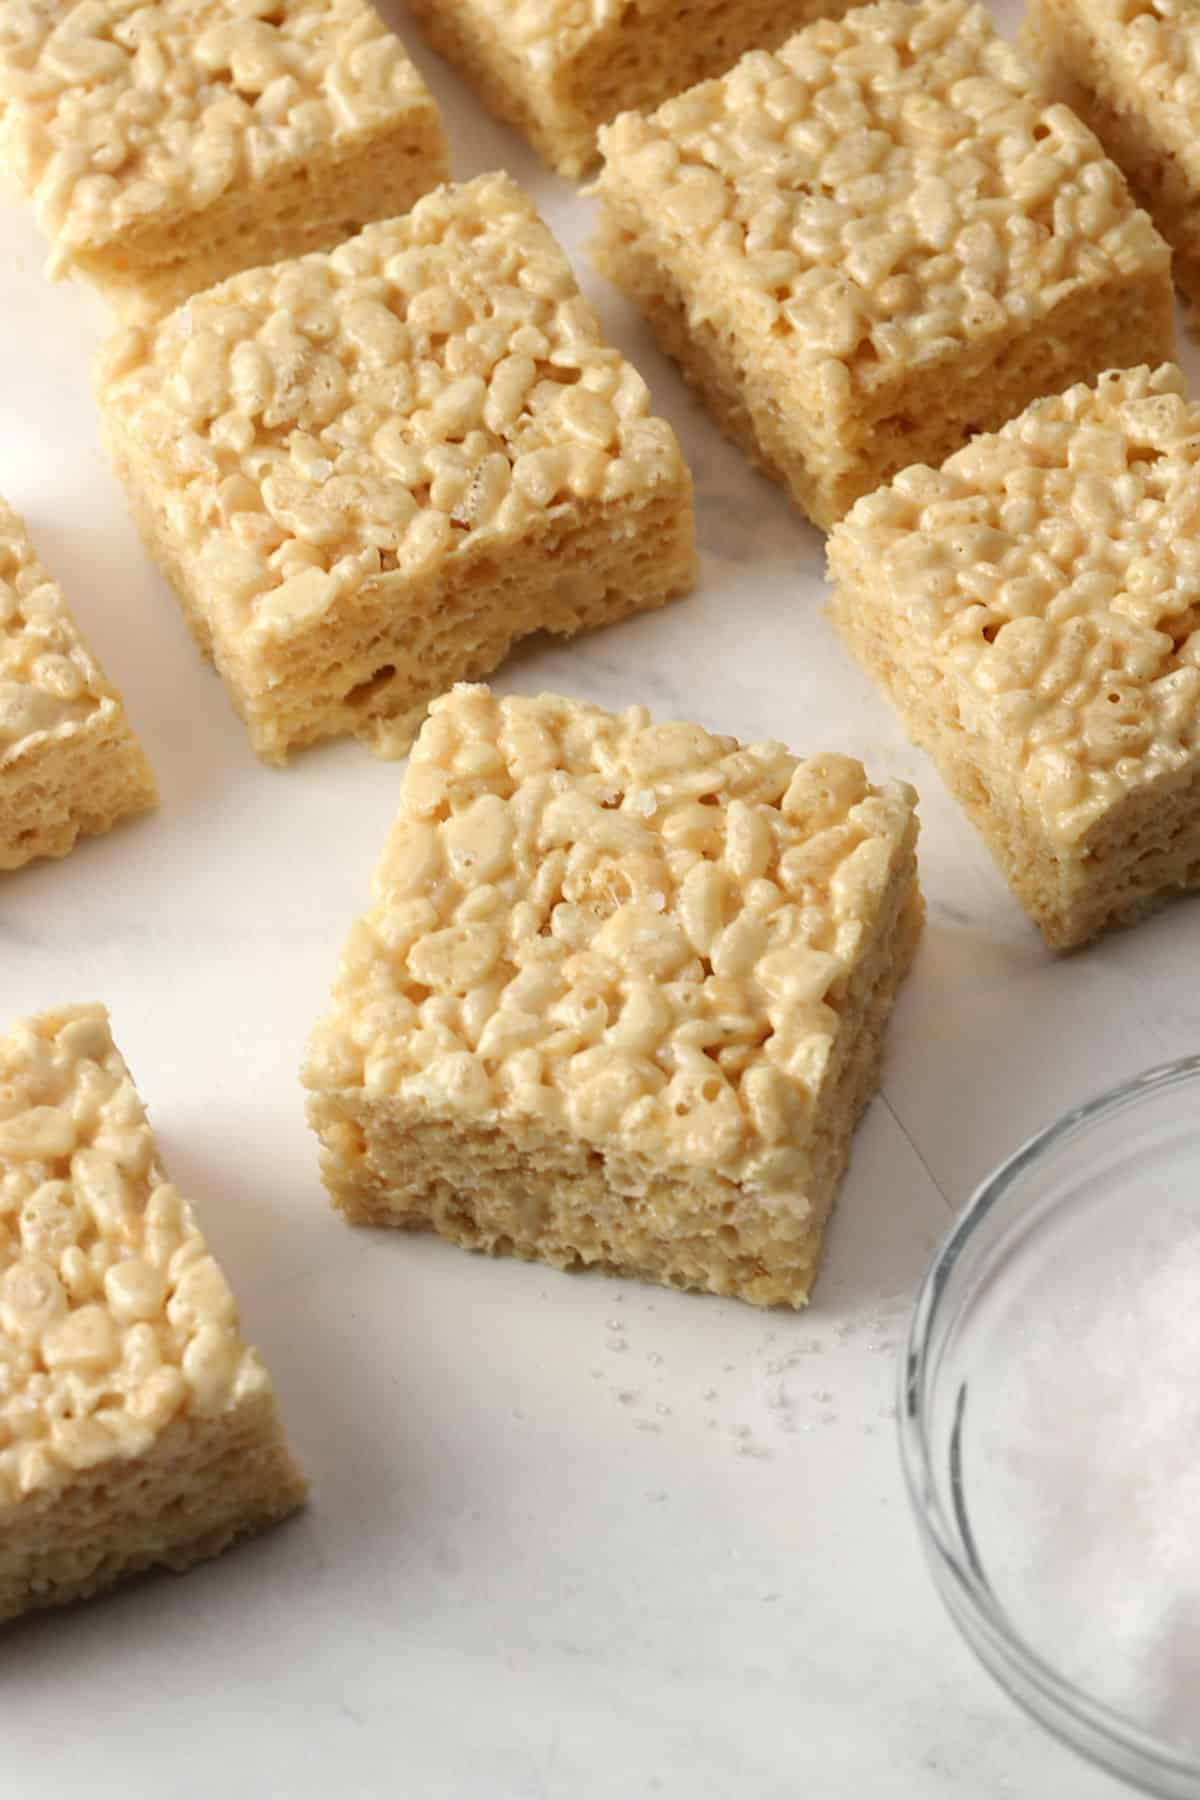
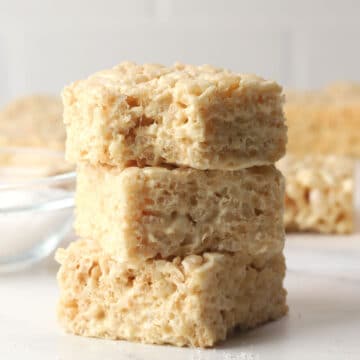
Salted caramel rice krispies treats are made with homemade caramel, melty marshmallows, and rice krispies cereal. A batch of these gooey and rich no-bake treats can be ready in less than 30 minutes!
Recipe summary
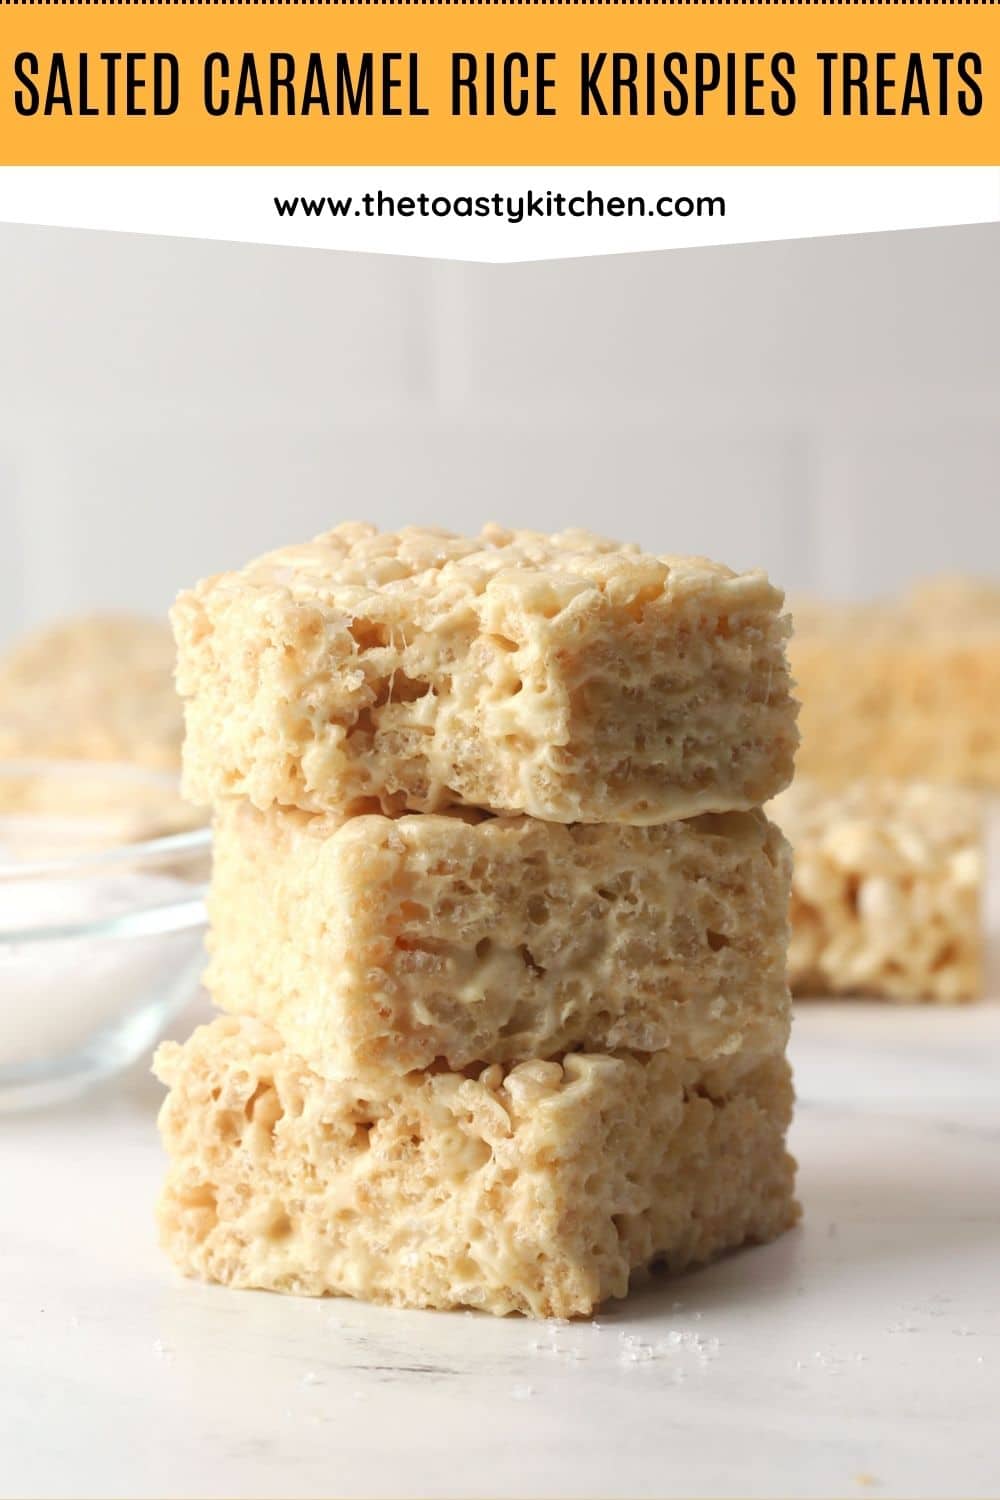
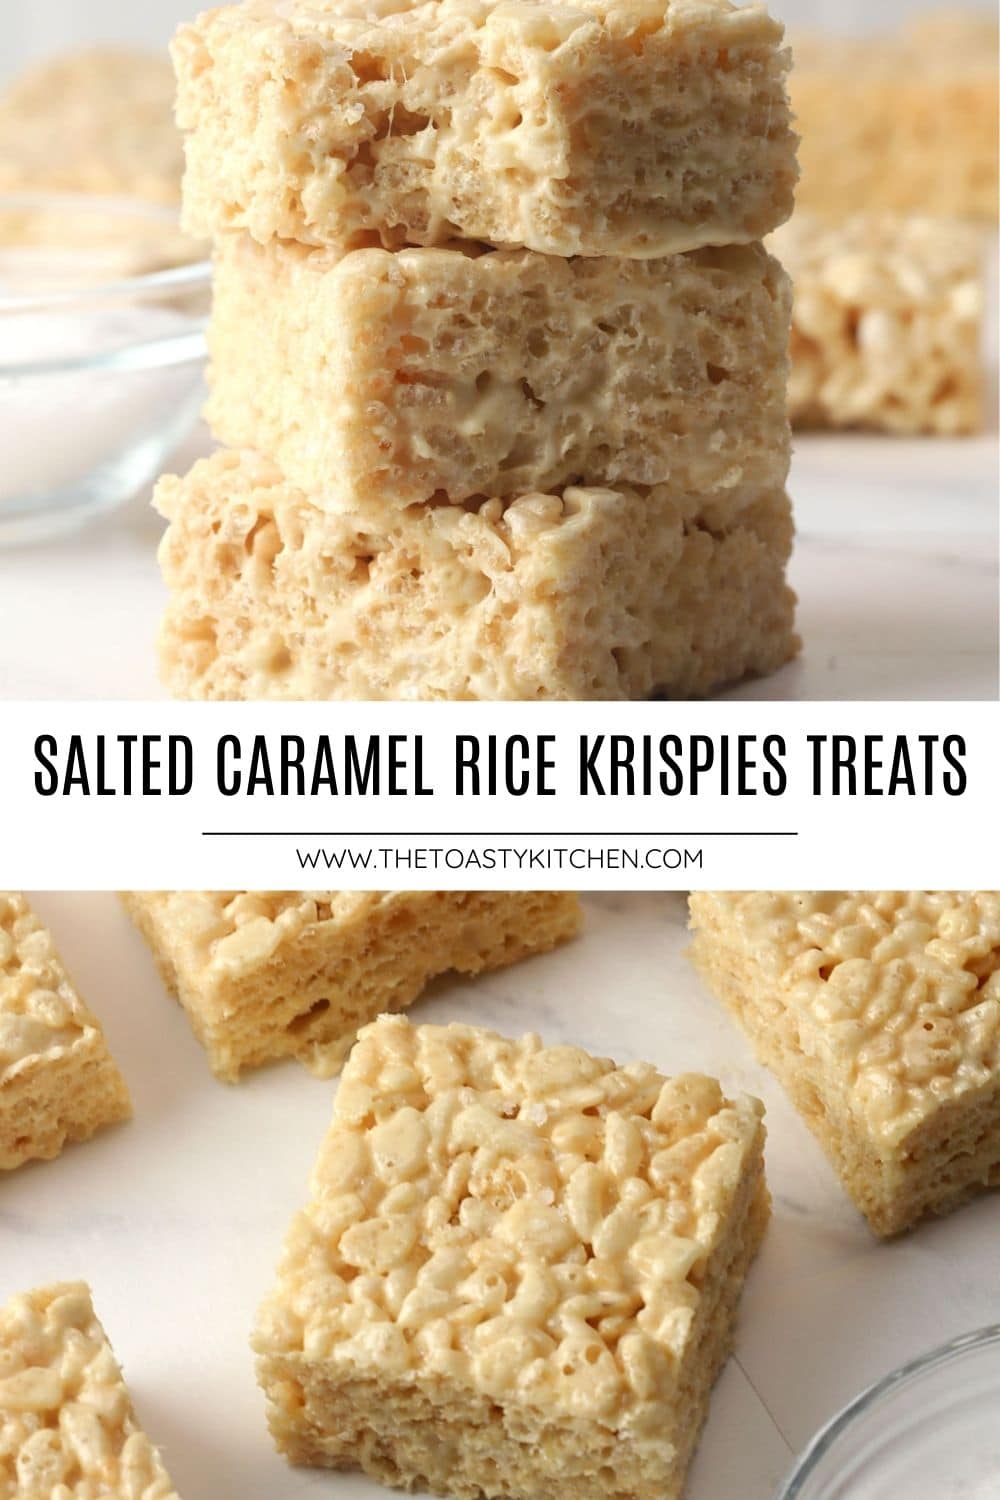
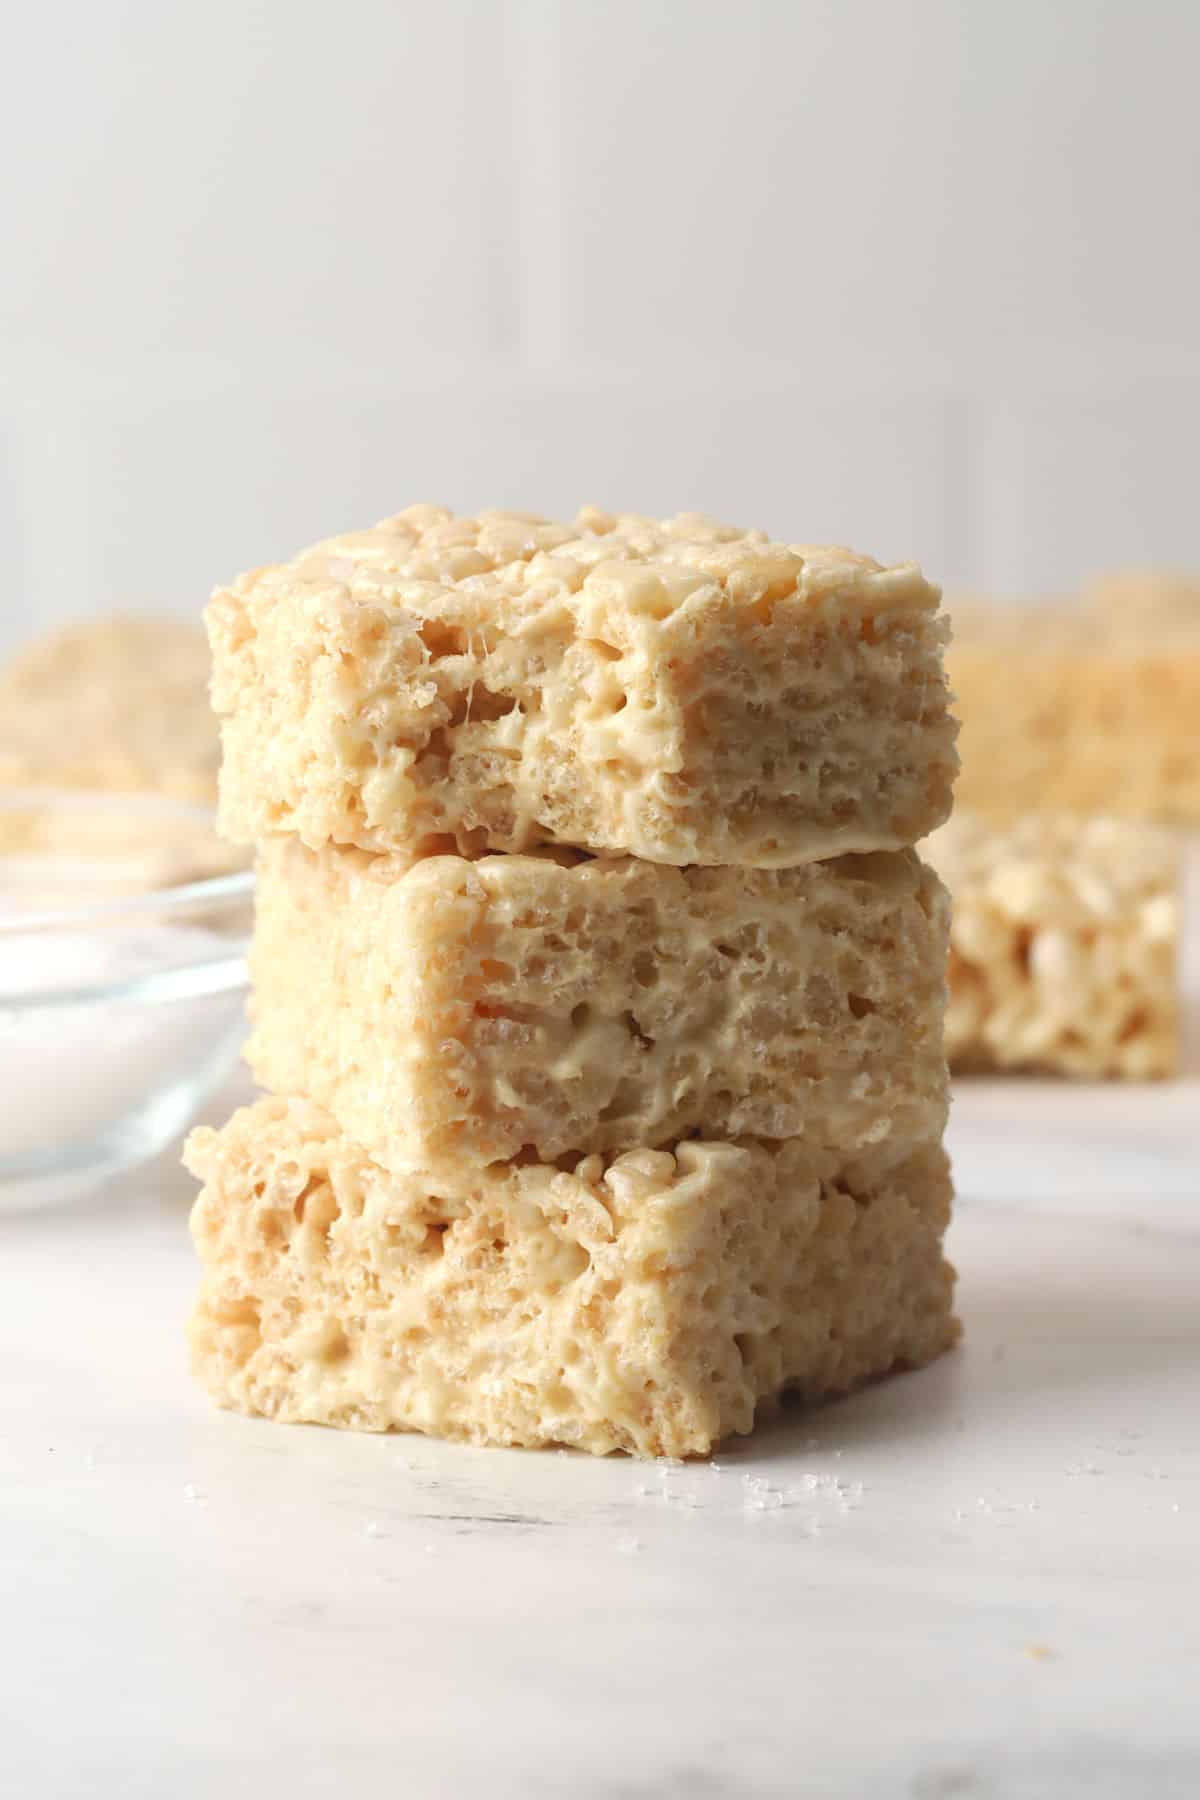
Flavor/texture: Classic rice krispies treats are upgraded with a simple homemade caramel sauce for a rich, buttery flavor and gooey texture.
Ready in 30 minutes: Great for a last minute treat!
Pan size: 9x13
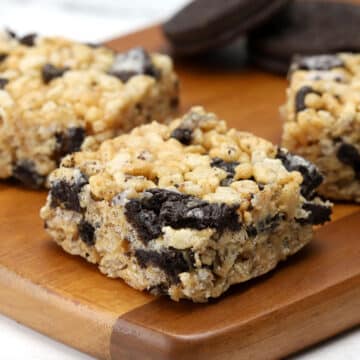
Similar to: Brown Butter Rice Krispies Treats, Peanut Butter Oreo Rice Krispies Treats
Jump to:
Ingredients and substitutions
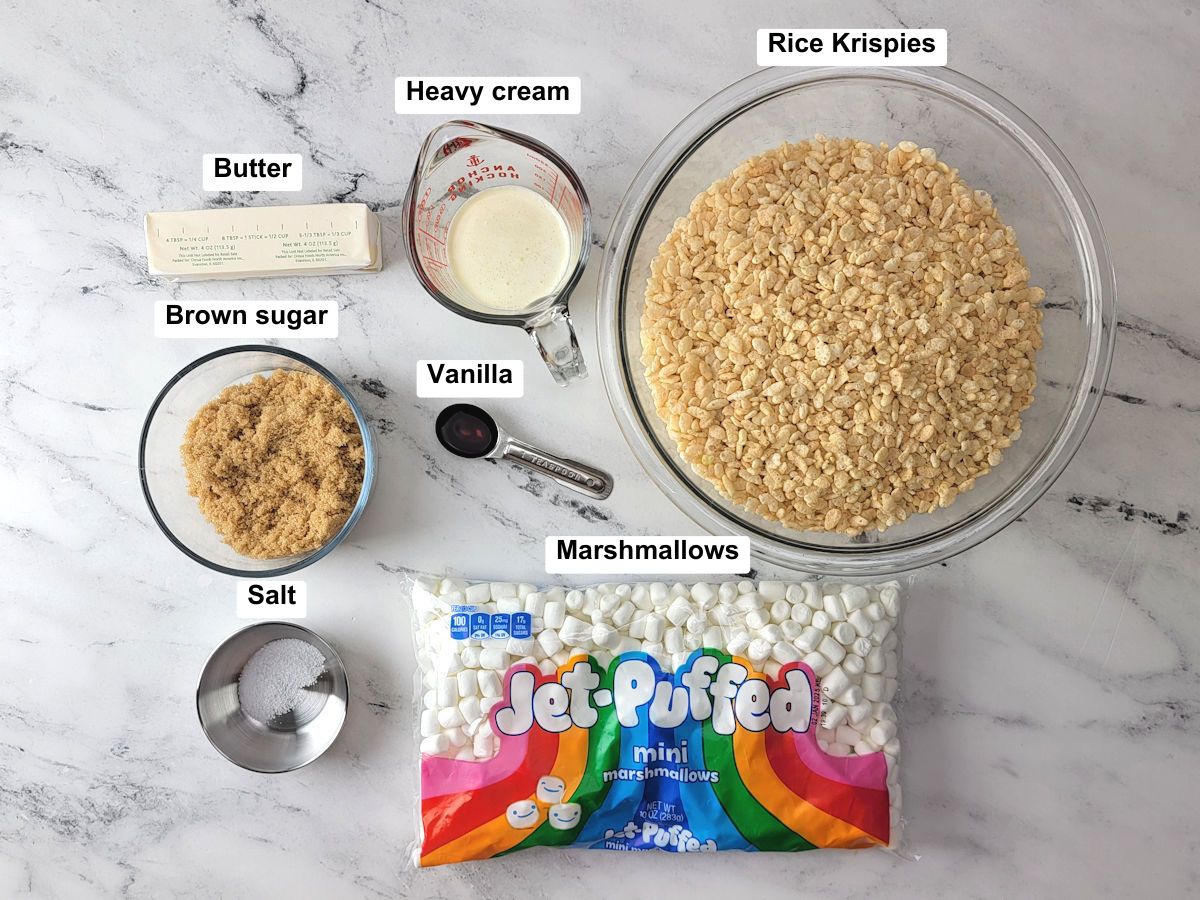
- Cereal - Rice krispies cereal (or a generic brand) serves as the base of this recipe. Rice krispies can be substituted with chex cereal (I suggest rice chex or corn chex) for a similar result.
- Marshmallows - I prefer using mini marshmallows in rice krispies treats because they melt easily, but large marshmallows will also work.
- Butter - Unsalted or salted butter works in this recipe. If using salted butter, omit the salt listed in the recipe.
- Brown sugar - Necessary to make the homemade caramel sauce.
- Heavy cream - Ensures the caramel sauce turns out creamy, rich, and soft.
- Vanilla - Adds vanilla flavor to the marshmallow mixture.
- Salt - Just enough salt is added to enhance the flavor of the bars. Flaky finishing salt can be added on top just before serving for a heavier salted caramel flavor.
How to make Salted Caramel Rice Krispies Treats
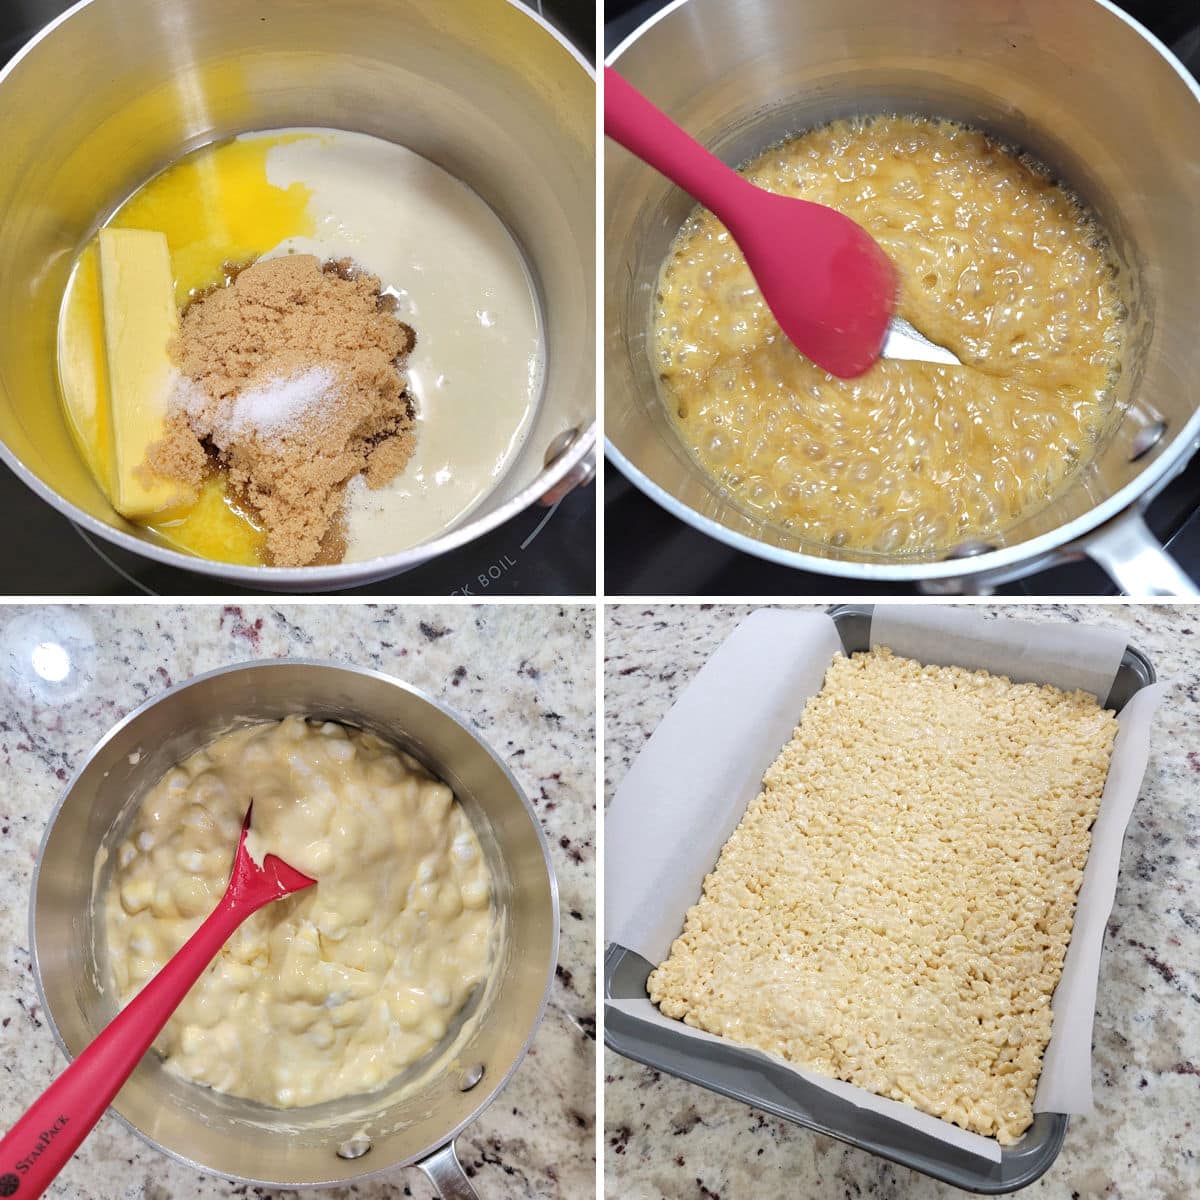
- Add butter, cream, brown sugar, and salt to a large saucepan.
- Stir over a simmer for about 4 minutes or until caramel thickens slightly then remove from heat.
- Add marshmallows and vanilla extract. Stir until marshmallows are almost completely melted. Add Rice Krispies cereal and gently stir until evenly coated.
- Press mixture into a parchment lined baking pan and allow to cool completely before cutting into squares.
Tips and tricks
Pan size - You'll need a 9x13 rectangular baking pan for this recipe. They could also be prepared in a 9x9 square pan to make extra thick rice krispies treats.
Making caramel sauce - The caramel sauce is surprisingly easy to prepare. Melt your butter, sugar, salt, and heavy cream in a saucepan over medium heat. Once it comes to a simmer, reduce the heat slightly and cook for about 4 minutes, or until it thickens slightly. That's it!
Work quickly - The marshmallow mixture cools off and thickens quickly, so it's important to work fast. Mix your ingredients and press them into the pan quickly before the mixture cools and becomes difficult to stir.
How to make rice krispies treats less sticky - Your cereal mixture will be sticky once mixed. There are a few methods that can help to painlessly press your bars into the pan. Using either your hands or a large spatula, spray with cooking spray or dampen with water before pressing your bars down. Both methods help reduce stickiness.
Frequently asked questions
I don't recommend making rice krispies treats more than one day ahead of time for best results. If you plan to make your bars ahead, leave the slab whole instead of slicing into bars and storing individually. Storing as a whole slab helps retain moisture in your bars.
A bag of mini marshmallows could be substituted with a jar of marshmallow fluff if desired.
Yes, rice krispies treats freeze well, up to six weeks or more when stored in optimal conditions. Tightly wrap your treats in foil, then store in a tightly sealed freezer-safe container or bag.
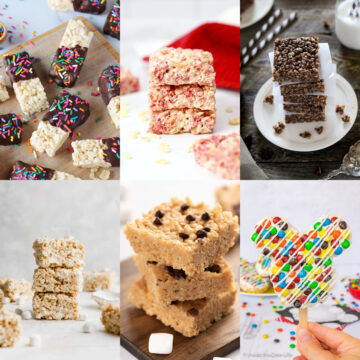
Recommended
📖 Recipe
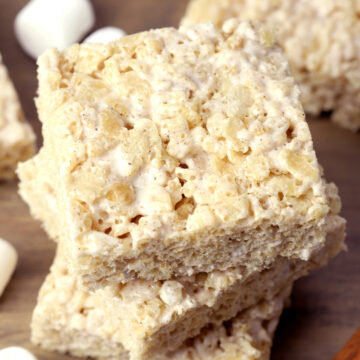
Salted Caramel Rice Krispies Treats
Ingredients
- ½ cup (113 g) unsalted butter
- ½ cup (106) light brown sugar
- ¼ cup (57 g) heavy cream
- ½ teaspoon kosher salt
- 10 ounces (284 g) mini marshmallows
- 1 teaspoon vanilla extract
- 7 cups (196 g) Rice Krispies cereal
Instructions
- Line 9x13 pan with parchment paper and set aside.
- In a large saucepan over medium heat, add butter, brown sugar, heavy cream, and salt. Gently stir until butter is melted. Once mixture comes to a simmer, reduce heat slightly and simmer for about 4 minutes, or until caramel thickens slightly. Remove from heat.
- Add marshmallows and vanilla extract. Stir until marshmallows are almost completely melted. Add Rice Krispies cereal and gently stir until evenly coated.
- Using a spatula, press cereal mixture firmly into 9x13 pan. Allow to cool completely before cutting into squares.
Equipment Recommendations
Notes
- Storage: Rice krispies treats will keep for about two days in a tightly sealed container at room temperature. Leftovers can be frozen for up to three months.
- Make ahead: If making ahead, store rice krispies treats slab whole and slice the day of serving. Slicing and storing separately will dry out treats faster than leaving whole.


I had so much fun creating this recipe! I hope you give it a try and love it as much as I do. If you have a question, check out the post above, which is packed with information about the recipe. Tried the recipe? I'd love to hear your thoughts — leave a comment and a star rating to share your feedback!