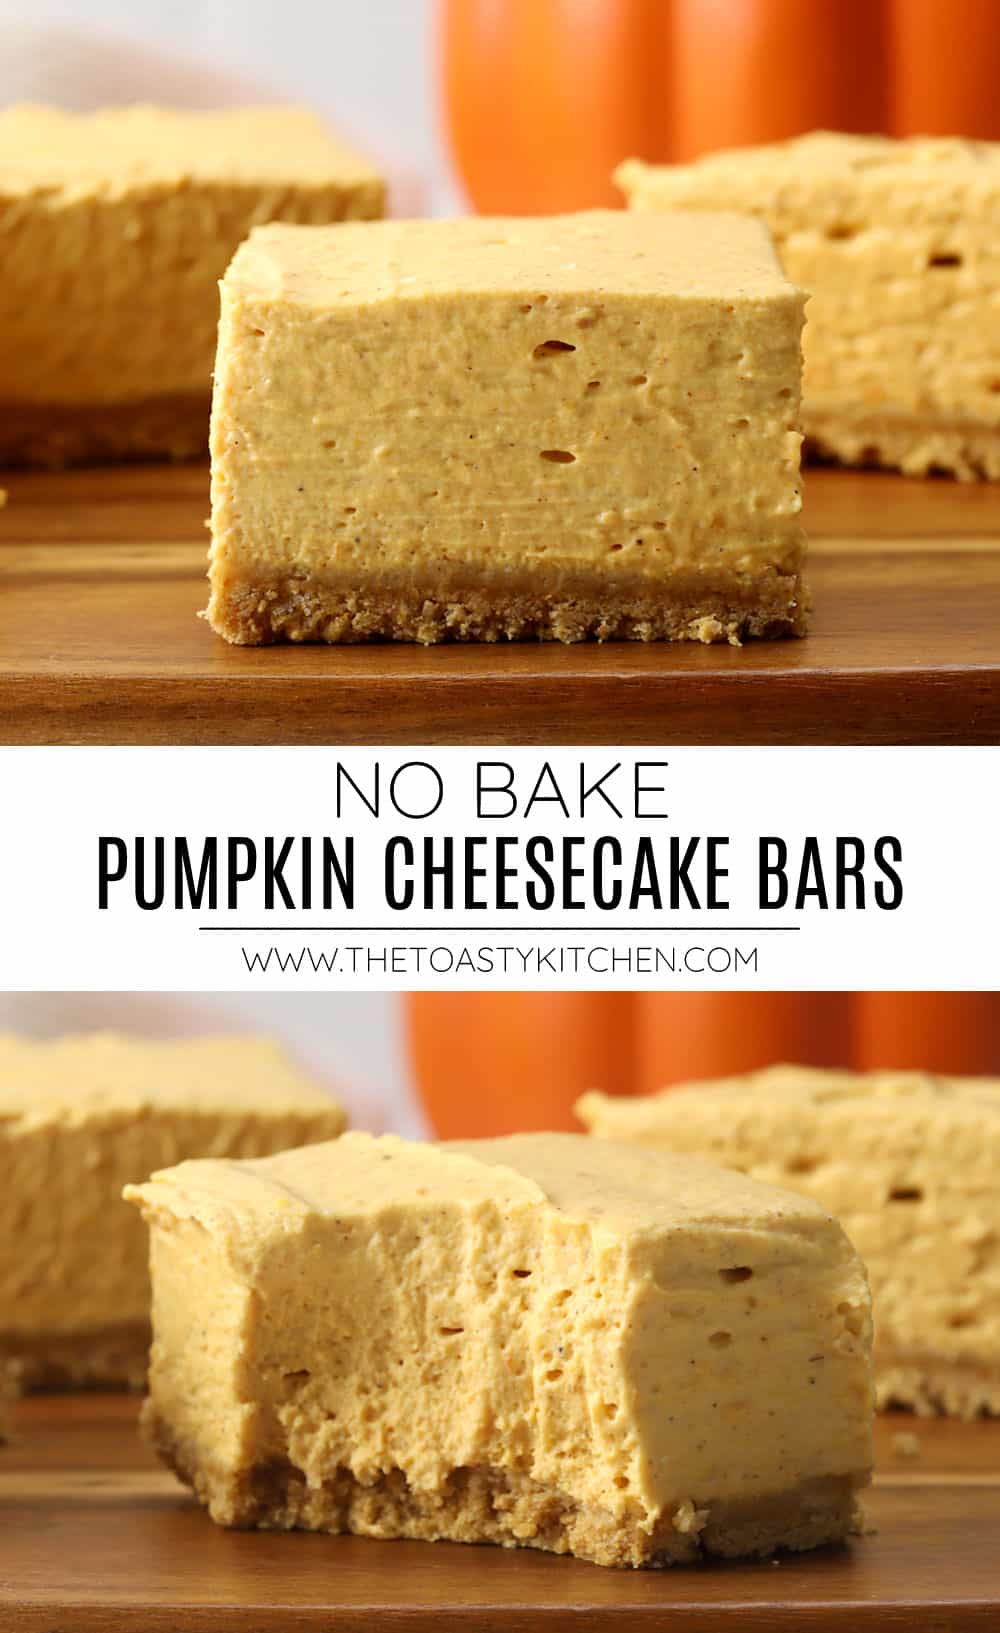


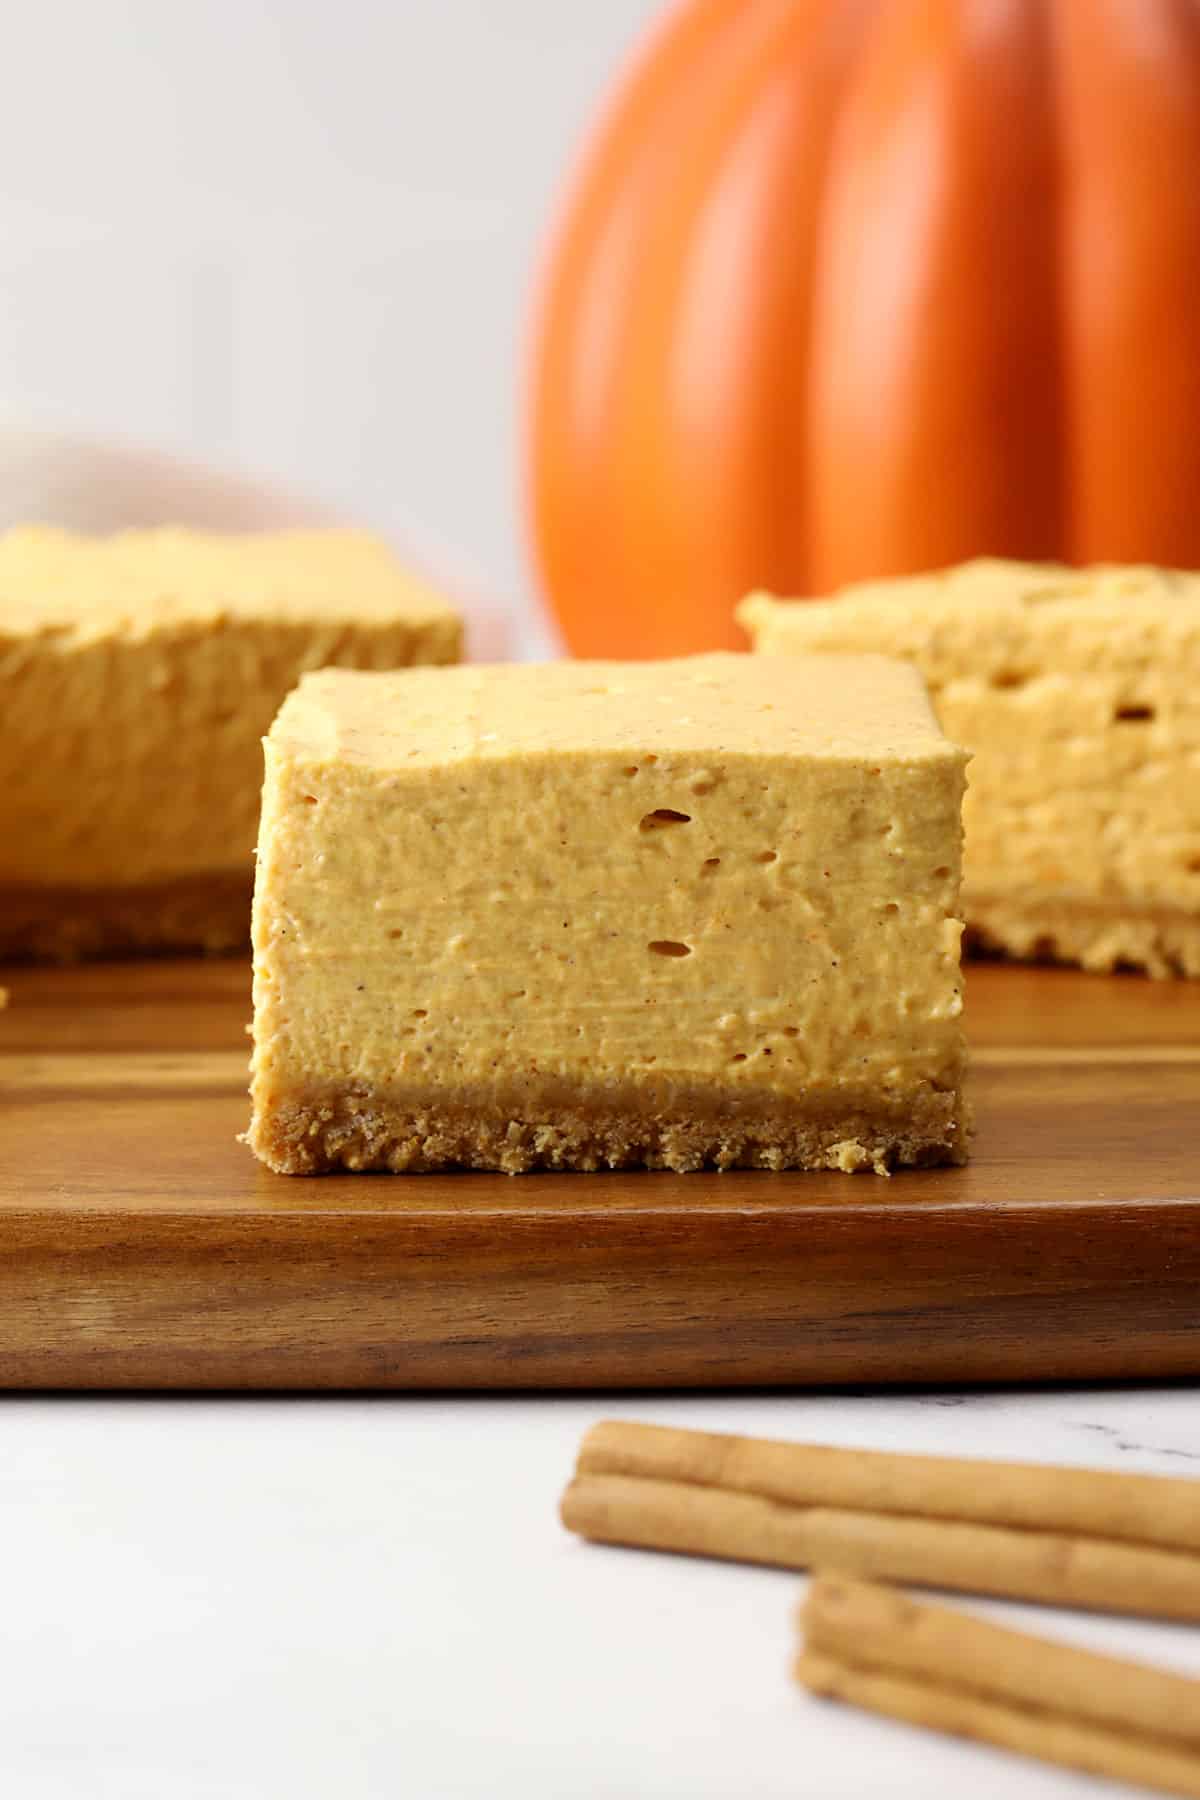
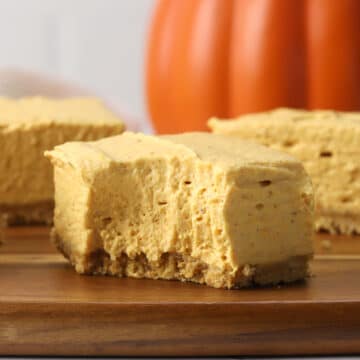
No-bake pumpkin cheesecake bars are the cozy fall version of my classic no-bake cheesecake bars. Made with a creamy pumpkin filling and graham cracker crust, these no-bake bars are perfect for your next fall party like Halloween or Thanksgiving.
Recipe summary
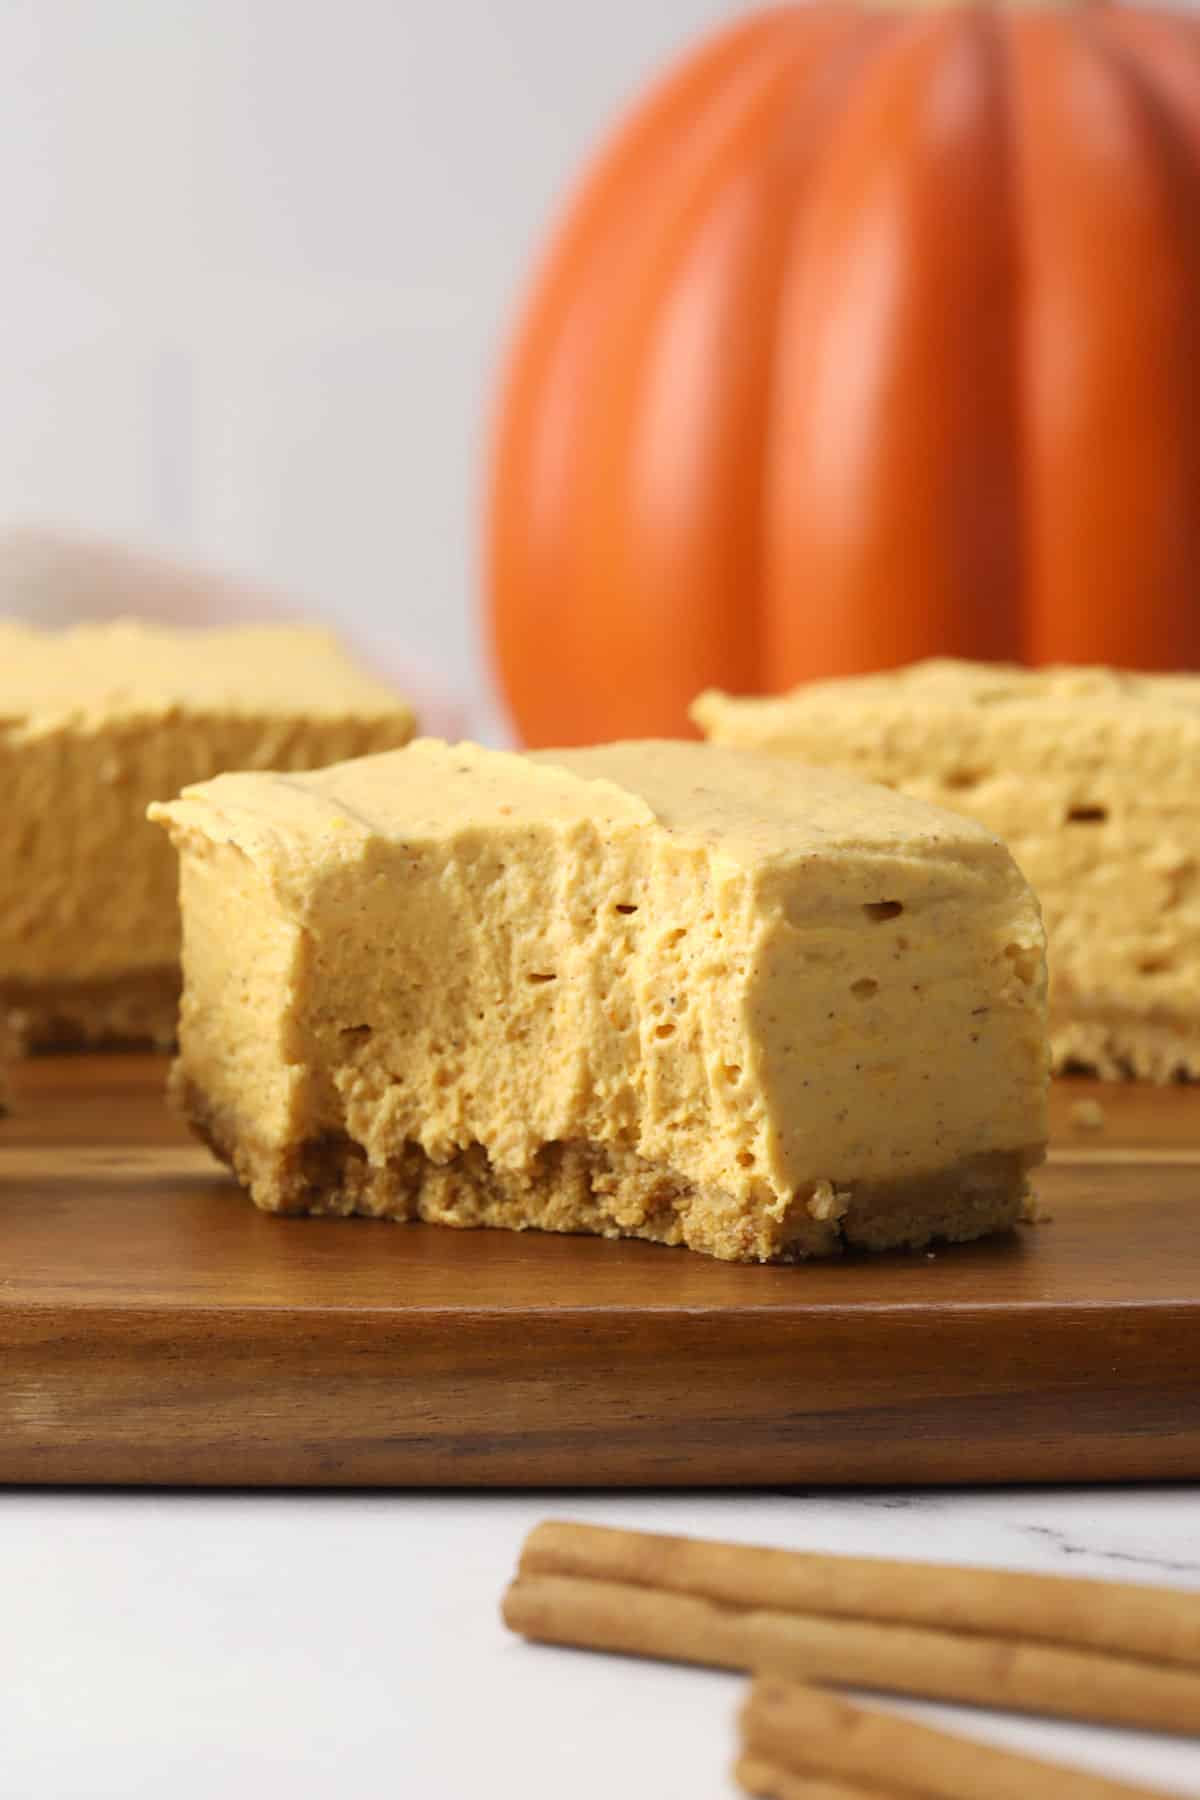
Flavor/texture: Classic graham cracker crust is topped with creamy and fluffy spiced pumpkin cheesecake filling.
No cooking needed: No-bake cheesecake is made without the stovetop or oven, making it perfect for those warmer fall days.
Pan size: 9x13
Yield: 24 squares
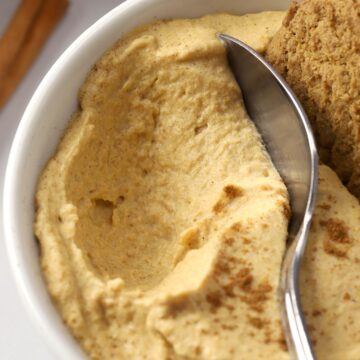
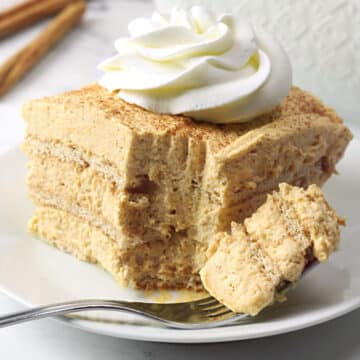
Similar to: Pumpkin Mousse, Pumpkin Pie Bars
Jump to:
Ingredients and substitutions

- Crust - Graham cracker crumbs, melted butter, salt, and granulated sugar are necessary to make the crust. The butter and sugar act as a glue to hold the crust together. Unsalted butter and salt can be substituted with salted butter.
- Filling - Block-style cream cheese, pumpkin puree, confectioner's sugar, and heavy cream create the base of the filling. Block-style cream cheese is necessary to provide adequate structure (whipped or spreadable cream cheese does not work in this recipe).
- Cool Whip substitute - Heavy cream can be substituted with an 8 ounce container of Cool Whip if desired (skip the step of whipping and fold the Cool Whip into the cream cheese mixture as directed below).
- Flavor - Vanilla extract, cinnamon, nutmeg, ginger, and cloves add flavor to the pumpkin pie filling. The spices can be substituted with an equal amount of pumpkin pie spice.
How to make pumpkin cheesecake bars
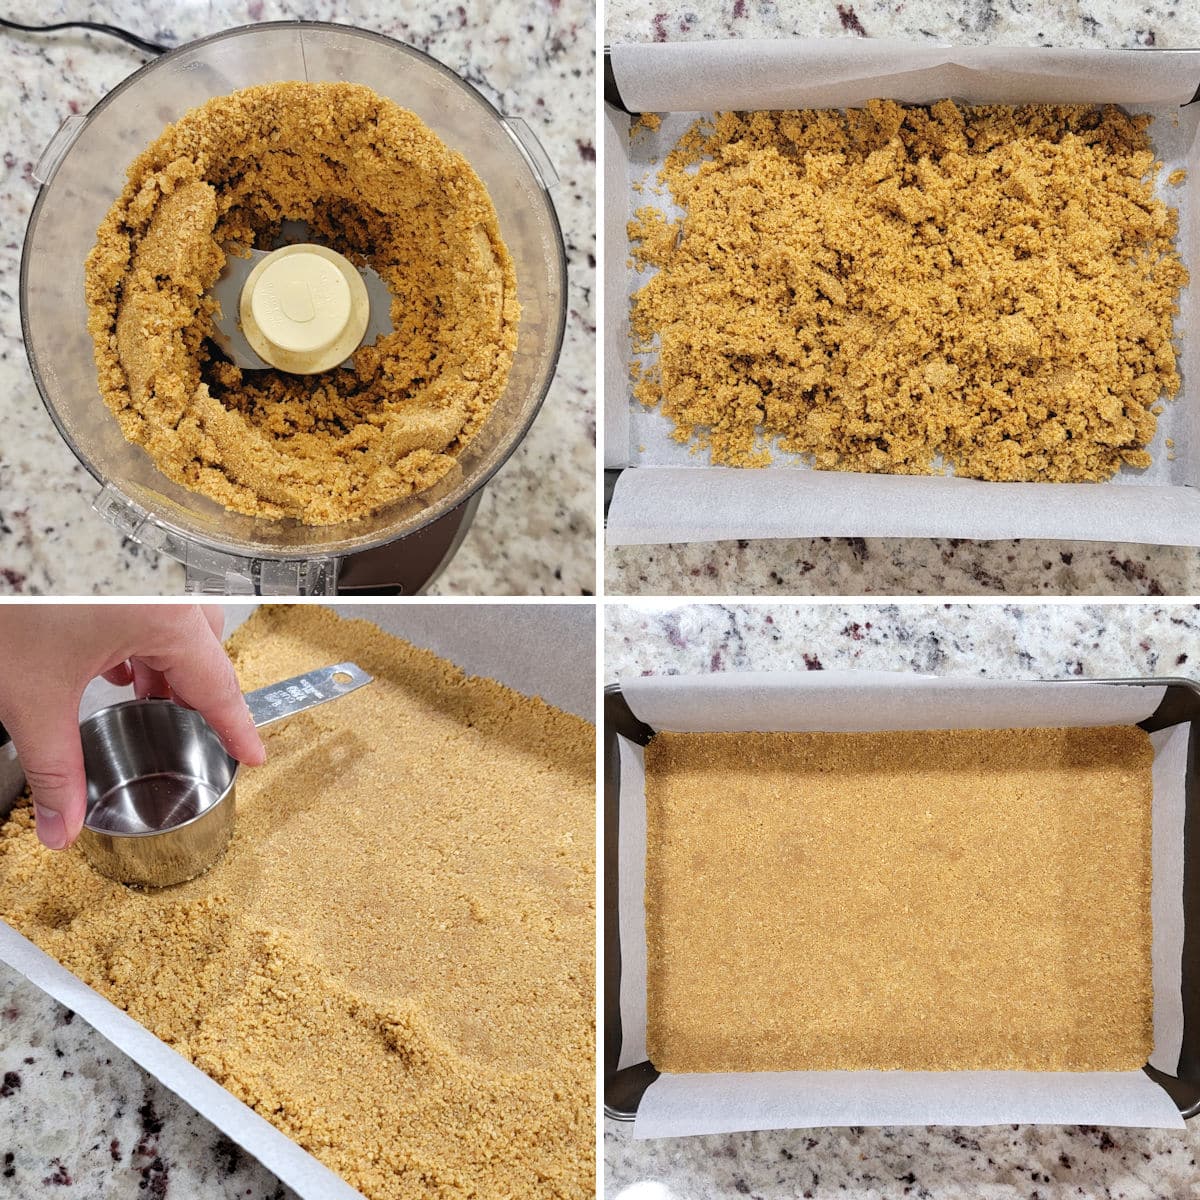
- Combine graham crackers, melted butter, sugar, and salt in a food processor until fully incorporated. Mixture will be like wet sand.
- Pour mixture into a parchment lined baking pan.
- Press crust firmly into the pan. A measuring cup or other hard, flat bottomed tool can help.
- Refrigerate until ready to fill.
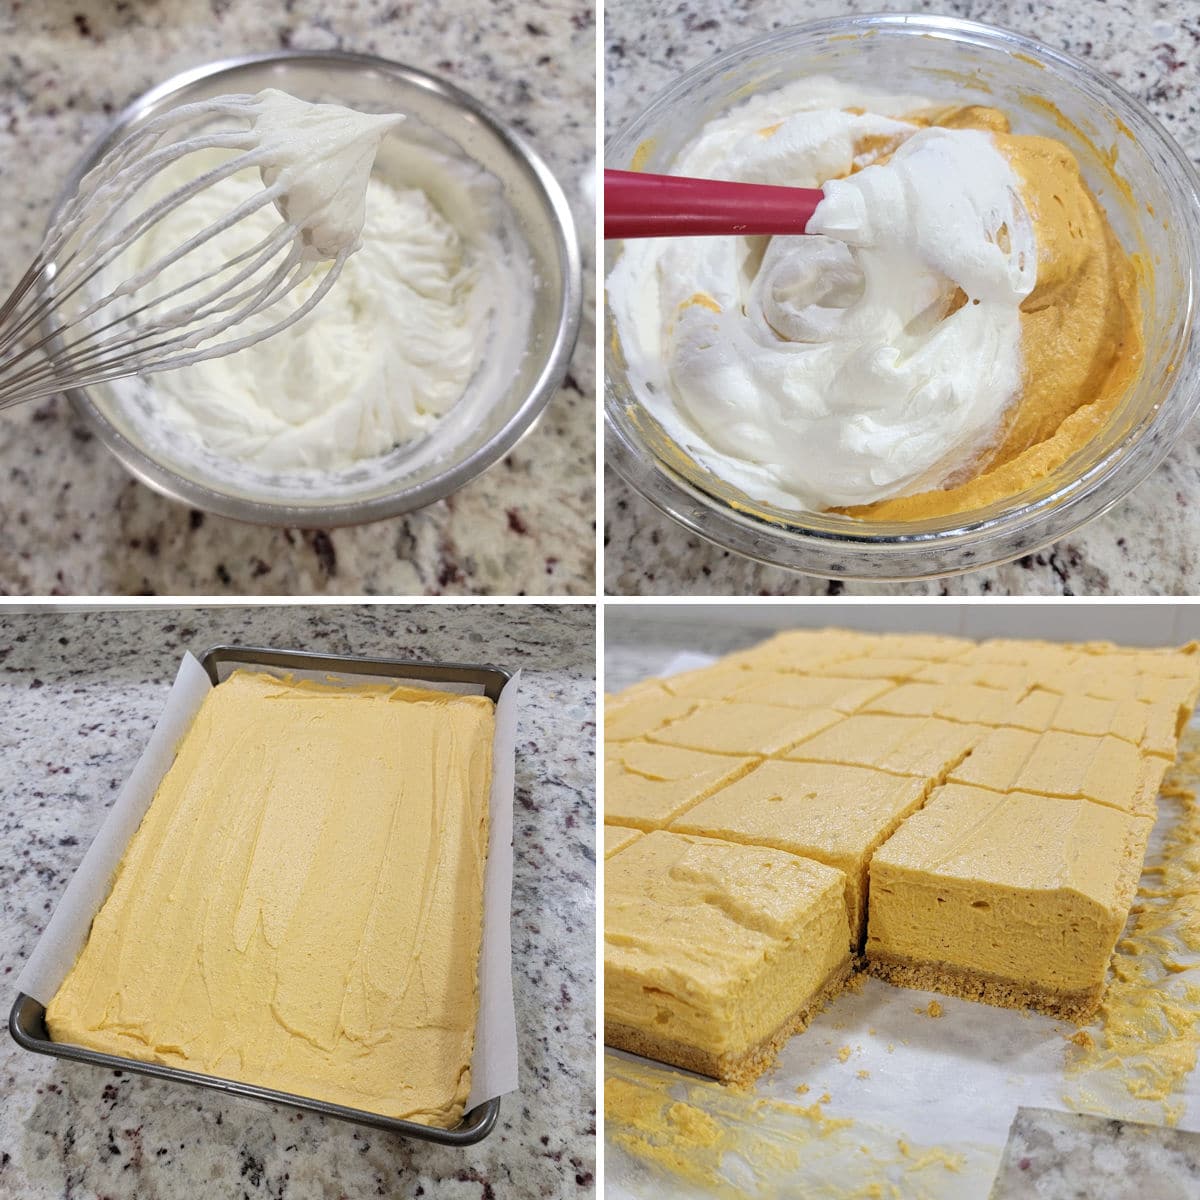
- Use a hand mixer to whip heavy cream to stiff peaks.
- Fold into prepared pumpkin puree mixture until evenly incorporated.
- Spread an even layer into baking pan on top of chilled crust.
- Cut into squares and serve chilled.
Tips and tricks
Properly measure your graham cracker crumbs: Too many crumbs make a dry, crumbly crust and too few crumbs make a soggy crust. I used exactly 16 Honey Maid brand graham cracker rectangles for 2 and ¼ cups of crumbs. However, different brands can be made slightly smaller or thinner, so it's best to measure your crumbs with a measuring cup or by weight (gram measurements can be found in the recipe card).
Do not reduce or omit the butter or sugar: The combination of melted butter and sugar helps create a "glue" that holds the crust together. Melted butter solidifies when refrigerated, and sugar helps attract moisture, which holds the crust together. Don't substitute or omit these two ingredients.
Press crust firmly into the pan: Use a flat bottom measuring cup to help press the crust firmly into the bottom of your parchment-lined pan. Make sure every inch of your crust is pressed down firmly - in the corners, around the sides, and in the middle.
Whip your heavy cream to stiff peaks - This is arguably the most important step in the entire recipe. Don't skip the step of whipping your heavy cream to stiff peaks. Adding heavy cream directly to the cheesecake filling will 100% result in a runny, liquid filling. It will never set up if it's not whipped first. Whipping adds air and creates whipped cream (like an unsweetened Cool Whip), which gives the cheesecake filling its mousse-like texture.
Use room temperature, block-style cream cheese - Room temperature cream cheese mixes seamlessly with the other ingredients, creating a smooth filling. Block style cream cheese (the rectangular brick type) is needed because it's thick, dense, and adds structure to the cheesecake. Whipped or spreadable cream cheese is too loose and fluffy to set properly.
Frequently asked questions
Structure: Traditional cheesecake is made with eggs for stability, then baked in the oven with a water bath. No-bake cheesecake is made by folding in whipped cream and refrigerating until set.
Texture: They're both made with similar flavor profiles - tangy, sweetened cream cheese - but have different textures. Traditional cheesecake is dense and rich, and no-bake cheesecake is fluffy and light.
Toppings: Traditional cheesecake can be served with warm toppings like hot fudge and warm fruit filling, whereas no-bake cheesecake will wilt and melt (it's basically a cheesecake mousse).
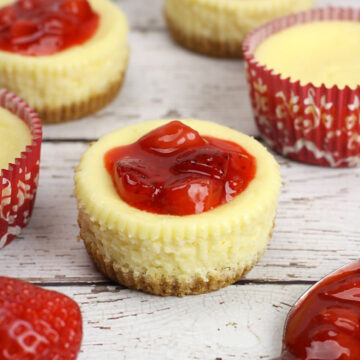
No-bake cheesecake has a fluffy, whipped texture when compared to traditional cheesecake. If you truly want a classic cheesecake taste and texture, you may be disappointed by no-bake cheesecake. The two really only share a similar flavor, but otherwise feel different texturally. Try my mini cheesecakes recipe for a classic cheesecake experience. They're perfect for a feeding a crowd!
Yes, these are the perfect make-ahead dessert recipe. They need a minimum of 8 hours in the refrigerator to set properly and taste even better after a full day of storage. Prepare your cheesecake bars up to 2 days ahead of an event and store, covered, in the refrigerator until ready to slice and serve.
Recommended
📖 Recipe
No-Bake Pumpkin Cheesecake Bars
Ingredients
Graham cracker crust
- 2 ¼ cups (248 g) graham cracker crumbs, about 16 full rectangle sheets
- 9 tablespoons unsalted butter, melted
- 3 tablespoons granulated sugar
- ¼ teaspoon salt, omit if using salted butter
Cheesecake filling
- 16 ounces (453 g) block-style cream cheese, room temperature
- 15 ounces (425 g) canned pumpkin puree
- 1 ¼ cups (142 g) confectioner's sugar
- 1 tablespoon vanilla extract
- 1 teaspoon ground cinnamon
- ½ teaspoon ground nutmeg
- ½ teaspoon ground ginger
- ¼ teaspoon ground cloves
- 1 ½ cups (341 g) heavy cream, very cold
Instructions
Graham cracker crust
- If making graham cracker crumbs from whole crackers: Place graham crackers into a food processor and process until finely ground. Or place crackers in a large plastic bag and use a rolling pin to finely crush.
- If using a food processor: Add melted butter, sugar, and salt to food processor with graham cracker crumbs and pulse until fully incorporated. Or, add crumbs, butter, sugar, and salt to a bowl and mix until evenly combined. Your mixture should be thick and sandy.
- Line a 9x13 baking pan with parchment paper. Pour graham cracker mixture into prepared pan. Use the flat bottom of a measuring cup and/or your hands to press crust firmly into the bottom of the pan. Transfer to refrigerator while preparing filling.
Cheesecake filling
- In a large mixing bowl, add cream cheese. With a hand mixer, blend unto smooth and creamy, about a minute. Add pumpkin puree, confectioner's sugar, vanilla extract, cinnamon, nutmeg, ginger, and cloves. Beat until smooth and creamy, about a minute.
- In a separate large bowl, add cold heavy cream. Using a hand mixer with a whisk attachment, whip for 2-3 minutes on medium speed until stiff peaks form. Once you begin to see ripples in the cream from your mixer and it appears to be holding its shape, stop the mixer and pull the whisk out of the bowl. If the tip of the whipped cream holds its shape without drooping, your whipped cream is ready. Take care not to over-mix or your whipped cream will separate.
- Using a spatula, gently fold whipped cream into pumpkin mixture until fully incorporated. Pour cheesecake filling over prepared graham cracker crust and using a spatula, spread to the edges of the pan in an even layer.
- Cover and refrigerate 8 to 12 hours, or overnight, until firm. Keep refrigerated until ready to serve. Slice and serve cold.
Equipment Recommendations
Notes
- Cool Whip substitute: 1.5 cups of heavy cream can be substituted with an 8 ounce tub of Cool Whip. Skip the step of whipping your cream, then fold Cool Whip into cream cheese mixture as directed.
- Storage: No-bake cheesecake will keep for 5 days in the refrigerator in a sealed container, and is best after resting for at least 8 hours. This is a great dessert to make a day or two ahead of an event.
Comments
No Comments