No more dry, overcooked chicken! Try my recipe for pan-seared chicken breasts today. They turn out juicy, tender, and perfectly seasoned.
Heather's recipe summary
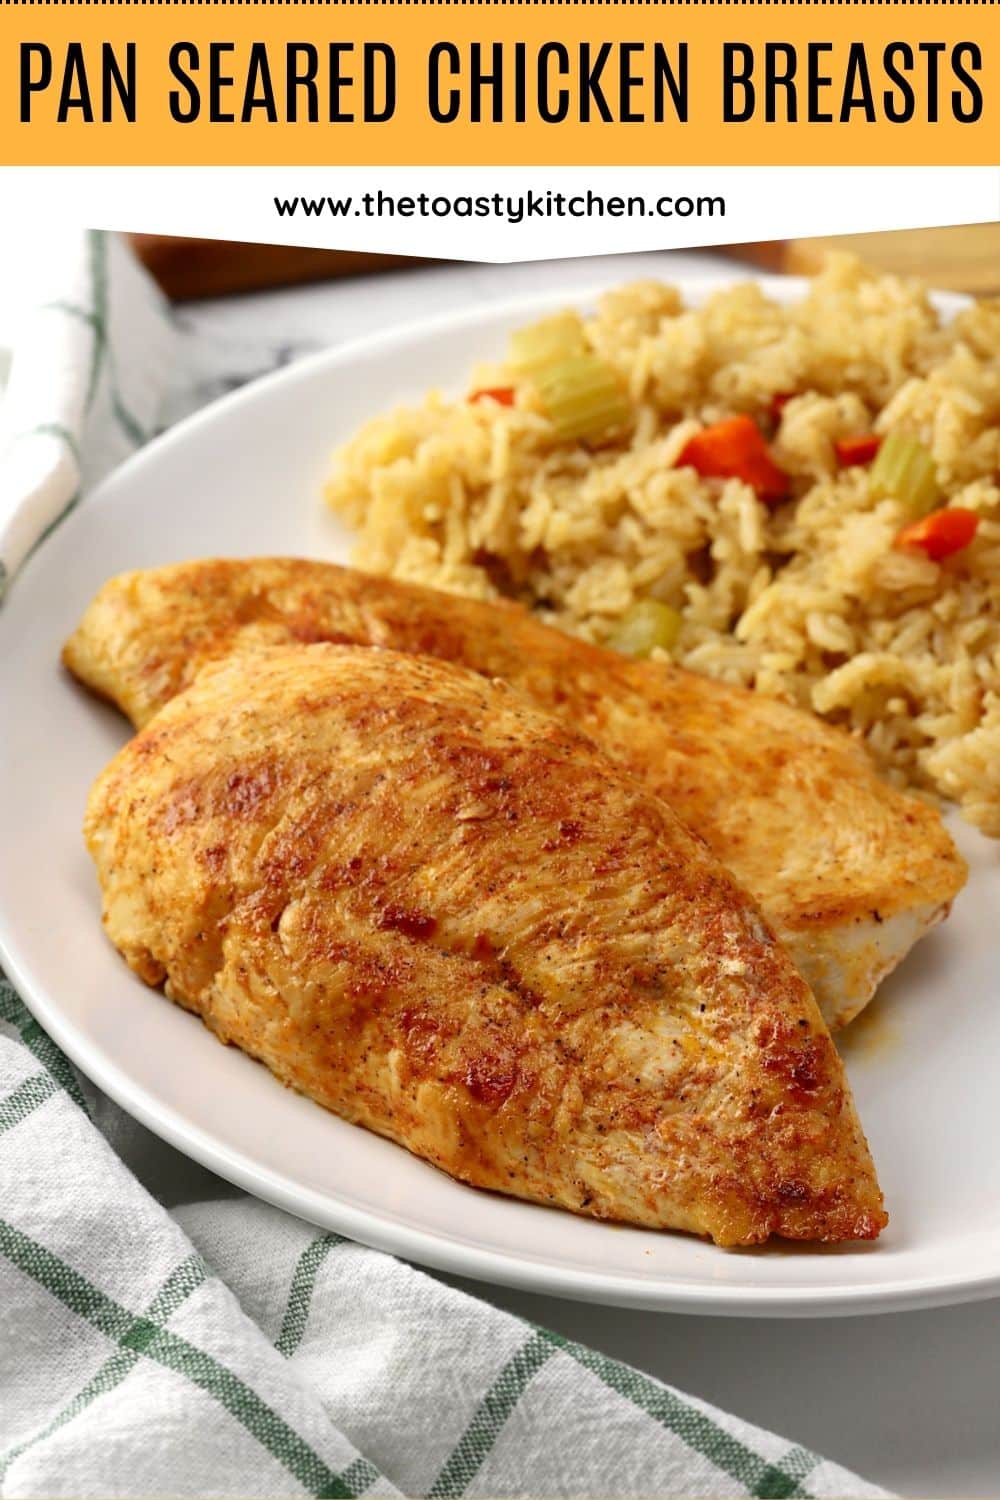
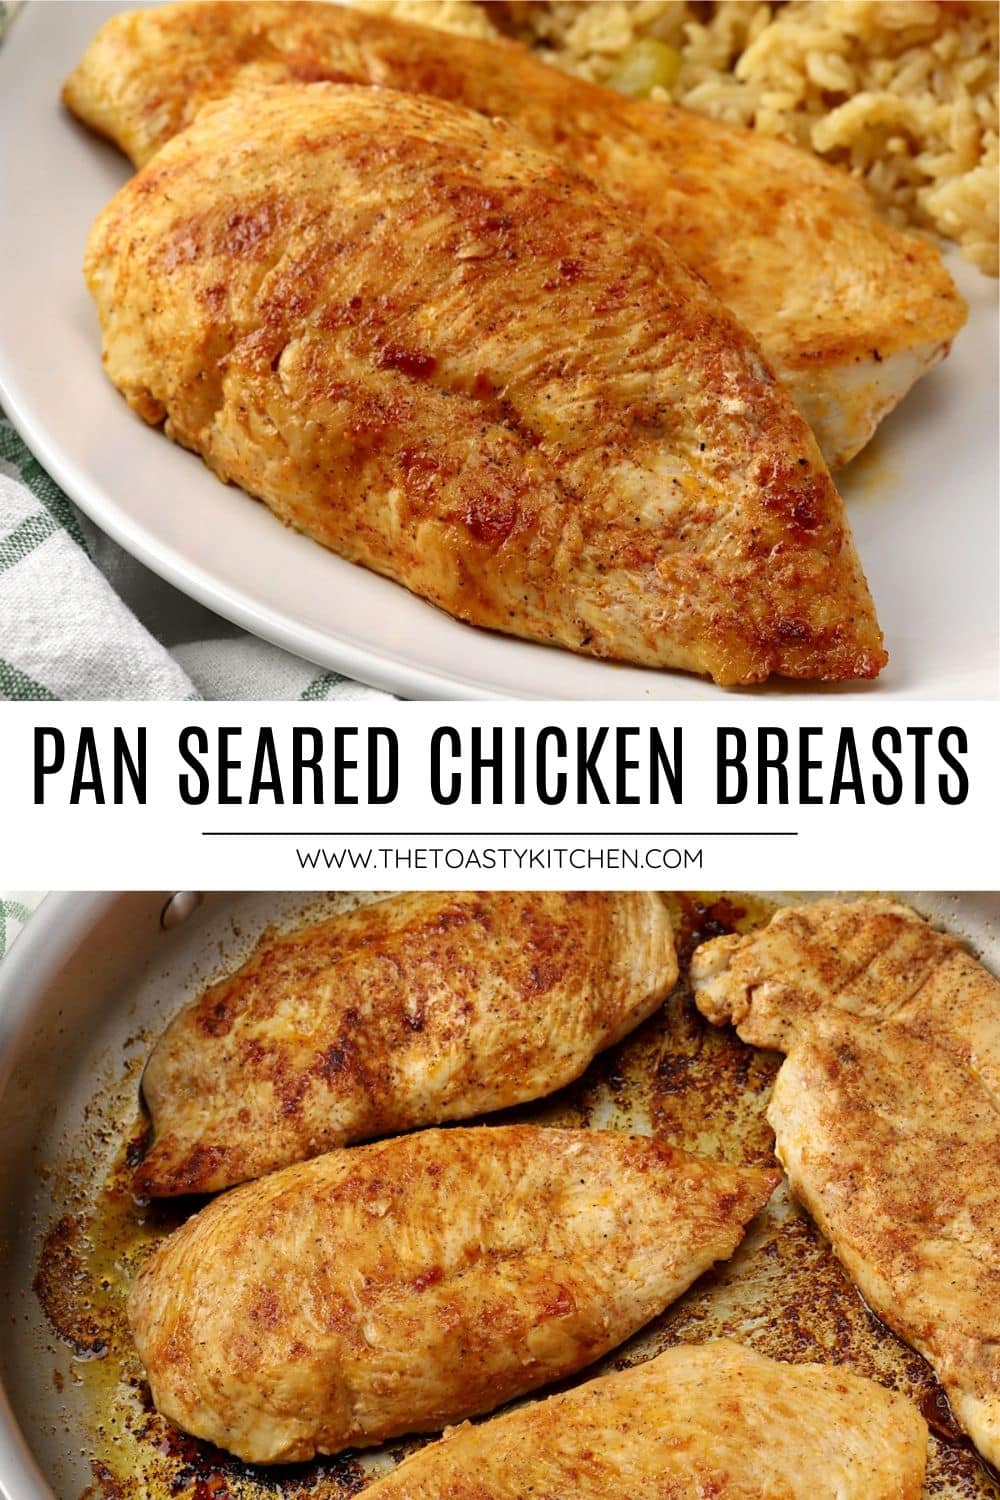
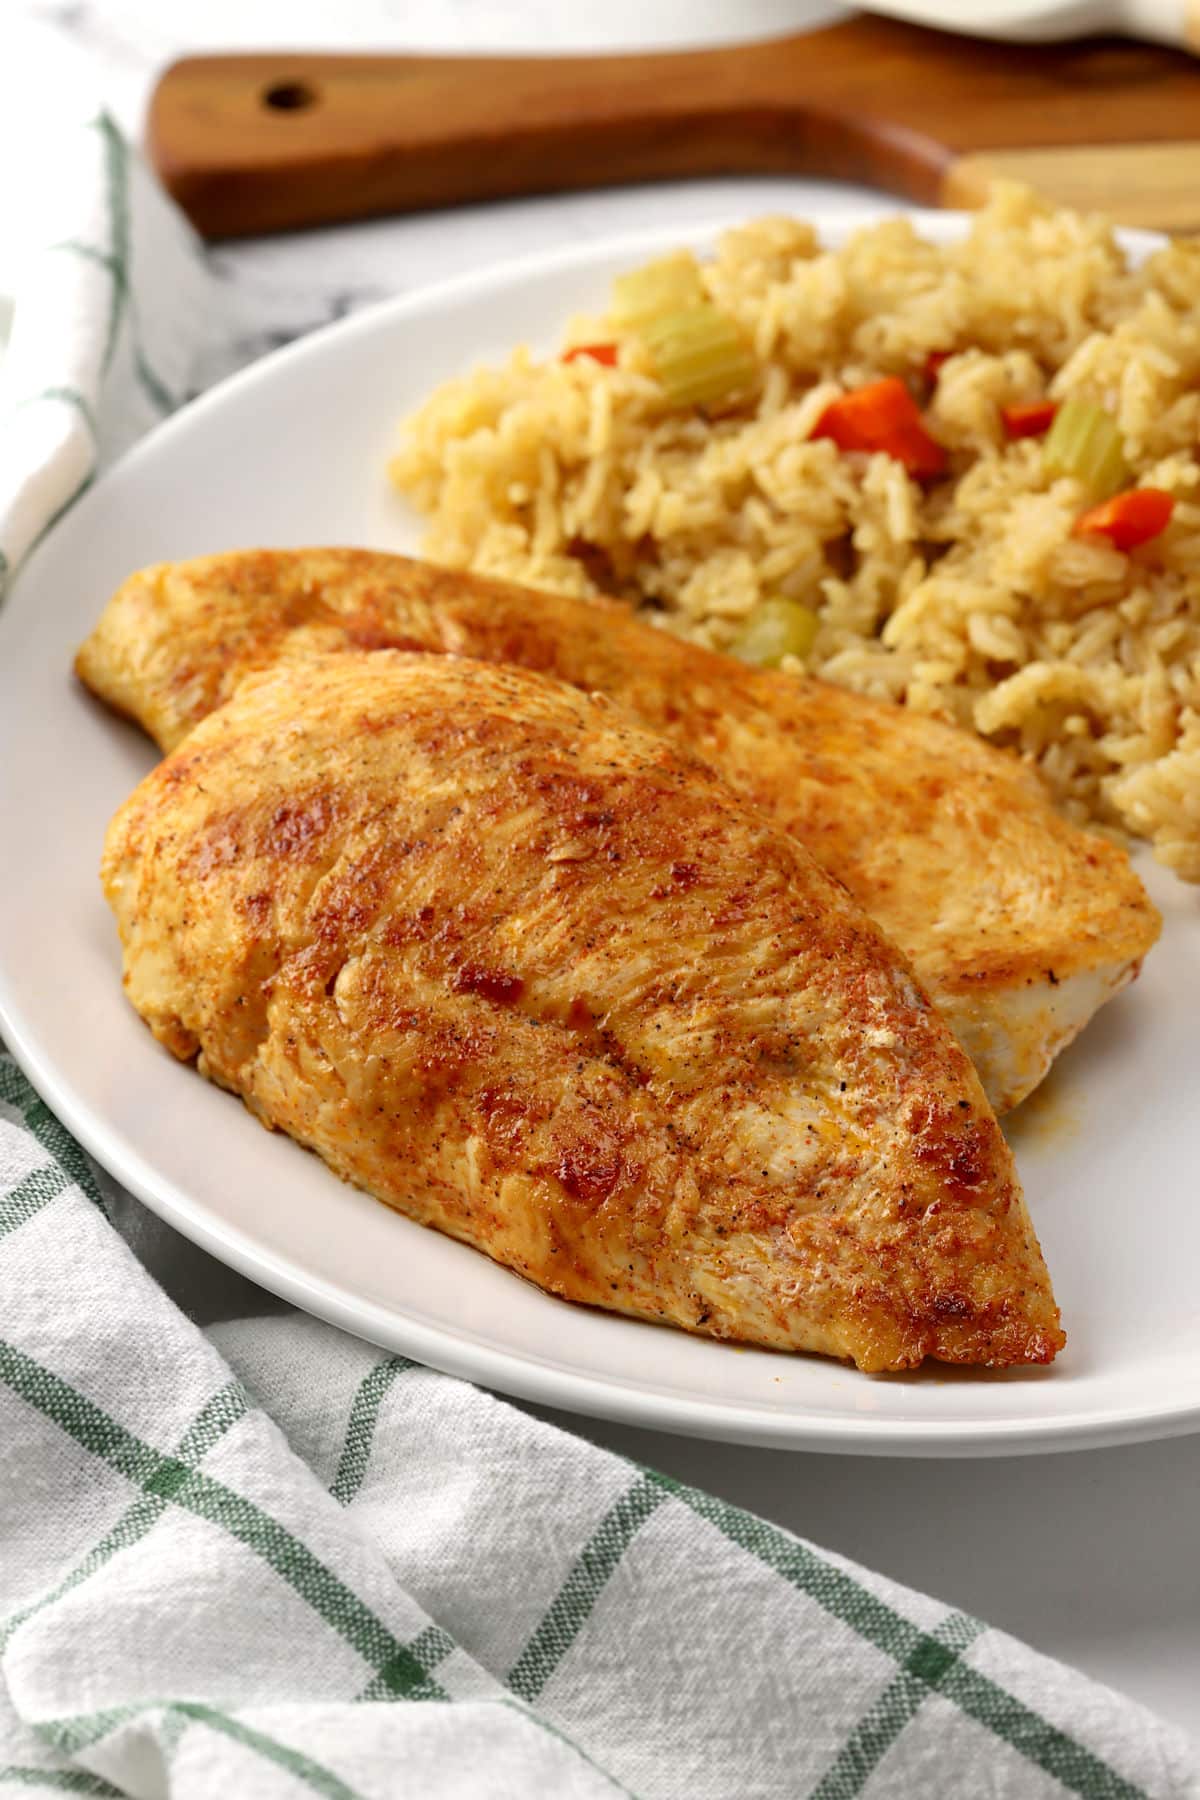
Flavor/texture: Juicy, perfectly cooked chicken breasts are coated in a mild seasoning blend that goes with just about any side dish!
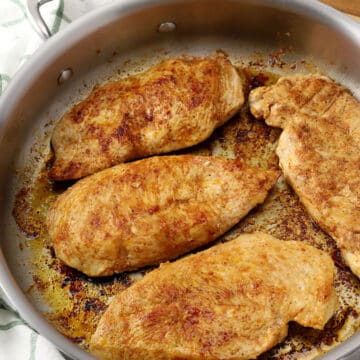
Cooked on the stovetop: By slicing the chicken thin and using medium-low heat, your chicken will turn out juicy and perfectly cooked (never dry or burnt!).
Serves: 4 people
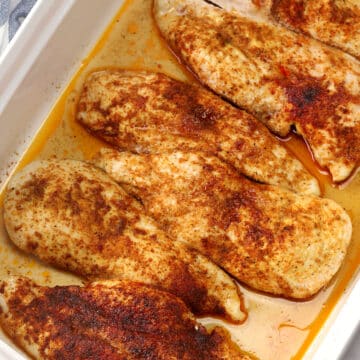
Use the oven instead: Juicy Oven Roasted Chicken Breasts
Jump to:
Ingredients and substitutions
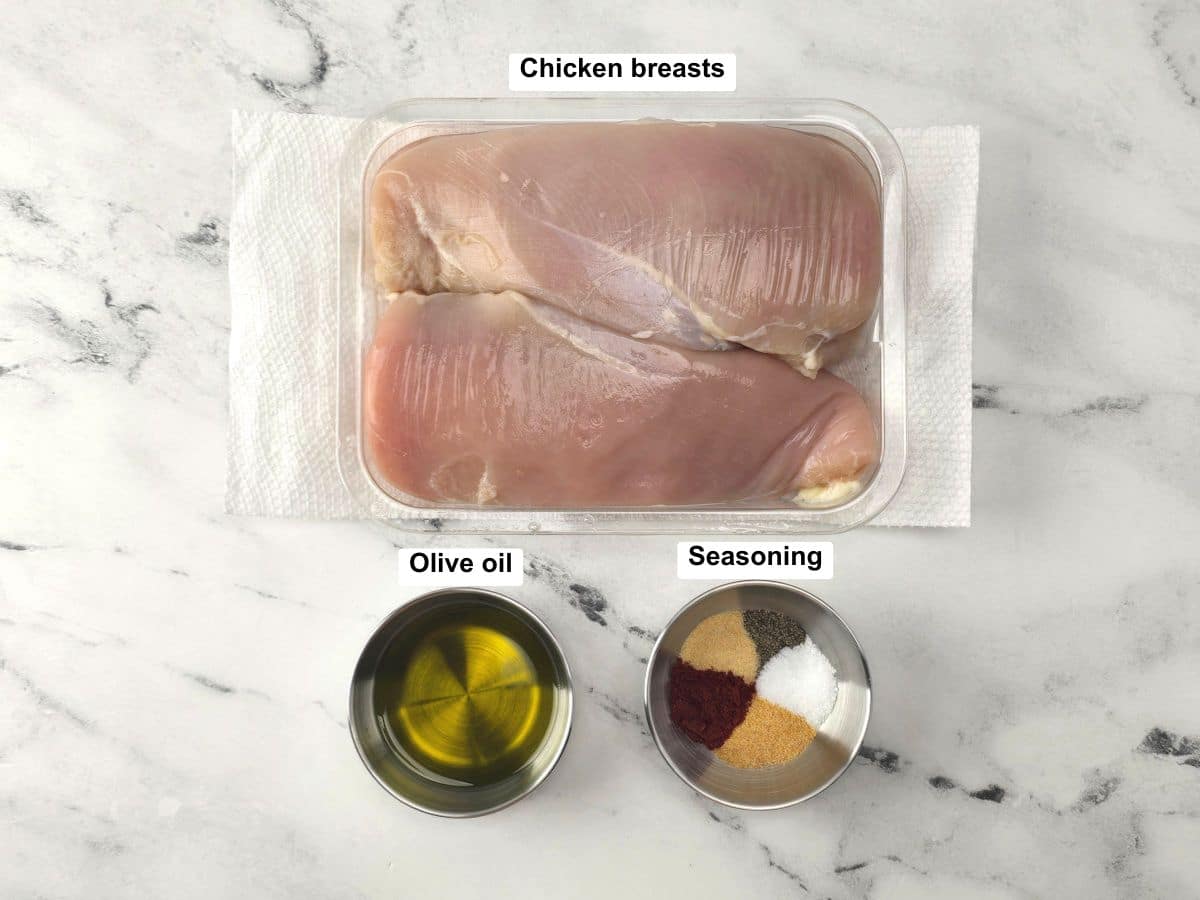
- Chicken - This recipe works best with boneless, skinless chicken breasts. We'll be slicing our chicken pieces in half lengthwise to create thin pieces that cook evenly and quickly on the stovetop.
- Olive oil - Can be substituted with your favorite cooking oil.
How to make pan-seared chicken breasts
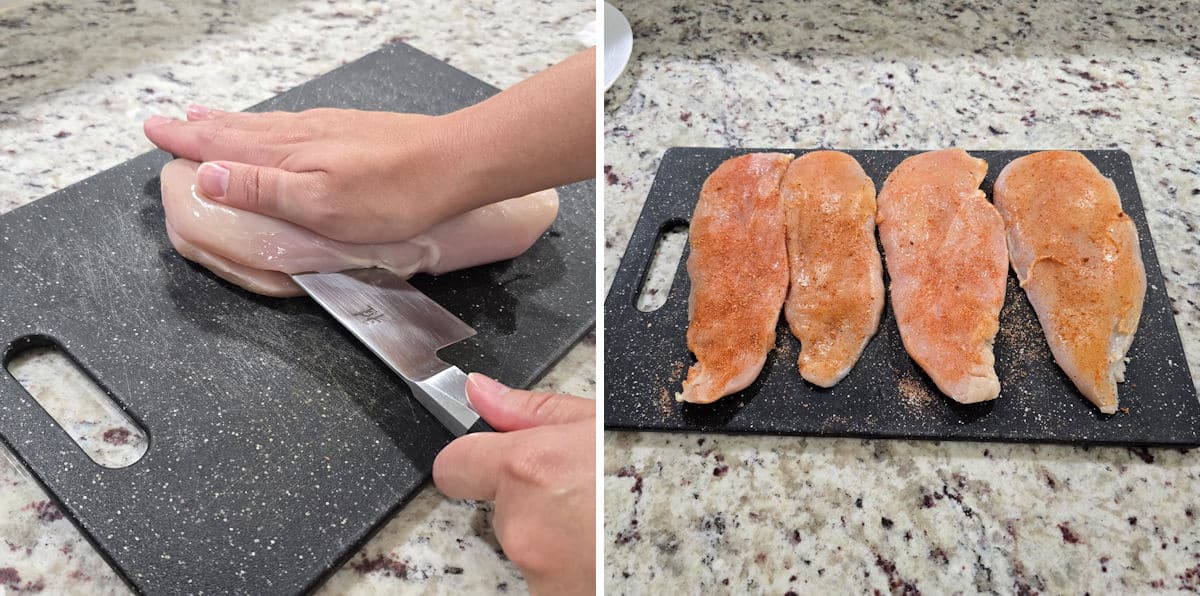
- Slice chicken breasts in half lengthwise to create two thinner, ½ to ¾ inch pieces out of each breast.
- Pat your chicken dry with a paper towel and season on both sides.
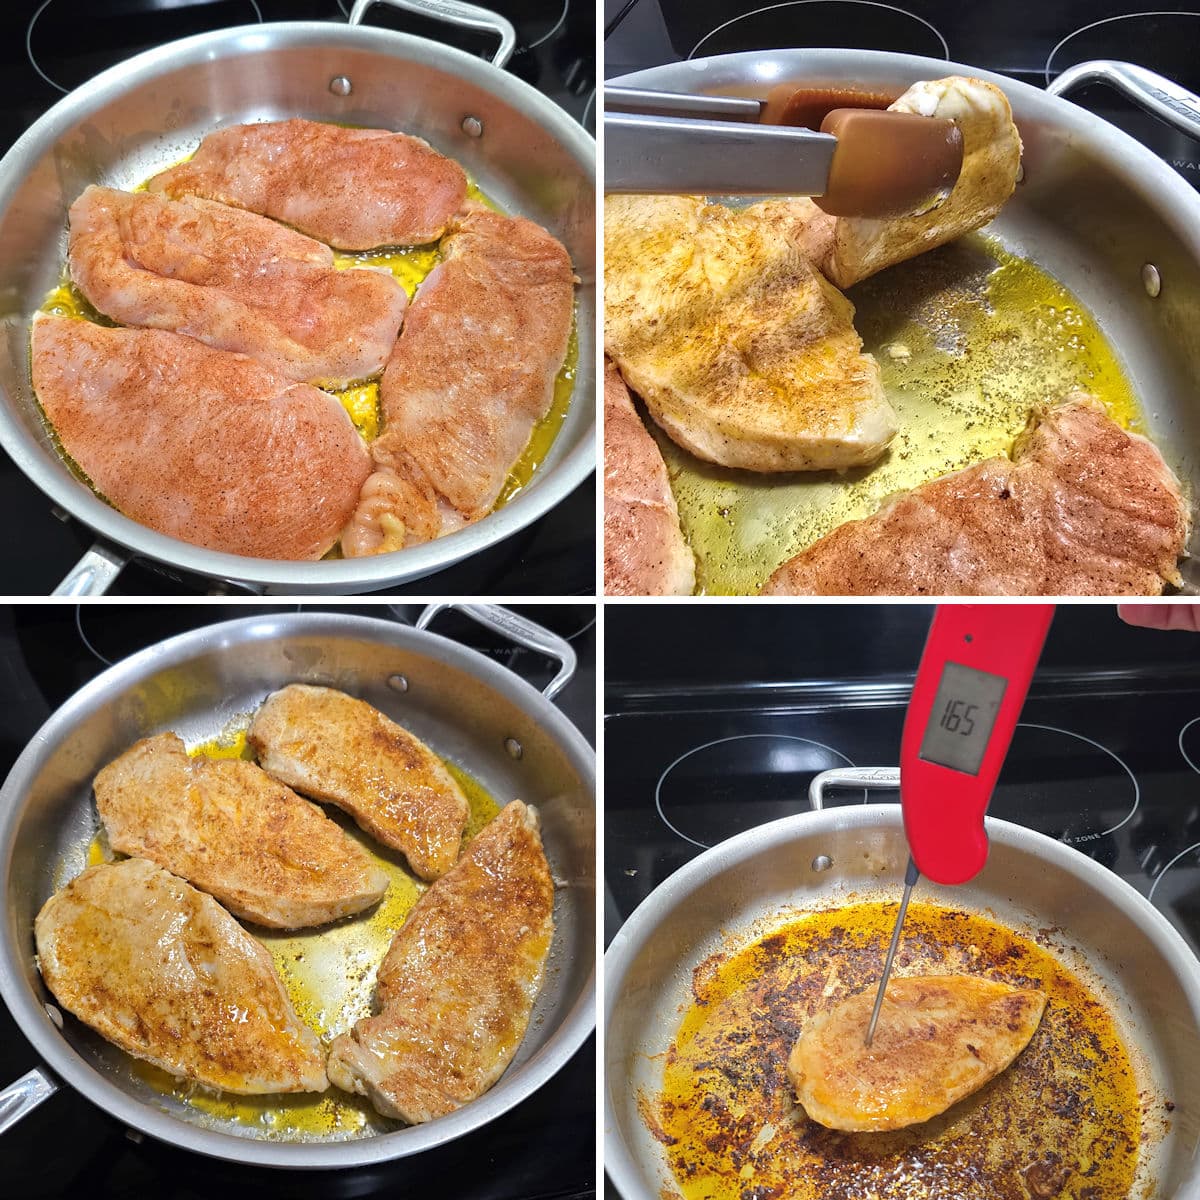
- Heat olive oil in a pan and add chicken.
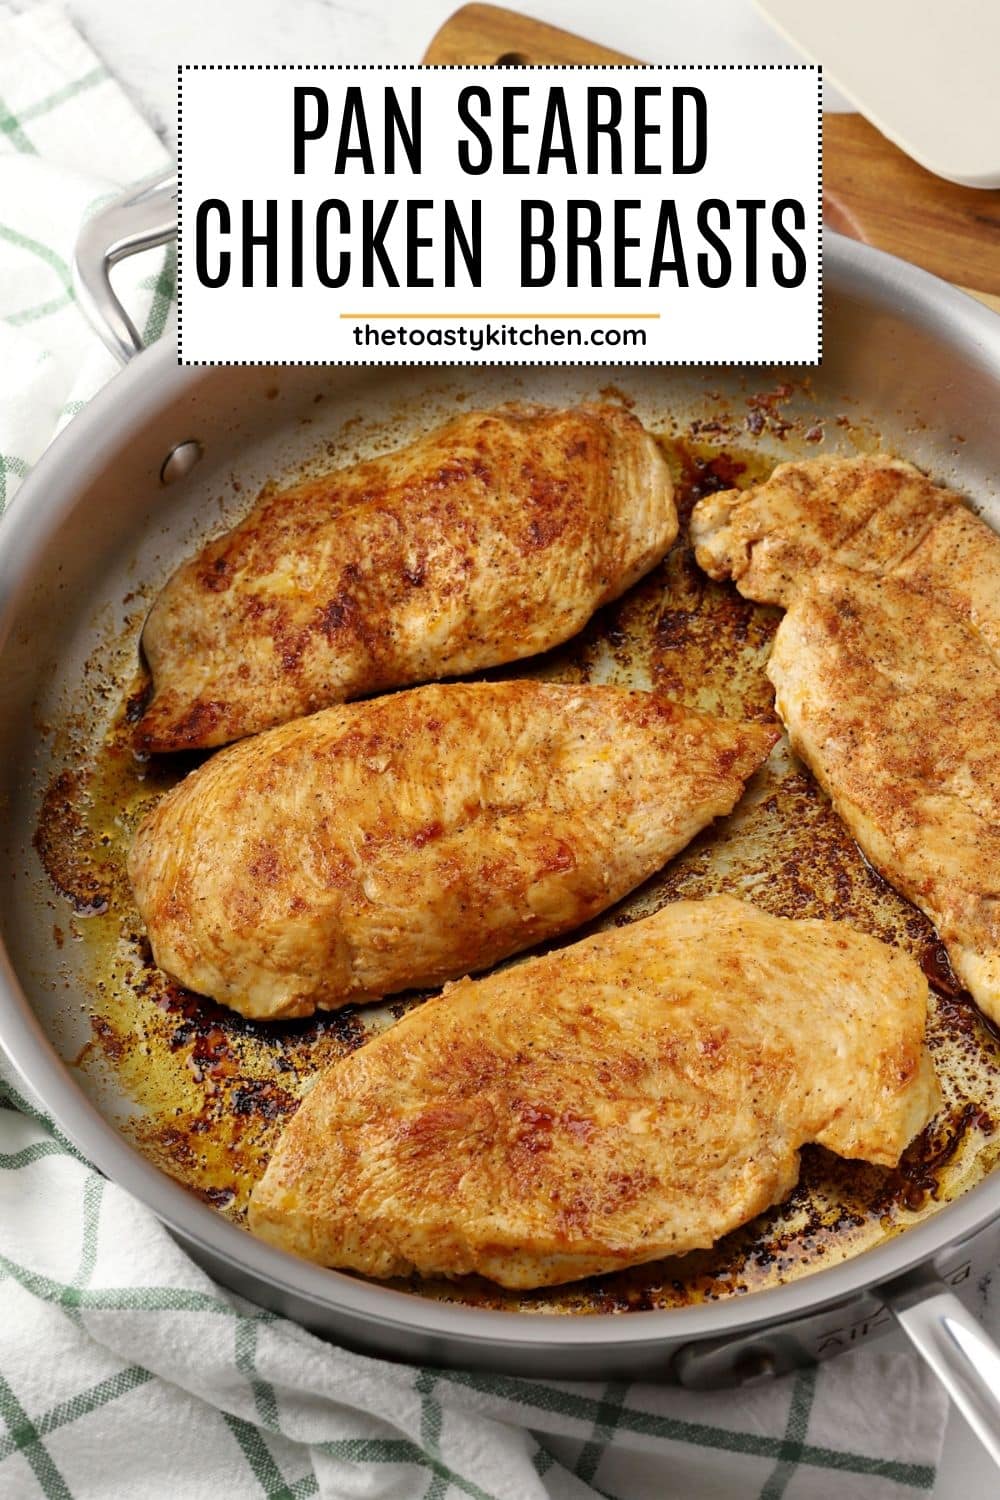
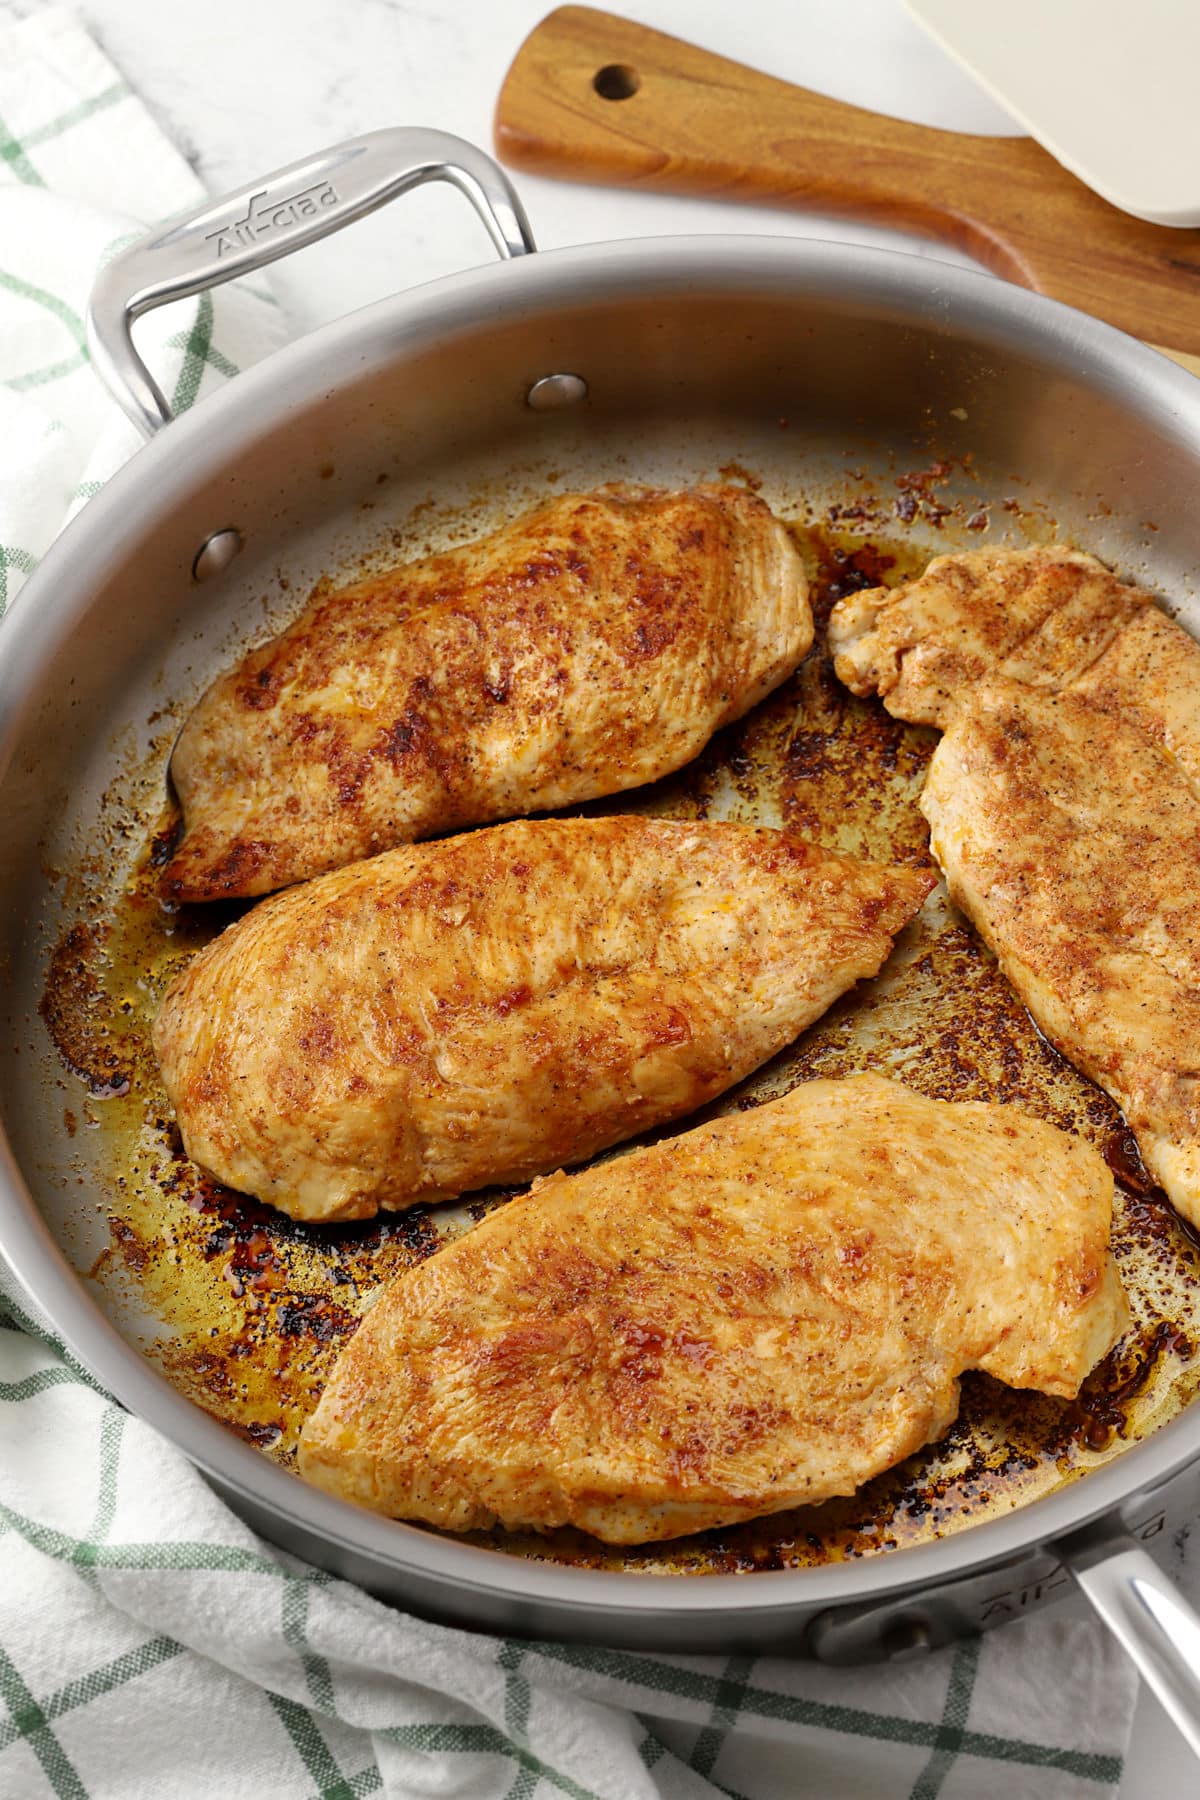
- Cook for 3-5 minutes on the first side and don't flip until the chicken releases easily from the pan (like shown).
- Cook on the second side for about 3-5 minutes, or until your chicken reaches 165F in the center.
- Remove each piece as it reaches the target internal temperature to prevent overcooking.
Heather's Top Tip
An instant-read thermometer is an essential kitchen tool. Dry meat happens from overcooking. Use a meat thermometer to test the doneness of your meat and ensure it's cooked perfectly every time.
Tips and tricks
Chicken burning on the outside? - Your heat is too high. Turn the heat to medium-low to allow the inside time to cook through before burning the outside.
Chicken sticking to the pan? - Your chicken isn't ready to flip yet, the heat is too high, or both. Turn the heat down slightly and give your chicken another minute to cook. When it's ready, it will release easily from a stainless steel pan.
Remove each pieces as it reaches 165F - Your chicken pieces will cook at slightly different rates, and that's okay. Test each piece with a thermometer and remove them as they reach 165F. You may end up with one lonely piece in the pan at the end, but this ensures your thinner pieces don't turn out dry from overcooking.
Frequently asked questions
Chicken turns out dry from overcooking. There's no special trick or hack to make chicken turn out juicy except cooking it to 165F, then removing it from the heat to stop the cooking process. Pick up a $10 instant-read thermometer from your local grocery store (or Amazon - $9.99 instant read thermometer) and you'll never have dry chicken again.
If your chicken is burnt on the outside and raw in the middle, your heat is too high or your chicken is too thick to finish on the stovetop. Turn the heat down to medium or medium-low. This allows enough time for the middle to cook without burning the outside.
Yes, if you'd prefer not to thin slice your chicken, thick breasts can be finished in the oven. Preheat your oven to 425F, then follow the recipe below to brown your chicken on both sides. Transfer chicken to an oven-safe dish, then bake in the oven for about 15-20 minutes, or until chicken reaches 165F in the center.
Recommended


📖 Recipe
Pan-Seared Chicken Breasts
Ingredients
- 1 ½ pounds chicken breasts
- ½ teaspoon salt
- ½ teaspoon garlic powder
- ½ teaspoon onion powder
- ½ teaspoon paprika
- ¼ teaspoon pepper
- 2 tablespoons olive oil
Instructions
- Slice chicken breasts in half lengthwise or pound with a meat mallet to ¾ inch thickness. Pat chicken dry on all sides with a paper towel.
- Mix spices together in a small bowl, then season chicken on all sides.
- In a skillet over medium to medium-low heat, add olive oil.
- When your oil is hot, add chicken and cook for about 3-5 minutes per side, or until cooked through to 165℉ in the center.
- If your chicken is burning on the outside before it's done in the center, your heat is too high. Turn the heat down. Use a meat thermometer to ensure your chicken doesn't get overcooked or dry.
- Remove chicken from pan as each breast finishes cooking and allow to set for 5 minutes before slicing or serving. This allows juices to redistribute, which helps keep chicken juicy.
Equipment Recommendations
Notes
- Times may vary: Cooking times will vary based on the thickness of your chicken and the exact heat of your pan. While I've given time ranges in the recipe card, the most accurate method is to look at visual cues and use a meat thermometer.
- Storage: Leftover chicken will keep for 3-4 days in the refrigerator or 3 months in the freezer.


I had so much fun creating this recipe! I hope you give it a try and love it as much as I do. If you have a question, check out the post above, which is packed with information about the recipe. Tried the recipe? I'd love to hear your thoughts — leave a comment and a star rating to share your feedback!